Tuesday, April 28, 2020

Steampunk Alarm Clock Paper Collage

Hello all...back with photos sharing how I created the Steampunk Alarm Clock Paper Collage I shared yesterday.  To refresh your memory or in case you missed my post yesterday here is what I made...


My original plan was to make a torn paper collage but well that just wasn't happening. I gave up the torn paper part and decided to go with fussy cutting and I was finally able to get it done.


I started out by choosing an image I wanted to collage in the form of a coloring page. This makes it easy to collage because you can choose which details to keep and which ones you'd like to eliminate. I added lots of extra feathers and enlarged some features to make him look regal. When I found the image that most closely resembled what I wanted him to look like I printed out several copies. I kept one back to use as a basic guide. The rest were numbered and cut apart for each individual feather/part.

Next I knew I wanted him to be made from Steampunk elements so I used several Graphic 45 collections - Steampunk Spells, Steampunk Debutante and Rare Oddities. These are my favorite paper collections from them as well :)


When working on a collage like this you need to start with the elements furthest in the background and work your way forward. Of course I created the background first then I started with the feet and worked my way up. You can see here the order of application - Feet, leg feathers, underbelly, back, lowest tail feathers.


I then added the upper tail feathers, wing feathers, top of the wing.


A close up of the wing and tail feathers.


Next I added the breast feathers, 2 layers of neck feathers, face then the comb. 


Once I had all the pieces and parts glued down I added some line work and white gel pen to highlight various sections of my rooster.


And there you have it...my Steampunk Alarm Clock!  Hope you've enjoyed seeing how I went about making him and give it a try yourself.  Have a lovely day my friends!

Monday, April 27, 2020

Lost in the Haze....Craft Saturday to the Rescue!

Hello All...How have you all been during this strange time we're living in? I hope you're safe, well, and enjoying the time off. If you're an essential, I hope you all know how much we appreciate you.


I feel like I've been living in a haze - no real sense of time, days, etc. It seems like an endless blur. Don't get me wrong - I love staying home and cherish the time with DH - I think I could actually be a hermit if truth be told. 

That being said all of the uncertainty and contradicting information swirling around the virus has taken it's toll on me. I am a bit odd being I'm an artist living in a Left Sided Brain. I know that's not how it should be but my logical left brain is often at war with my right brain artsy desires. That is why I haven't posted virtually anything this month. I want to create but I sit in my room and stare at all of the virus news (right, wrong or indifferent) trying to make sense of it and my creativity has been stifled.  


I was talking to my Mom recently and we decided we needed a virtual Craft Saturday....if you recall we try to have a crafty day at least once a month playing with different mediums, techniques, etc.  So I challenged my Mom and my nephew (who is living with her at the moment) to create a torn paper collage with the theme of a bird.  They accepted the challenge and I'm here with the results to share with all of you!


This is Matthew's creation...state bird of Indiana no less!  I love how he used real feathers for it's wing and tail and that background...LOVE IT!!


Mom chose a rooster on a fence....She calls it the Early Bird Gets the Worm. She used feather fibers for it's wing and various colors of washi tape for his tail. I just love it don't you? 


The sparkle of that tail is just awesome.  Check out the purple worm he's eating - LOL!! Isn't that great?

And here's mine...I was a bit late for Craft "Saturday" because I tried tearing  and I just couldn't make it look like I wanted it to so I just gave up. The right side of my brain wanted to create and the left side (and a bit OCD) just would not let it happen. The next day I decided I would switch to fussy cutting and I felt so much better about it... while it's not paper tearing it is a paper collage of a bird so I say it's close enough to qualify.


I call this my Steampunk Alarm Clock!!

Yes I made a rooster too - we didn't know we had both chosen the same bird until I showed mom while it was in the process and hers was already completed - LOL!!  Acutally, Morgan was going to make a rooster collage as well (which none of us knew) but she ended up working outside with Bob so she never was able to complete it.  Great minds you know!  

All of the paper is from Graphic 45 (except the peeling paint background) from Steampunk Spells, Debutante and Rare Oddities collections for the most part. Once I let my left brain have it's precise lines and edges I was finally able to break my creative block. It felt so good to finally do something creative.  I will share more about my process tomorrow...hope you'll stop back and check it out!

Maybe you could join us on our next Craft Saturday Challenge. We're going to try our hands at Rolodex - Memorydex cards!  I'll let you know more tomorrow :)


Sunday, April 5, 2020

Roll A Graph Stamps Anyone?

Not sure how you feel about mail at the moment but if you would like some roll-a-graph stamps (not on the roll anymore) please email me your addy and I'll send you some :)  I bought a whole lot of them, I kept the ones I wanted but there were many duplicates. I tried selling them but nobody was interested so I'm just going to RAK them to interested inky friends.  I'm not taking requests, just random selections but I hope you will enjoy them.


If you're interested please e-mail me at (no spaces of course) - roni jj (at) g mail (dot) com

Have a lovely day friends :)


Friday, April 3, 2020

Donkey of Another Color

Hello all...I hope you're doing well, staying safe and finding some time to create.  

Recently I decided it was time to stop fretting - because I'm a Worry Wart - thank you Mom - that's easy for me to do. I say try because it's going to be a constant battle - with every new report it gets a little harder.  So here's what I'm doing. First thing I started to keep a journal of sorts. When things get too overwhelming I just pull it out and start writing. I write statistics, I cuss about things I've seen/read that make me mad, I write down my fears, etc. These are things I don't want to share with a live person because a) don't want them worrying about what I'm worrying about b) i know some of what I write down is silly, ridiculous, etc. c) i don't want to be someone's negative nelly...already too much of that in the world anyway.  This is not something I ever expect anyone else to read...actually when this is all over I may just throw it away. So, if you're fretting about anything just pull out a notebook and write it down. It might help you a bit just as it has me.

I also decided that it was time to start inking up some stamps that I have in my stash that I haven't used yet. Today I wanted to share one of these first time inking's....

I got this darling stamp set made by Pink Ink Designs (a UK company) that is called Cool Mule. Looks like a donkey to me so that's what I'm going with since I love donkeys.


I've used a different medium to color each image...anyone care to guess what they are?

***

***

***

Guess 

now 

and

see

how 

many

you

guess

correctly....

***

***

***

Answers 

below....

***

***

***

Upper Left Grey Donkey - Kuretake Gansai Tambi Watercolors

Upper Right Blue Donkey - Lindy's Gang Magical Shakers

Lower Left Pink/Purple Donkey - Imagine VeraFine Clair Inks
(Simon Says Stamp stencil as well)

Lower Right Brown Donkey - Pan Pastels

I don't know what I'm going to do with them but they were fun to color. I wish I had a way to mat them - it would be fun to put them in a frame together for some fun wall art.


Saturday, March 28, 2020

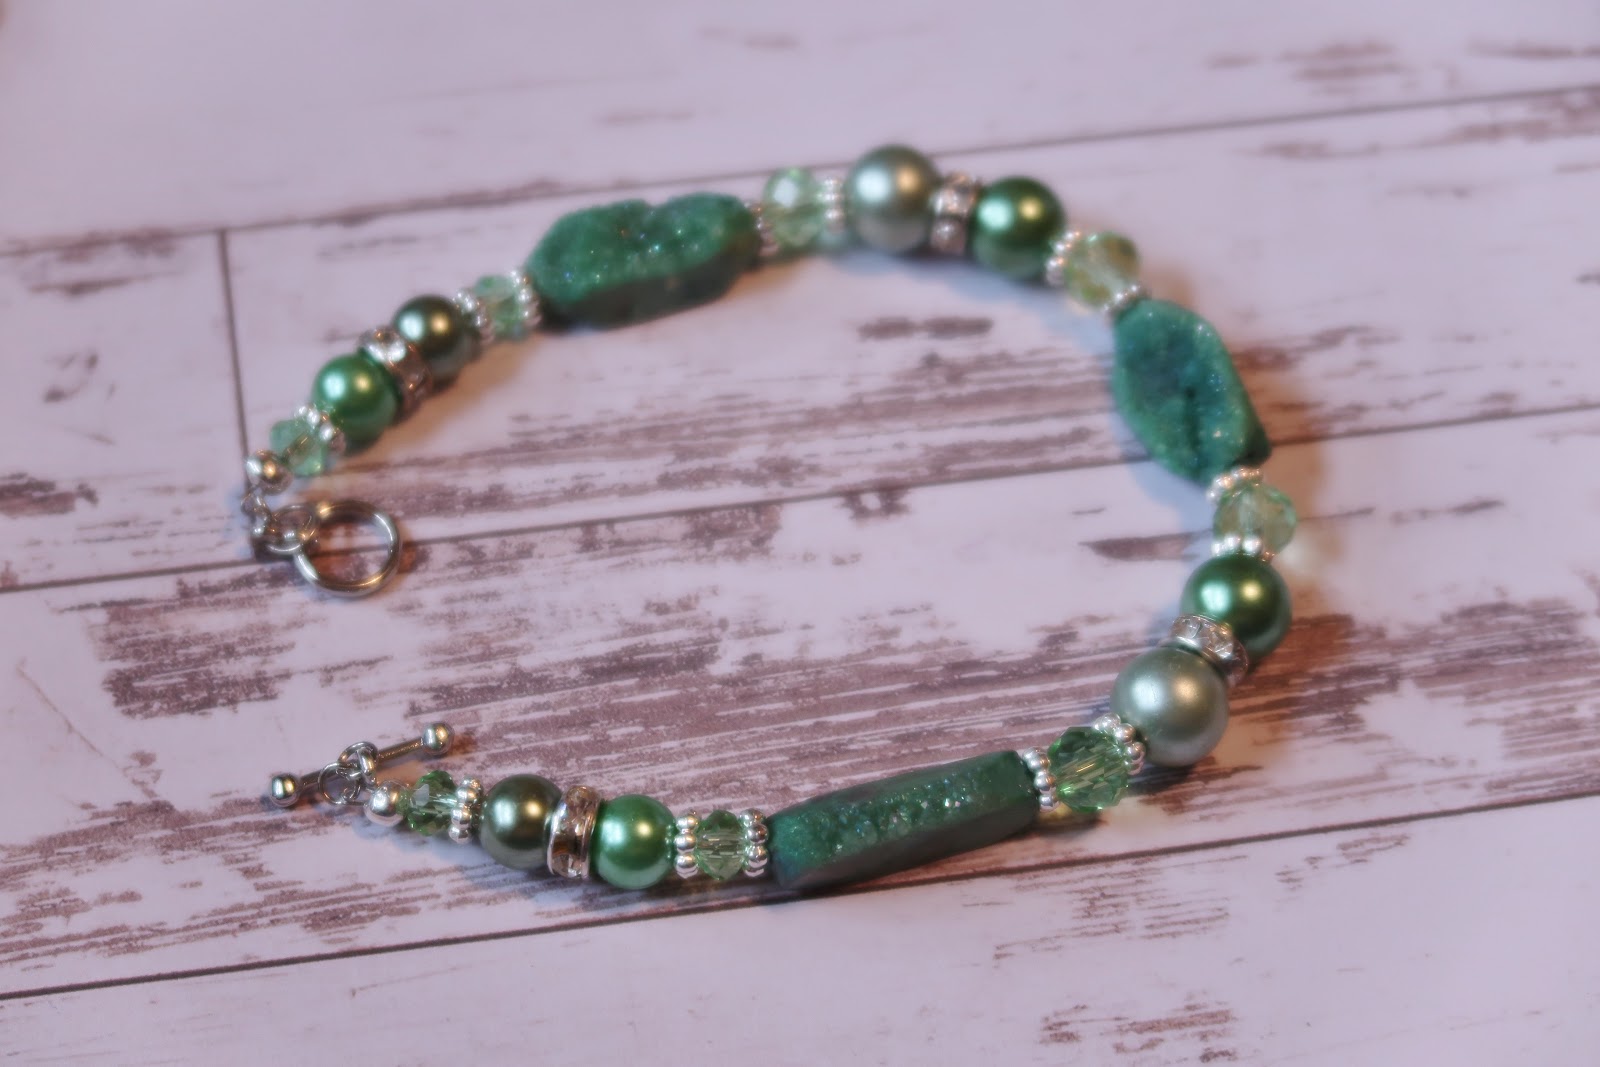
Stone Beaded Bracelets

Good Morning all...I hope that you are all well and finding things to keep you busy during these uncertain times.  I have decided to put some of my new found time to use by jumping back into beading/jewelry making. Prior to all of this happening back in December/January I bought a few lots of jewelry here locally. I spent several fun weeks sorting and organizing it all for most of January (which I know sounds weird but I love organizing) and found some really beautiful items in my stash.

These are the first pieces I made using some of those goodies.  I don't know what the focal stones are but they have a crystal, sparklie aspect which as you know - in my book you can never have enough sparkle.  I particularly like the beads on the blue bracelet. I don't know how they did it but some of them have little openings where you can see the sparkles inside just like the large exposed bead. They have an iridescent quality that is just stunning IRL. I wish you could all see them up close.


This is the bead I was talking about...I wish I knew what this was - it's just beautiful!


Thursday, March 26, 2020

Steampunk Octopus Up Lifting Framed Magnet

Good Day to you all! As I mentioned earlier this week Rinea and the folks at Creative Embellishments have teamed up this month to bring you some fun creations. Today I have my second project to share with you....Mr Octopus and his very uplifting message. I started off with this wicked Steampunk Octopus Frame.


Here's how I made it....


I started off by tracing the basic shape of the frame on a piece of chipboard. I intentionally left some of the elements off the chipboard to give the design room to breath to create a more natural "oceany" look if that makes any sense.


Next I covered it with Turquoise/Gold Glossy foiled paper.


I colored the octopus frame using my Kuretake ZIG Clean Color Real Brush Pens, a Uni Ball Signo gel pen and some glitter pens. Lots of colors all blended together.


I glued the frame to the chipboard piece.


You can see how some of the tentacles and seaweed extends beyond the chipboard piece.


Next I stamped the sentiment (Unity Stamp Co.) on a piece of vellum and tore it to fit the frame.


I added some sequins...


And micro beads and when it was all dry I added a couple magnets to the back.

A few more looks....


I just love how this turned out... Creative Embellishments has a few other octopus pieces that I now realize I need - they are just too much fun to play with.

I am going to enter this into their March 2020 challenge because the colors inspired the coloring of this little guy.


Supplies:

Creative Embellishments - Steampunk Octopus Frame
Kuretake ZIG Clean Color Brush Markers
Uni Ball Signo White Gel Pen
Unity Stamp Co - Sentiment
Imagine - StazOn Jet Black Ink
Doodles Paper Playground - Sparkle Blends Month - March - Aquamarine
Chipboard, Micro Beads, Glitter Pens, Vellum

Tuesday, March 24, 2020

Easter Bunny Bling

Hello all...

As you might recall the team at Rinea has paired up with Creative Embellishments to share some fun projects. In a couple days I'll share my second "official" team project with you but today I wanted to share another shaker card I made just because I was having so much fun with their products!


I made this wickedly fun Bunny Shaker card.  


I started off by making the shaker bit. Each of the Creative Embellishments shaker kits comes with a solid back, three outline pieces and a clear window. I started off by covering the back piece with Lavender/Gold Glossy foiled paper and gluing two of the outlines on top.


I filled the shaker window with a beautiful sequins blend called Sparkle Blends Easter Basket by Doodles Paper Playground. I then glued on the acrylic window and final frame piece. I covered the top outline piece with purple glass glitter for an extra bit of sparkle.


I created the card by stamping eggs from Sunny Studios with Silver Delicata ink over the right side of a teal card base.  While the ink was drying I made an accent piece using Lindy's Magical Shaker Powders on watercolor paper.  When dry it was mounted on the card and then I added a bit of sparklie washi tape for a border.


The bunny was then affixed to the card!


Such a fun way to bring some joy to your favorite bunny!


Supplies:

Rinea - Lavender/Gold Glossy Foiled Paper
Creative Embellishments - Bunny Shaker
Doodles Paper Playground - Easter Basket Sparkles Blend
Linda's Magical Shakers
Sunny Studio - Chickie Baby
Watercolor Paper
Imagine - Delicata Ink
Glass Glitter
Washi Tape

Monday, March 23, 2020

Winged Things

Hello Friends - I hope you all are safe and sound wherever you may be. Today I wanted to share a gothic arch I made for the current Lost Coast Designs/Carmen's Veranda challenge #95 Winged Things. 


  I started off by stamping the Ledger page using Morning Mist VersaFine Clair ink over the entire arch.  I then stamped the ART Doll directly onto the arch. I made a mask and then stamped the Doodles Circles over it all.  I inked up the whole arch using a variety of VersaFine Clair inks and a sponge dauber.  It still needed something so I colored white dots using a stencil. I stamped a second ART Doll on a scrap of white paper and embossed it with black EP from Imagine.  It was colored, fussy cut and then popped onto the arch. Fun huh.....


BUT...what I didn't tell you is that it opens up to this! I used a whole stack of stamps to create this...most images stamped in Morning Mist except for the swirls that were stamped with Paradise VFC ink.  I used another fun stencil to create the nifty patterns then inked up everything else.  The Flying Moon was stamped on a separate piece of white cardstock, embossed and colored then fussy cut.  I added a bit of glitter to the crown for good measure.  The moon and sentiment were then added and all of the edges were then inked to finish it off.

I hope you are encouraged to join in on the fun and create your own "Winged Thing" to enter into the challenge!

https://lostcoastportaltocreativity.blogspot.com/2020/03/challenge-95-winged-things.html


Supplies:

Lost Coast Stamps - Doodle Circles, Ledger Page, ART Doll, Victoriana, Doors & Windows, Jewel Shrine, Small Cityscape, Long Swirl, Flying Moon
Imagine - VersaFine Clair inks, Black EP, Sponge Dauber
Glitter, Cardstock, Stencil

Wednesday, March 18, 2020

Switchin' Things Up A Bit...Makin' Some Jewelry!

Yes, I'm switchin' it up a bit here....in the past couple months I have been sorting and organizing all of my beads, findings, etc. So now that I am done I thought it would be a fine time to start making some jewelry again.  First two are all for me :)  I wanted some fresh new goodies to wear this summer so I went with my fav. colors - blues, browns and some sparkle.

First up...my Lapis Lazuli necklace & bracelet set. Mmmmm you know how I love blue!


My next one is a lovely magnesite and brown cat's eye necklace. 


I just love making jewelry! I find it so relaxing. I would also like to make some altered charms again sometime. Haven't made any since swapping got  so expensive.

Have you tried your hand at jewelry making? Altered Charms? What's your favorite thing to make? What have you made? Please feel free to share links to your creations!