Showing posts with label Distress Stain. Show all posts

Wednesday, August 20, 2014

Dead men tell no tales.....

Today I have a fun Halloween piece over on Altered Pages.  It was made using a Sin City Stamps chipboard frame and stamps as well as some fun vintage Halloween images from Altered Pages.


Be sure to check it out...


for all of the details and additional photos.

Thursday, August 7, 2014

Watercolor Paper Comparison - Distress Stain

I am so excited about today's comparison because Distress Stain is one of my favorite mediums to watercolor with.  I like them more than the Distress Pads and way more than the Distress Markers.  I honestly don't care much for the markers but I use them in conjunction with the Distress Stains when I watercolor.   For whatever reason I can't get the Distress Markers to move like I want them to on regular or watercolor paper which is why I LOVE the Distress Stains.  They move and flow and blend so easily.  I normally color an image with the DS and a Niji Waterbrush then - if needed, I go back with the markers to add fine lines and details to highlight the image.

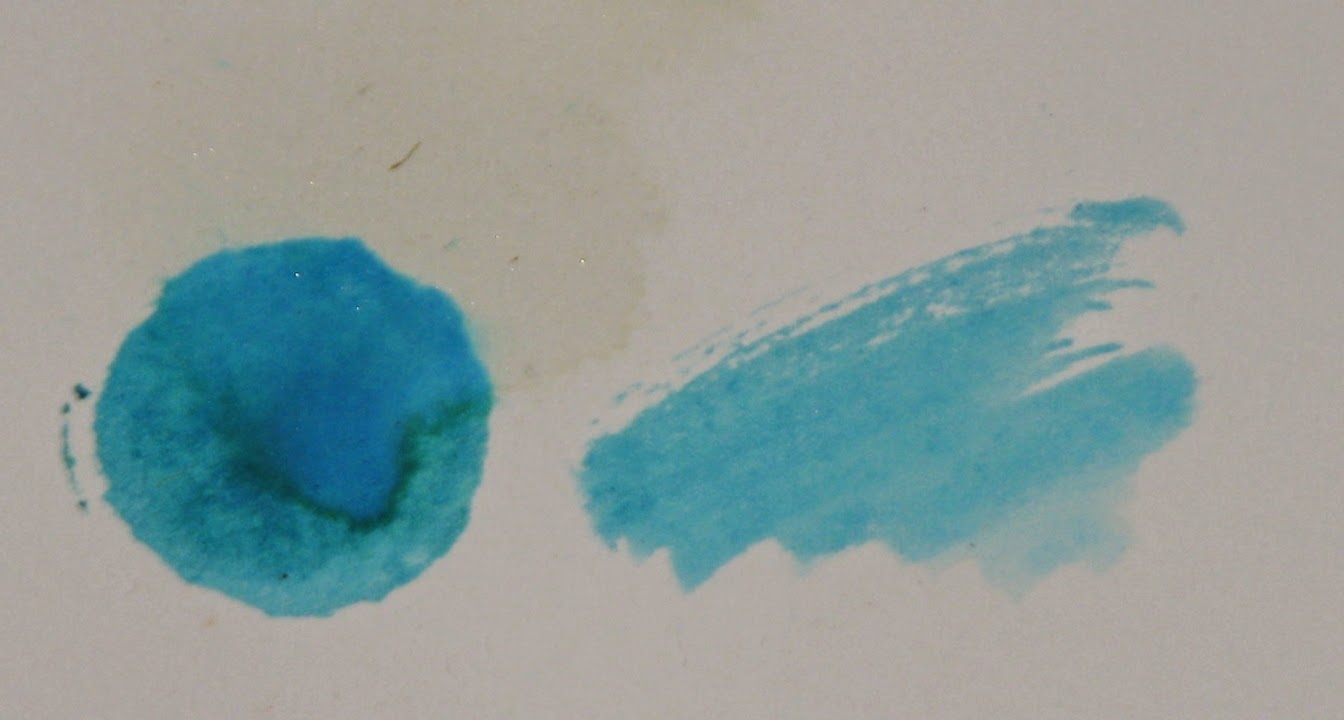
So here we go.... I used Peacock Feathers Distress Stain for today's comparison.  I preformed a few tests on the paper with the stains to demonstrate different aspects of the paper/stain interaction.  First I made a dot of color direct from the bottle - I wanted to see how well it retained it's original color and how bright/dull it looks on each paper.

I then spritzed one side of the dot with water using one squirt from the Mini  Mister to see how well the paper would allow the color to wick.  Surprisingly several of the papers didn't wick at all while others offered amazing designs.  

Finally I added a swish of color made by picking up some Stain off of my non-stick craft sheet with my Niji Waterbrush.  I simply painted it across the paper just to show what it would look like using my favorite technique for watercoloring images.    Again, amazing to see all of the different looks depending on the paper.
Take a look at the results...

Arches 140lb Hot Press


Arches 140lb Cold Press

 Bienfng 90lb Student WC

Canson Mixed Media Paper

 
Canson 140lb Cold Press

Crayola WC Paper

Dick Blick Mixed Media Paper

Dick Blick 90lb Student Cold Press

Dick Blick 140 lb Cold Press

Fabrino Artistico 90lb Cold Press

Fabrino Studio 95lb Cold Press

Hero Hues 100lb Felt Finish

Ranger WC Paper

Simon Says Stamp WC Paper

Strathmore 140lb Cold Press

Such a wide variety of looks huh?  Which was your favorite?  I have several - I liked Strathmore, Ranger and Dick Blick 140lb Cold Press more than the others though.  I'm sure with various styles of inking and the types of watercolor out there most of these papers would work well.

Tomorrow I'm going to experiment with Distress Paints.  Several people wanted to see what they looked like watered down on the various papers so your wish is my command!  See you then!

Thursday, July 24, 2014

SCACD This & That Rubber Stamp Blog Hop

Hi Friends and Welcome!  Today I am pleased to say that I have been asked to participate in a new stamp release from Susana's Custom Art & Card Design (SCACD).  

If you're following along on the hop, you should have come from Delphines Place and if you get lost during the Hop you can always find your way at the Store Blog - SCACD - Follow Your Heart in Art & Life.

SCACD is releasing 9 rubber stamps which are collectively called the “This and That Collection.” They each can be purchased now HERE. They were inspired by things going on in Susana's life as well as imagery she loves. SCACD Artist Carmen Medlin and Susana collaborated on the images and Carmen did an amazing job bringing these to life!!! We are featuring 4 Zen Beauties as well as 5 eclectic fun stamps today.  On a happy note if you buy the complete set of 4 Zen Beauties at one time you will get an accompanying accessory maple seed stamp as a bonus stamp.

SCACD also decided to offer only 3 of these not only in rubber but in digi as well for her SCACD Digital fans. So you can see the 3 newest versions at the top of the Digi area HERE  


For International Friends you can find the new SCACD Stamps HERE at Quixotic Paperie.

I was lucky enough to be able to create a project using the new fairy - Bliss...the beautiful ballerina fairy and here she is....


SCACD Supplies:

Bliss Fairy

Other: Sandpaper, Distress Markers, Stickles Glitter Glue, watercolor paper, die-cuts, cardstock.

To create the Vintage Mint frame I smeared the modeling paste over the "Art Is" stencil, removed the stencil and let the paste dry.  I then painted the entire piece with the Vintage Mint Silks Acrylic Glaze.  I wish you could see the beautiful shimmer created by the mica in the glaze.   


The background fern mat was created by embossing it with the Silver Fern embossing folder then lightly sanding the high spots.  Bliss was stamped onto watercolor paper using VersaFine ink and colored using Distress Markers with a bit of glitter highlights.


To make the flowery border along the top edge of the card....


I die-cut the Fancy Flower corners several times in both green and white cardstock.  I water colored the white flowers using the same inks as I did on Bliss which I then glued to the green die-cuts.  A bit of glitter was added for some sparkle.  To make the center connecting piece of vine & flowers I cut the left side of the corner die off one of the green die cut pieces then snipped off the right side flower.  I then positioned it in between the two corner pieces tucking the cut ends under the existing leaves. 


Thanks for stopping by - 
I hope you'e enjoyed my version of Bliss.  
Your next stop on the hop is Cheryl at The Ink Trap for more SCACD inspiration!   

Friday, May 9, 2014

Cock-A-Doodle-Dooooo

Are you awake yet?

I know I promised to have some cards incorporating some of my monoprints today but I had to help DH deliver some hay last night so we were gone most of the evening and I didn't get a chance to play...  I'm going to work on those sometime this weekend so I thought I'd share a couple farm inspired cards today featuring - Chickens!

This rooster was colored using Spectrum Noir markers with a bit of Distress Stain used for the ground.  I originally tied the bit of string and it looked so bare so I tucked a vintage green supermarket trading stamp into the twine and for some reason it just worked.

Stamp Credits: Deep Red Stamps


This is one of JFF's Stamptangle stamps...their take on easy Zentangle creations.  I colored this hen with various colors of Distress Stains blending as I went along.


Hope you all have a wonderful Mother's Day weekend!
((((INKY HUGS))))


Friday, April 18, 2014

Objet D'Art - Finding the Beauty in "Things"....ATC Series

I am still waiting on a couple of packages of ATC's...both are in the mail ~ the rest I haven't heard from so I'm counting them out.

In the mean time I thought I would share a series of ATC's I made for the swap.  Now I didn't originally set out to make a series like this, it just happened.    I am in love with a book I bought this past summer at an estate sale.  It was very worn ~ no front cover, the signatures falling out of the book, just pretty much in rough shape....  All that aside I was totally taken with it when I saw it.  Why???  Well the book was printed in 1805 and is in Latin*!  I have no idea what kind of paper it is printed on but each page is pretty thick for a book and its got a really interesting texture to it...it's not rough like watercolor paper but it's not smooth like you would normally associate with book pages either.  It's very difficult to describe but it's wonderful!

*I did look the book up on several web-sites and it's not worth much...they only sell for about 15.00 in good condition so it's not a great masterpiece I'm using for art.

So I knew I wanted to use these book pages as the basis for my ATC's.  Now, what to do with them?  I didn't want to completely cover it up because the paper was the whole reason for starting the ATC's so collage images were out.  Stamped images it is...  No people because again I didn't want the image to detract too much from the background - objects, things - that's what I'd use.  Now the image did need to stand out a bit so stamp and emboss with black.

They looked a bit boring in just black so I used Distress Stains to color them....why?  Because you get color but can still read the text behind the image!

And here they are....

Objet D'Art
Finding Beauty in "Things"


I am so tickled with how they came out...each card has a gold leafing edge to it.  Cool isn't it?  It's actually there to cover up the margin at the side of the book page!  The pages were just wide enough for me to position two ATC's side by side but I had an empty margin on one side of the card or the other.  I needed something to fill it in - no words because I wanted the text to be more prevailant. So, cover it up but make it look classy like the book pages!  A bit of glue, some gold leaf and ta-da!!!


I know, I'm crazy to get so excited about paper but hey, 
that's how I roll, and stamp and glue ;)

So, an old book and it's pages inspired me...
what inspires you?

Thursday, April 17, 2014

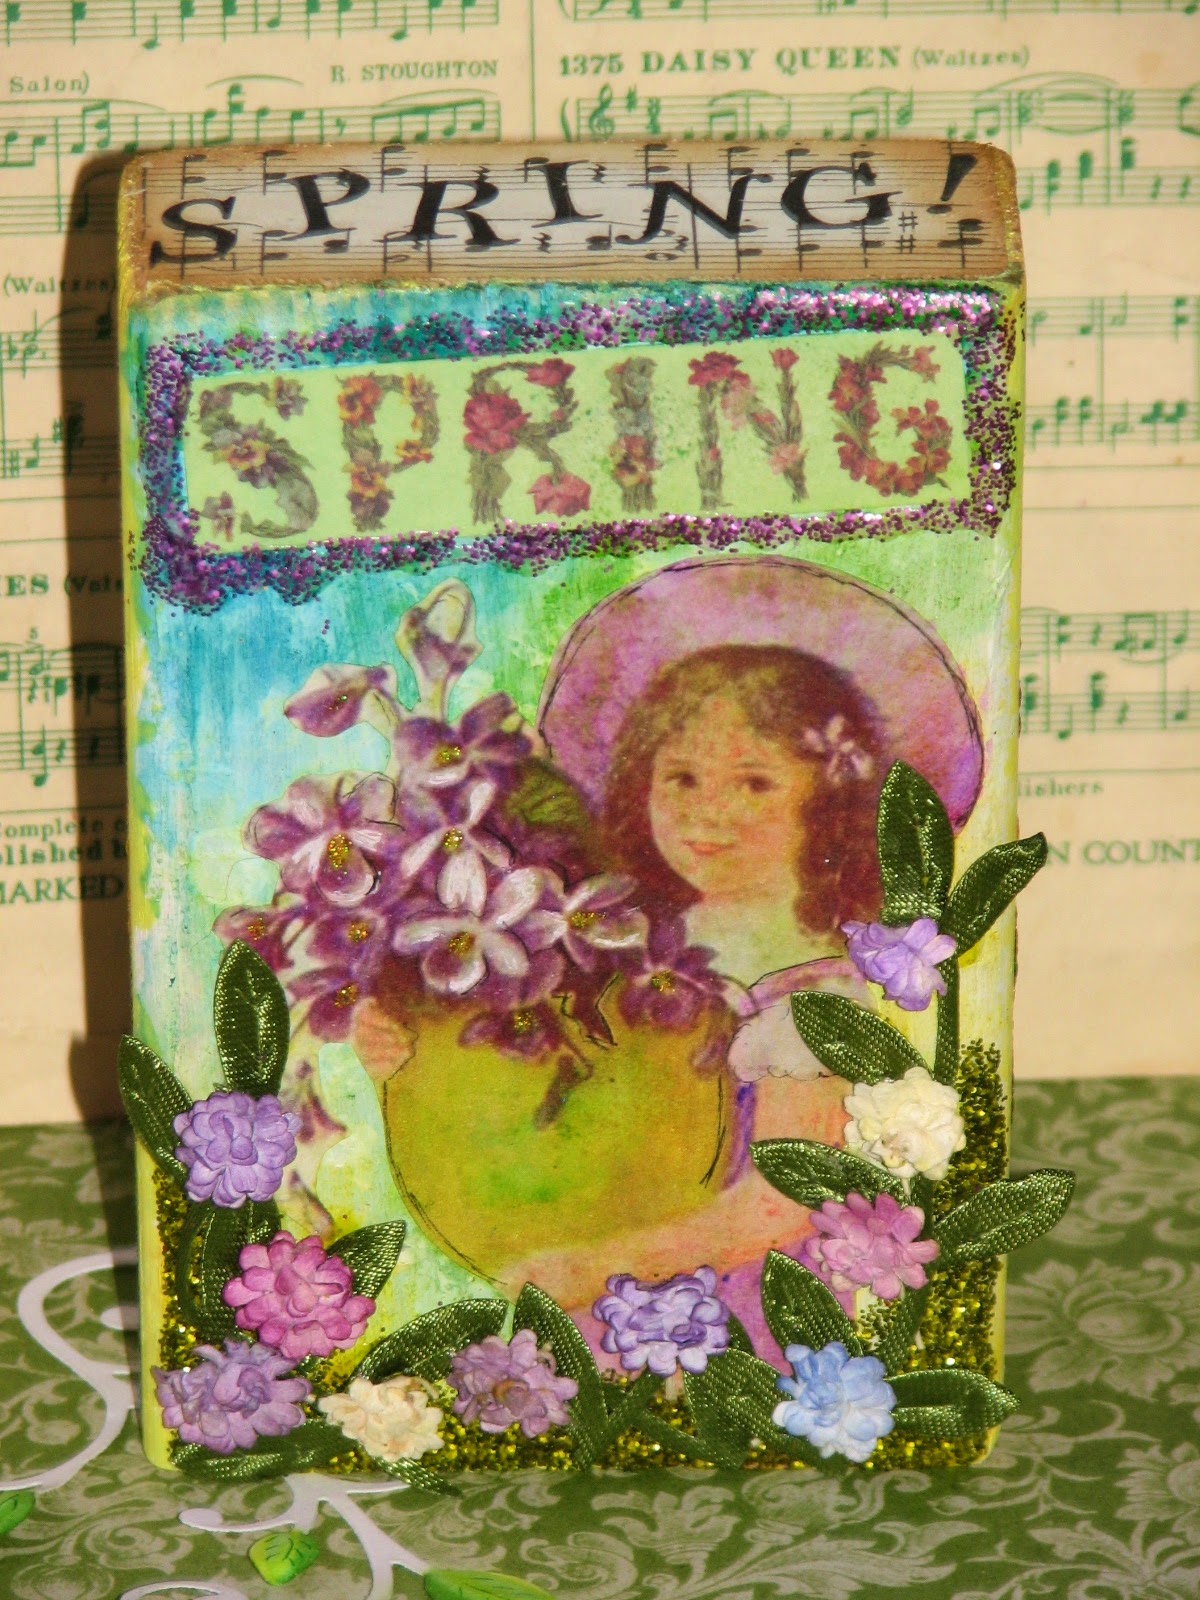
Spring Artist Trading Block

Today I wanted to share a fun SPRING (yeah!!!) project with you...

Spring
Artist Trading Block

What is an ATB?  It's basically the same thing as an ATC but only made out of a block of wood!  The best thing - they are far more durable and you have all that extra space to alter.  


Yesterday I started off by applying a coat of gesso to the entire block other wise you're going to spend lots of time and medium if you're going to use paints or stains.  The wood really soaks it in.


On one side I applied a few different Distress Stain colors


Then spritzed on some water and blended them.


I used the heat tool to help spread the ink around in an interesting pattern and dry it at the same time.   I used quite a bit of water so it took quite a while for the block to dry.


Here's how it looked at this point.


Next I added some paint to a bit of bubble wrap and stamped it onto the block...


Don't waist that paint...You can stamp it on some pre-colored tags (these are tags I made using up inks from other projects.).  They are almost ready for images don't you think?


Back to the block...here's how it looks now.  I painted the rest of the block Lemon yellow.


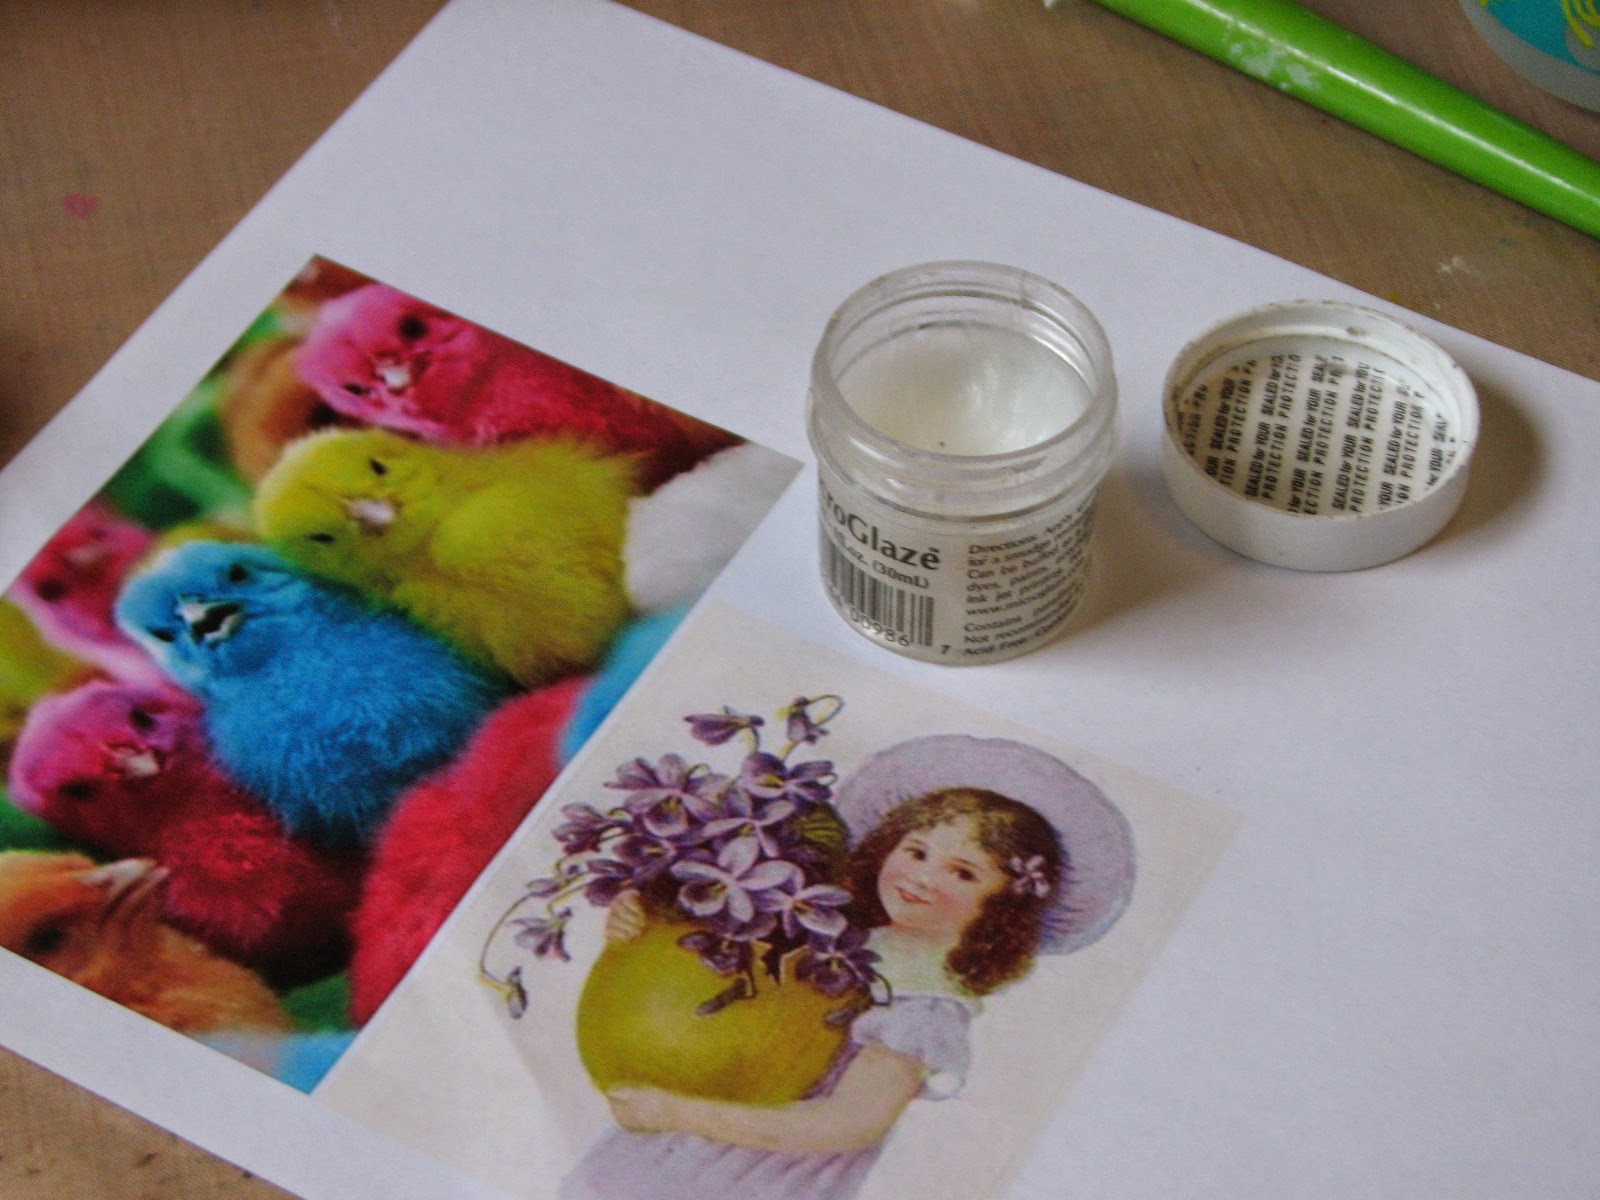
So I printed off some Spring-y images ava. at Altered Pages.  Since I was going to add them to the block with gel medium I wanted to seal the inks before I went any further so I applied a layer of MicroGlaze to them.  You need to let this dry completely for it to do it's job.  (This is why I started it yesterday).


This a.m. I picked it back up...I started by gluing the chicks to the side of the block that I hadn't Stained up.  Once dry I sanded and inked up the edges.


On the Stained side of the block I added the little spring girl.  Once both sides were dry I went ahead and embellished away!


And here is how it turned out!!


I stamped then Stickled the sides using a border stamp from Just For Fun rubber stamps.


Here is the back of the ATB....


So there you go....
a fun new bit of Spring art!

Have you made an ATB? 
Give it a try...you might find you enjoy it.

Tuesday, April 8, 2014

Mail Art Challenge!

Have you ever made a postcard?  ever altered an envelope? 
If you have then it's time to do it again...if not then it's time to start!
Deep Red Stamps is hosting their very first challenge - Mail Art!!


I am so excited...mail art has been an obscure cousin in the art world but more recently is has become more and more prevalent which makes me very happy.  It is such a fun and free form of art...no rules, no restrictions, just art for the sake of creating.  I love it.

Well, Deep Red Stamps has picked up on this up and coming trend and wants to challenge you to create a piece of mail art to share with the world.  The contest starts this coming Saturday and runs through Mother's Day here in the States (May 11th).   

You need to stamp a piece of mail art using at least one Deep Red Stamp (or Stampers Best - they are the same) image, post it wherever you share your art and then go back to the DRS Mail Art Challenge blog post and share a link to your creation (note - the linky tool won't show up until this Friday).  You'll then be entered in the drawing for a $30.00 gift certificate to Deep Red Stamps and if there are 50+ entries there will be a bonus gift as well!  Be sure to check out the blog post for all the info and more details on the bonus prize.  

Now, to help inspire you Susan (the owner of DRS) has created a sweet Alice in Wonderland piece of mail art which is featured on the blog post. 

Here is my bit of mail art....  I recently rec'd an auction my son won off of Ebay  in this envelope - I saved it because I was going to harvest the stamps but then never got around to it so it's just been sitting on my desk.  I figured it was the perfect foundation for this challenge....


I had SOOOOOOOO much fun stamping this envelope... I used 16 different stamps!!!  At first I was like...oh this looks good but I have room for one more...then that turned into another and another.  You don't have to use 16 stamps - one will do but have fun with it and enjoy the process!

A couple close ups of my favorite parts....


So there you have it...are you inspired?
Pull out one of your Deep Red Stamps or StampersBest images and give it a whirl...
be sure to share it then link it on the DRS Blog for your chance to win!

Have a wonderfully Spring-y Day friends!