Showing posts with label Collage. Show all posts

Thursday, December 4, 2025

A Little Retro Christmas

 Hello Everyone...

Welcome to December!

I don't know where the year has gone but it's time for Christmas...A Retro Christmas which is our theme this month at Gecko Galz!  I love retro so this was right up my alley.  We are also having the 25 days of Tags as well so be sure to stop by each day to see all the fun tag inspiration.

And here are my creations...

I made this fun little shrine that I made by upcycling a bread crumb container!  I covered both the inside and outside using papers from the Sugar Plum Fairies ATC sheet. The  lady is from the Retro Christmas Pin Ups and he is from Retro Christmas (free sheet from 2024). I added the Be Merry banner from the Christmas Signs and Banners sheet.


Next up is this fun Kitty magnet with bells on.  I wanted something fun to hang on my fridge this season and I thought this retro kitty was just darling.  It's made using a mason jar lid that I have turned into a shaker with "faux" snow! The kitty is from the  Candy Cane Lane collage sheet.


Next up is this fun gift box using an image from the Candy Land collage sheet. I simply printed the Candy Cottage 4x and pieced them together.  There is a hidden lid under the doily that removes to show the surprise inside :)


Next up is a set of Retro Gift cards using the collage sheet - Retro Christmas Colors! There has been lots of glitter added that doesn't show up very well in the photo.

Next up I have a couple sets of ornaments both using images from the Christmas Beauties collage sheet. I just love these images...with the retro feel and classy ladies...perfection!


This set is my Jeweled Ladies...they were all mounted on a fur covered snowflake and have a jewel holding their bows.


And I'm calling these my Retro Tartlets - LOL!! These are vintage tartlet tins lined with lace, tinsel and pearls. I think the soft pastels and soft shine of the vintage pearls compliment the images so well.  

I will be back a bit later with my tags for the day!

Be sure to check out the Gecko Galz blog each day to see all of the lovely projects and fun tags.

Monday, April 7, 2025

Happy Haunting Altered Clipboard

 Hello Friends...

Yes, you read that correctly - I am making Halloween projects in April!

What can I say...I love Halloween!!

The Quarterly Challenge at Gecko Galz is Altered Clipboards and one of the themes on the Gecko Galz FB group is "Starting with the letter H" so why not...Halloween Clipboard it is!


I used images from - Happy Halloween Card Toppers (main image), Altered Halloween (the other images) and the sentiment is from Gothic Chatter.

Are you inspired to dig out your Halloween goodies? 

I'm ready to make some more - LOL!!

Entered into the Halloween and Other Occasions All Year Round challenge blog.

Friday, March 28, 2025

Altered Clipboard - Spring!

 Every few months Gecko Galz has a special Quarterly Challenge. 

This quarter the challenge is Altered Clipboards!

I've made quite a few over the years and was excited to see this challenge as they are so much fun to make. Today I have a mini clipboard dedicated to Spring!


I used Images from March Free Collage Sheet, Spring Butterflies, Flower Garden Paper Pack, Library Cards and Tag Time. I also added flowers, ribbon, and a few other bits and bobs to finish it off. 

If you're game and decide to give it a go be sure to post your creation on the GG Quarterly Challenge page. You might just be the lucky winner of a special prize :)

Happy Day!!


Wednesday, February 5, 2025

Guts Glitz and Lipstick - February Gecko Galz

 Hello Friends!

This month's theme at Gecko Galz is Guts, Glitz and Lipstick!

Yeehaw Cowgirls!!

Here are my creations to inspire...


My first creation is this fun canvas plaque - C is for Cowgirls. 
Lots of fun western themed bits and bobs on this 8x12 canvas. 


My next project is a little box I made to house....


Cowgirl Wisdom ATC Cards!!


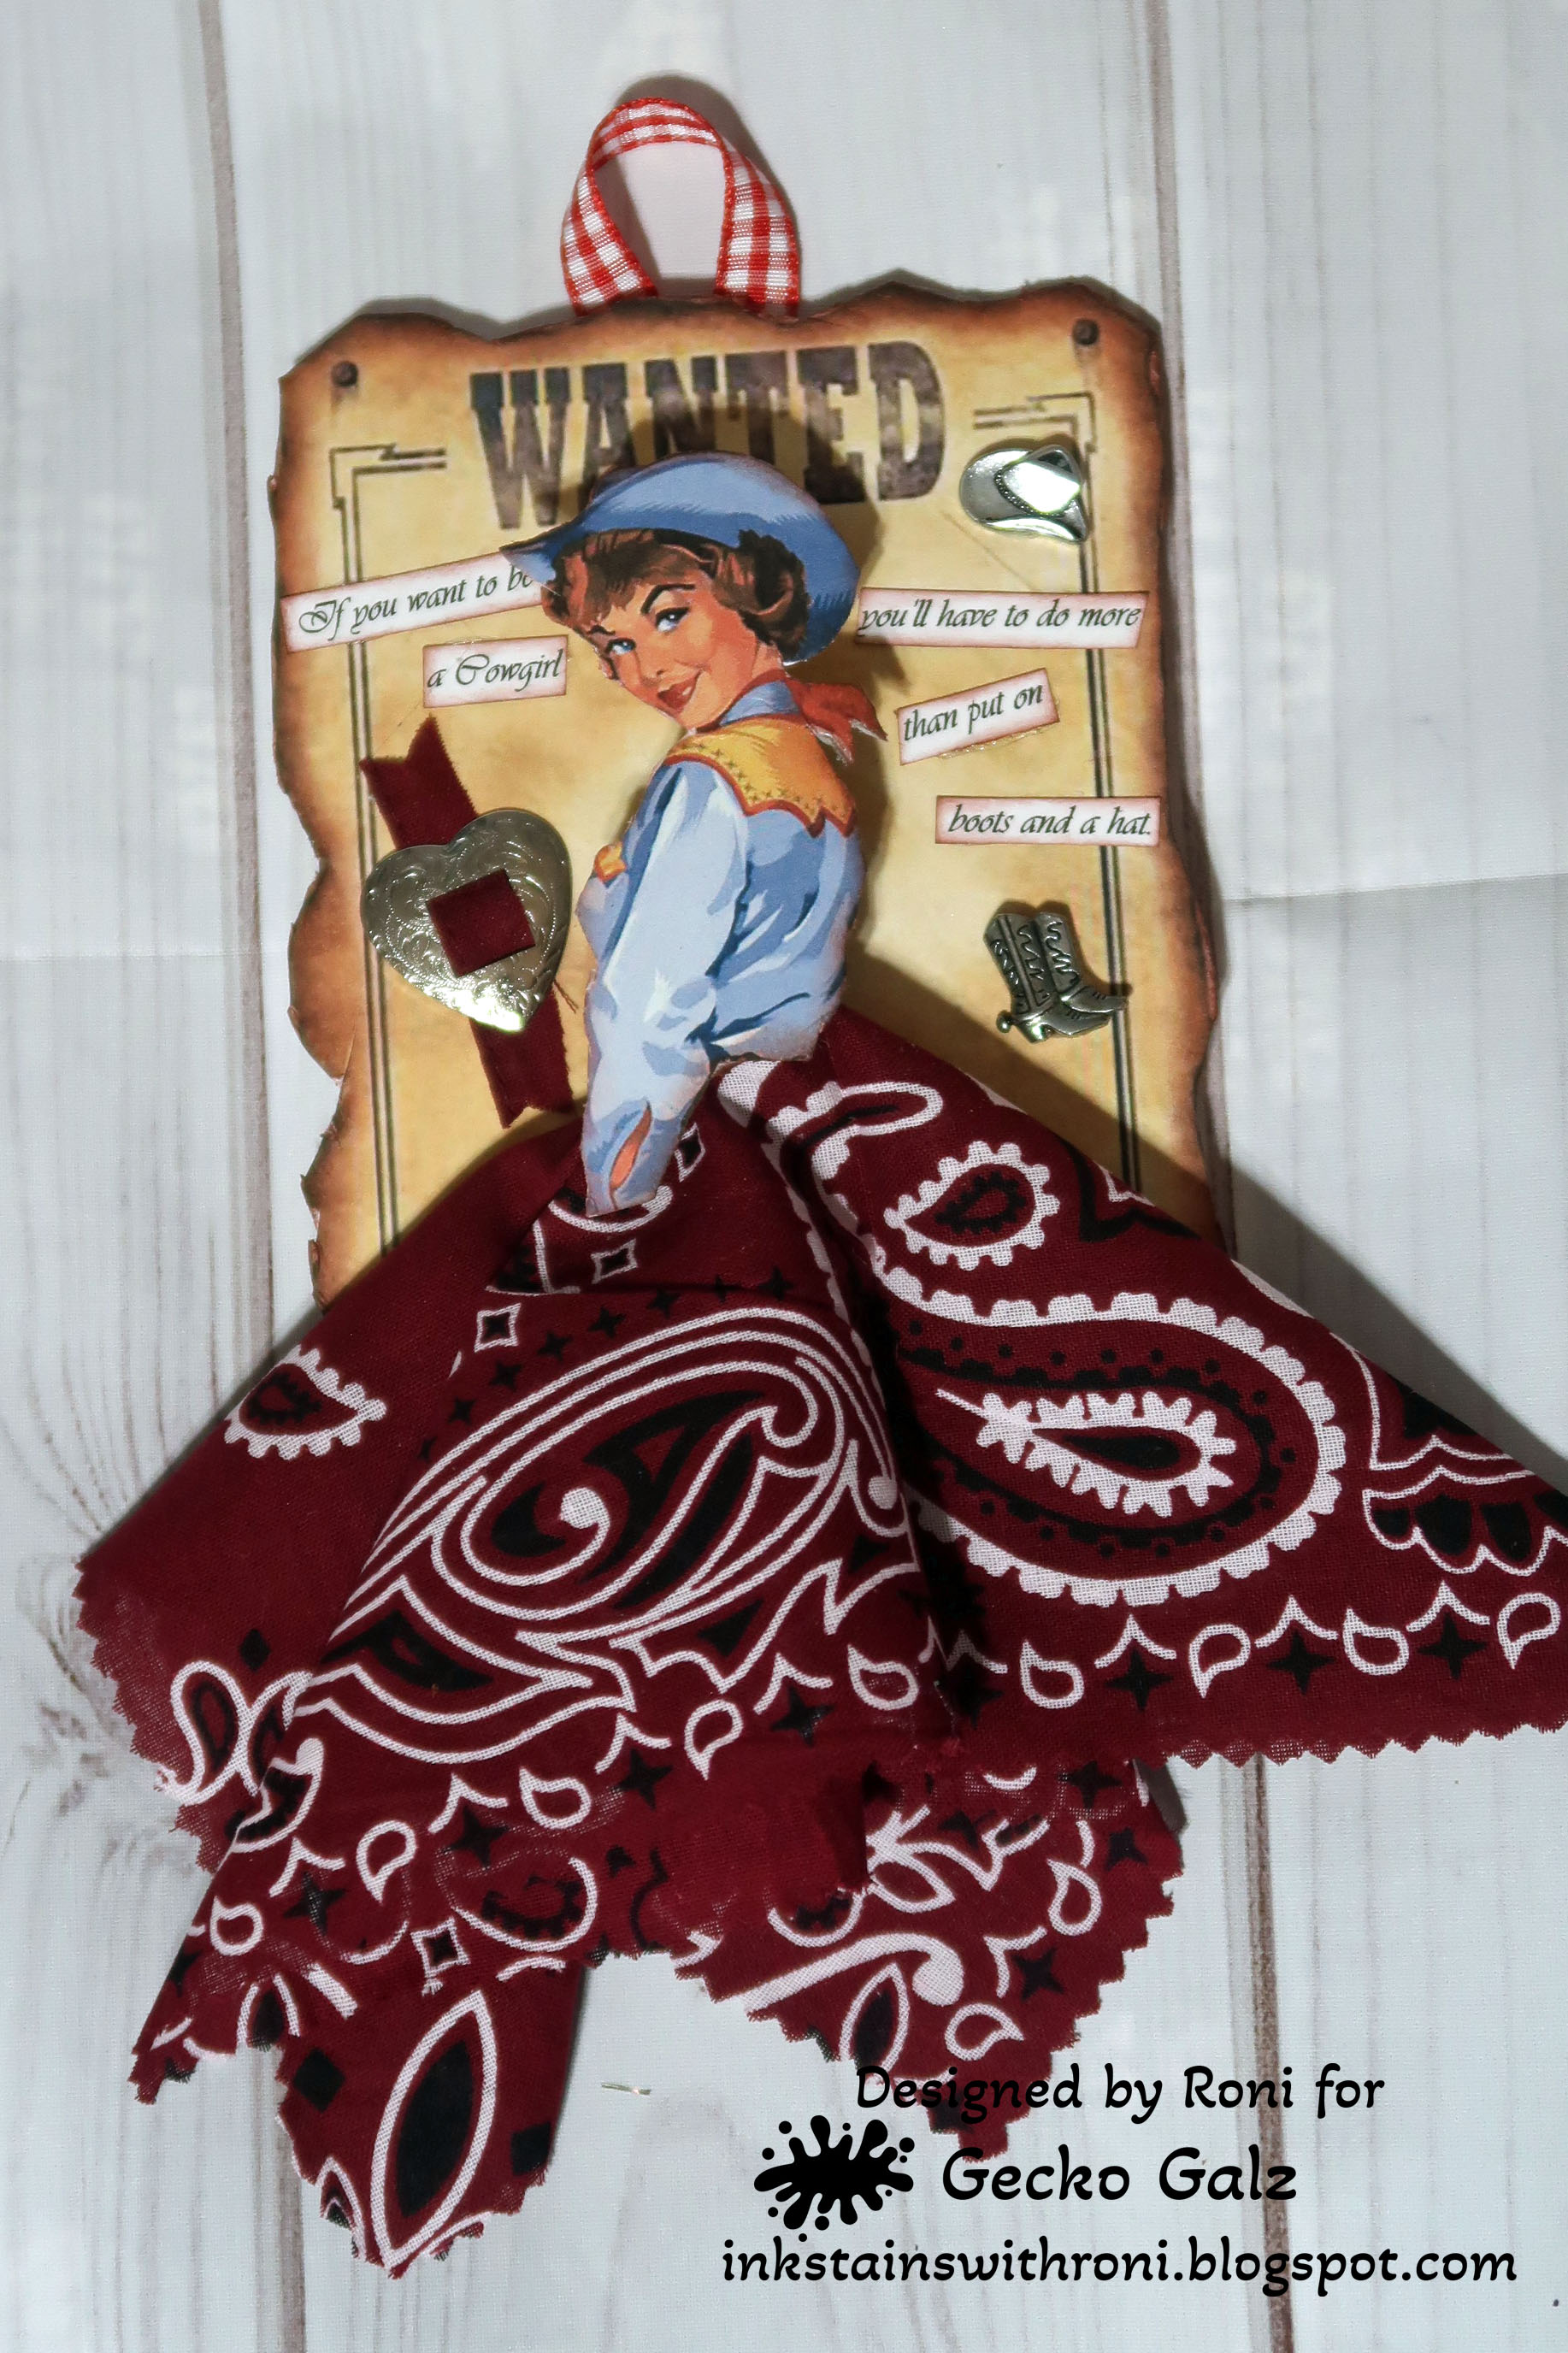
My final project are these fun Cowgirl wall art pieces with some fun bandana skirts! Each one is a little bit sassy in a Cowgirl sort of way.


Hope you've enjoyed my projects and are inspired to play along!

If you'd like to join in on the challenge you can find it and so much more on the Gecko Galz Blog!

Guts Glitz & Lipstick - February 2025

Sunday, April 14, 2024

Ho Ho Ho...

 This month's Christmas challenge at Gecko Galz is a fun Santa image....


I printed the image twice then fussy cut Santa from the background (which was black). I then cut out the lantern, his hat and the frosty frame from the second image. The lantern and his had were added to the image with a single layer of foam tape and to give it more dimension the frame was added with two layers of foam tape. 

I used some faux fur for his hat trim and ball then added glitter to the frame and lantern. 

Oh I used a vintage page from a ledger (page #25) from 1957 which I painted with a mica watercolor.


Thanks for checking it out...
Have a lovely day!

Gecko Galz April Christmas Challenge


Saturday, April 13, 2024

Create Magic

 Gecko Galz has a new challenge this month...Fantasy!

Here is what I created using this month's image...


I printed the image with muted colors then used some mica watercolor paints to add color to and make it sparkle. I wish I could capture the shimmer. It is so amazing IRL.


I also had the perfect wax seal for the canvas....


Go create some magic of your own!


Saturday, October 7, 2023

Creepy Little Doll...Wanna play a game???

 Oh my...I had such fun with this challenge. Each month Gecko Galz offer up a "stamp" challenge. It's a line image that you have to color and work into a project of some sort. I thought this month's image would be a perfect Halloween card.... what do you think?


Tuesday, September 19, 2023

Gecko Galz - Monthly Card Challenge September 2023

 I am trying to get back into crafting more and so I thought taking part in a few challenges would be fun.  I made a few cards for the Gecko Galz challenges - this one is the Card Challenge.  It's really fun and easy - they give you an image to begin with and then you create a card using it.  Here is my creation....


The image was so pretty to begin with it makes for such a stunning card. I thought I would keep it simple and just add a few pressed flowers and copper skeleton leaves from my collection. I went a bit out of my comfort zone for the card and used a piece of pink pattern paper from Prima which had copper accents as well.  Added a bit of twine and called it good.


Be sure to check out the other entries for this challenge...

Gecko Galz Monthly Card Challenge 0923

Saturday, September 12, 2020

Blast From the Past

Happy Saturday friends! I often get inspired by challenges and mood boards. Well today I have a little something to share with you that was inspired by this mood board/challenge and twist from Creative Embellishments Sept. 2020 Challenge -


The optional twist...RUST!!

So by now you all know how much I LOVE vintage anything. I love Love LOVE this mood board!! It is so very me and well, rust goes along very well with vintage.

Here's what I came up with....


I had such fun making this piece!!  The old card is something my youngest son is hoping to restore and bring back to life. I hope he does too so I can drive it - LOL!!  Anyway, I thought it would be fun to incorporate it into this canvas. As I was sorting through my stash of vintage ephemera I found bits of an old California map from the 50's...perfect!

I actually remembered to take some "in the process" photos so here's how it all came together...


So I started off by tearing the top layer of paper off this cardboard piece.
I applied DecoArt Modeling Paste to build up a bit of texture.


Next to add to the vintage appeal of it all I applied DecoArt Crackle Paste.
Once that paste had dried I went over it with a layer of DecoArt Vintage Effect Wash in Grey.
I used a damp cloth to wipe down the panel with Lamp Black acrylic paint giving it more a dirty look than actually painting it.


This is what it looked like at that point....I love the grungy, lumpy texture of it all.


So then after all of that was dry I applied Blue Vintage Effect Wash to select areas for no other real reason other than I like blue - LOL!!!


Next came the bits of the vintage map. I loved the old Triple A logo...very retro and fits with the photos perfectly.  Now I know the "thing" is to pile loads and loads of bits of this and that on canvases/scrapbook layouts at the moment but I like to incorporate and highlight a few select items with actual meaning...not just toss it all on including the kitchen sink. Not that there is anything wrong with the other...it's just not how I work which is why this is all the ephemera I added to the background.


Next came the Rust! I knew the bits and pieces I wanted to use so I pulled them all together and painted them with metallic paints then set about adding rust and verdigris corrosion to some of the pieces. Other pieces just got dirtied up by rubbing black ink over them.  I liked that look so much I went back and rubbed ink on some of the embossed bits as well.

And this is how it all came together....


Hope you've enjoyed this look into the process...
have a wonderful day friends!


Supplies:


DecoArt - Modeling Paste, Crackle Paste, Vintage Effect Wash - Grey, Blue, Americana Lamp Black Acrylic Paint

Emerald Creek - The Altered Page Baked Texture - Chunky Rust Embossing Powder

Imagine - Verdigris Embossing Powder, VersaFine Clair - Nocturne

Other - Cardboard Panel, Vintage Ephemera, Brads (mini & vintage)

Tuesday, April 28, 2020

Steampunk Alarm Clock Paper Collage

Hello all...back with photos sharing how I created the Steampunk Alarm Clock Paper Collage I shared yesterday.  To refresh your memory or in case you missed my post yesterday here is what I made...


My original plan was to make a torn paper collage but well that just wasn't happening. I gave up the torn paper part and decided to go with fussy cutting and I was finally able to get it done.


I started out by choosing an image I wanted to collage in the form of a coloring page. This makes it easy to collage because you can choose which details to keep and which ones you'd like to eliminate. I added lots of extra feathers and enlarged some features to make him look regal. When I found the image that most closely resembled what I wanted him to look like I printed out several copies. I kept one back to use as a basic guide. The rest were numbered and cut apart for each individual feather/part.

Next I knew I wanted him to be made from Steampunk elements so I used several Graphic 45 collections - Steampunk Spells, Steampunk Debutante and Rare Oddities. These are my favorite paper collections from them as well :)


When working on a collage like this you need to start with the elements furthest in the background and work your way forward. Of course I created the background first then I started with the feet and worked my way up. You can see here the order of application - Feet, leg feathers, underbelly, back, lowest tail feathers.


I then added the upper tail feathers, wing feathers, top of the wing.


A close up of the wing and tail feathers.


Next I added the breast feathers, 2 layers of neck feathers, face then the comb. 


Once I had all the pieces and parts glued down I added some line work and white gel pen to highlight various sections of my rooster.


And there you have it...my Steampunk Alarm Clock!  Hope you've enjoyed seeing how I went about making him and give it a try yourself.  Have a lovely day my friends!