Showing posts with label metal foil. Show all posts

Thursday, March 20, 2025

Challenge Time at Gecko Galz

 Each month the Gecko Galz blog hosts several challenges - they give a specific image for each challenge and you are asked to create something using this image. I LOVE these challenges and have been playing for years. It is always so much fun to see what the new images are each month and try to figure out something new and different to do with them.  These are my creations for this month's images...


First up is this darling little girl & her pet dragon. This is for the Steampunk Challenge. I liked the image so much I decided to turn it into some ornaments. I have a fun metal Christmas tree that I'm going to decorate with a steampunk theme this year so I am going to be making my ornaments through the year. I think these are a pretty good start!


Next up is the ATC challenge. The collage sheet is called Steampunk Couture - LOVE this!! In addition to the background and ladies I added a few "digi stamps" from the Curiosity Shop and Industrial stamp sets plus a fwe gears and stickers from my stash. 


This image was so cool...an underwater nymph for the Gecko Galz business page Tag Challenge. I thought it would be fun to turn her into a tag shaker. 


Oh my, another image to love. This is for the Gothic challenge - isn't she cool looking...I haven't added a sentiment yet because she would be great for so many things. Anyway, I added her to one of the background papers from the Life's a Circus Craft Kit. I also added some sparklie garland and gemstone brads.


Next up is the Christmas challenge and this sweet pair of children. I had this fun kraft christmas print paper in my stash that has a great vintage vibe. Added some ribbon and gemstones to finish it off.

I am so excited about these next 2 cards. I LOVED the images and really wanted to do them justice. I hope you like what you see...


First up is this lovely lady in purple. I normally don't use purple but I wanted to go all out so I used foiled paper from Rinea (sorry they are no longer in business). I used Anna Griffin dies to make the amazing layers of frames. I finished it off with a bit of lace and paper flowers.


My final blog challenge card is made using the castle for the Fantasy Challenge. I again used Rinea foiled papers, Anna Griffin dies and an assortment of leaves and gemstones.  I also added the Queen down in the corner - she is from the Autumn Queens collage sheet and she matches perfectly don't you think? I gave her a little medallion die-cut tucked in behind her for an extra bit of pop.

Well there you go...
Hope you are inspired to give some of these images a go!

Wednesday, July 8, 2020

So Blue....


Rinea recently released a brand new variety pack of their foiled papers...can you guess what it is???  Shades of Blue!!!


You all know how much I LOVE blue so this has instantly become my new favorite!  The colors included are Turquoise, Sapphire, Cobalt and the newest color Midnight Dark Blue. Stunning each of them.


I made this fun origami wall art piece using each color in the variety pack. To see complete instructions on how I made each segment you can see Shades of Blue Wall Art Inspiration with Roni Johnson on the Rinea blog.  It has set by step instructions on the origami, while it looks complicated it is really very easy to create.


It is such a dimensional and striking piece in person...I wish you all could see it in person. 


Have a wonderful day my friends!


Supplies:

Wednesday, June 10, 2020

Rinea Foiled TP Roll Owls - Upcycled Kids Craft!


Hello Friends!

I hope you're doing well and are safe from the wicked storms rolling through the central part of the states courtesy of Hurricane Cristobal. Today I wanted to share a fun craft to make with your children...my Foiled TP Roll Owls! Aren't they darling? I had so much fun making them and with a little prep work you will have a parliament of owls in no time at all!


All you need is a 4x6" piece to wrap around the toilet paper roll, several circles cut from your favorite color(s) of Rinea Foiled Paper, a 3"x3" piece to cut out some wings (not shown) and circles cut for the eyes.  That's it! Easy peasy!


I made this owl using the Peacock Foiled Variety Pack...I just LOVE these colors. They are beautiful together and I rather like my Peacock Owl.


This cutie was made using two of the colors from the Floral Variety Foiled Paper Pack - Violet and Fuchsia.  I also used a scallop circle die to cut these circles...I thought it was a fun way to add a bit of texture to her feathers.


And my final traditional little guy was made using Mocha/Gold Glossy and Mocha/Mocha Starstruck foiled papers. I used the reverse side of the Mocha/Gold Glossy for his chest feathers.


If you'd like to give these little critters a go, you can find complete details here: Rinea Foiled Paper Owls with Roni.

Have a lovely day my friends!!!


Sunday, March 24, 2019

Papercraft Superstar Day 6

Hello Friends!  Got busy yesterday and didn't post the next installment of my Papercraft Superstar feature over at Cut Out + Keep so here goes - 

Spread Your Wings ...

Create a striking canvas with wings! .  Free tutorial with pictures on how to make a mixed media in under 90 minutes by embellishing, papercrafting, stencilling, and stamping with canvas board, marabu art crayons, and rubber stamp. How To posted by Ink Stained Roni.  in the Papercraft section Difficulty: 3/5. Cost: 4/5. Steps: 9

Be sure to check out the instructions here:

Tuesday, April 21, 2015

2015 Mixed Media Technique Calendar - September

Back with another fun mixed media page for our MM technique calendar.  September here in NE Indiana is usually when Autumn begins to show it's face so I thought it would be nice to incorporate some fall colors to this page.


I started off by taping down a stencil to my cardstock.


I then covered it with a layer of modeling paste...you of course could use gesso or any other medium you prefer.


I love this particular pattern.  It's from Club Scrap and it looks like a vintage tin tile design.


For our next step - Autumn colors!  I sponged on several different colors of Memento Ink.


Next I pulled out some metal foil rolls - foiling seems to be making a hot comeback right now.  I used Duo adhesive which I dabbed on the raised areas with my finger tip and let it dry.


Once the adhesive was at the tacky stage I pressed copper and gold foil over the design.  You'll notice it's not a solid covering - that is intentional.  I wanted a more rustic weathered feel to get than tin tile feeling across.


Once I was satisfied with the foiling I used my finger to dab on Spiced Chai StazOn ink to the remaining exposed modeling paste.


I added a few stamped images (all Unity) with StazOn ink


and finished it off with my calendar, a bit of copper & gold thread and a few leaves.


And there you have it!  
A bit of weathered elegance - perfect for Autumn!

Supplies:

IMAGINE Crafts/Tsukineko - Memento Inks, StazOn Inks; Club Scrap - Stencil; Deco Art - Modeling Paste; Metal Foil, Metallic Thread, Leaf Embellishments; Rubber Stamps - Unity, computer generated calendar

Monday, March 30, 2015

Metal Mania - Altered Pencil Case & Pencils - Part I

Happy Monday!  I hope you've all had a great start to the week.  Today I am carrying on with one of the promises I made to myself at the start of the new year...Alter More!  Well, actually not necessarily to alter more but to start using up some of the alterable goodies I have in my stash - LOL!!  I admit it - I am a hoarder and a sale shopper so I can't resist when I find really cool goodies (to alter) at really great prices.  

The first of what I hope will be many altered projects this year is something that I received in a Mystery Box from USArtQuest sometime last year....paper mache pencil case w/pencils.  There were two in my box so I figured I could alter one and give one away ;)  


The pencils in the cases are also covered with a layer of paper mache and they fit into the case pretty snug so I can't do anything too drastic to them or they won't fit back into the case.  I decided that since everyone seems to be into metals and metallic finishes I would go that route since I always have loved using metals on my pieces.  


 The first pencil I wanted to decorate will be covered in metal leafing.  Now if you haven't tried this stuff you really should - it's wonderful!  I love it and all it's little pieces and yes, I do have quite a bit of it - I told you I like metallic's ;)  LOL!!  Many people think you have to purchase leafing in sheets which is far more expensive but I prefer leafing flakes.  They are just as pretty, easy to use and are far less expensive than a book of leafing sheets.    My favorite brand is Sepp Leaf Products (Sepp Leaf Tsmise Leafing) which can be found both on-line and in stores that carry leaf products.  It's about 15.00 per box but it lasts forever...a very little bit goes a very long way.  There are many other "crafty" brands out right now but you get a very small about for 6.00 - 10.00 (which is why I prefer the Sepp leaf).  


Next comes the leaf sizing...these are the two brands I have - Mona Lisa Products offers Metal Leave Adhesive Size which is what I normally use but USArtQuest also offers the Duo adhesive which works almost as well.  


The key to this adhesive is that it is painted on, left to dry to a tacky consistency....


It's then ready for the leafing...larger sheets I just place on the object to be leafed and spread it around pressing it in and burnishing it with my fingers to work off the excess leaf.   When I say burnish you're simply rubbing your finger back and forth over the leafing.  This does two things - it presses the leaf into the adhesive making sure you have good adhesion and it also rubs off the excess leaf leaving a smooth gleaming metallic surface.

NOTE - Don't throw the excess away - it can be reused for other projects.


If you happen to have a spot that doesn't get covered simply apply more glue, let it dry and cover it up.  Works like a charm.


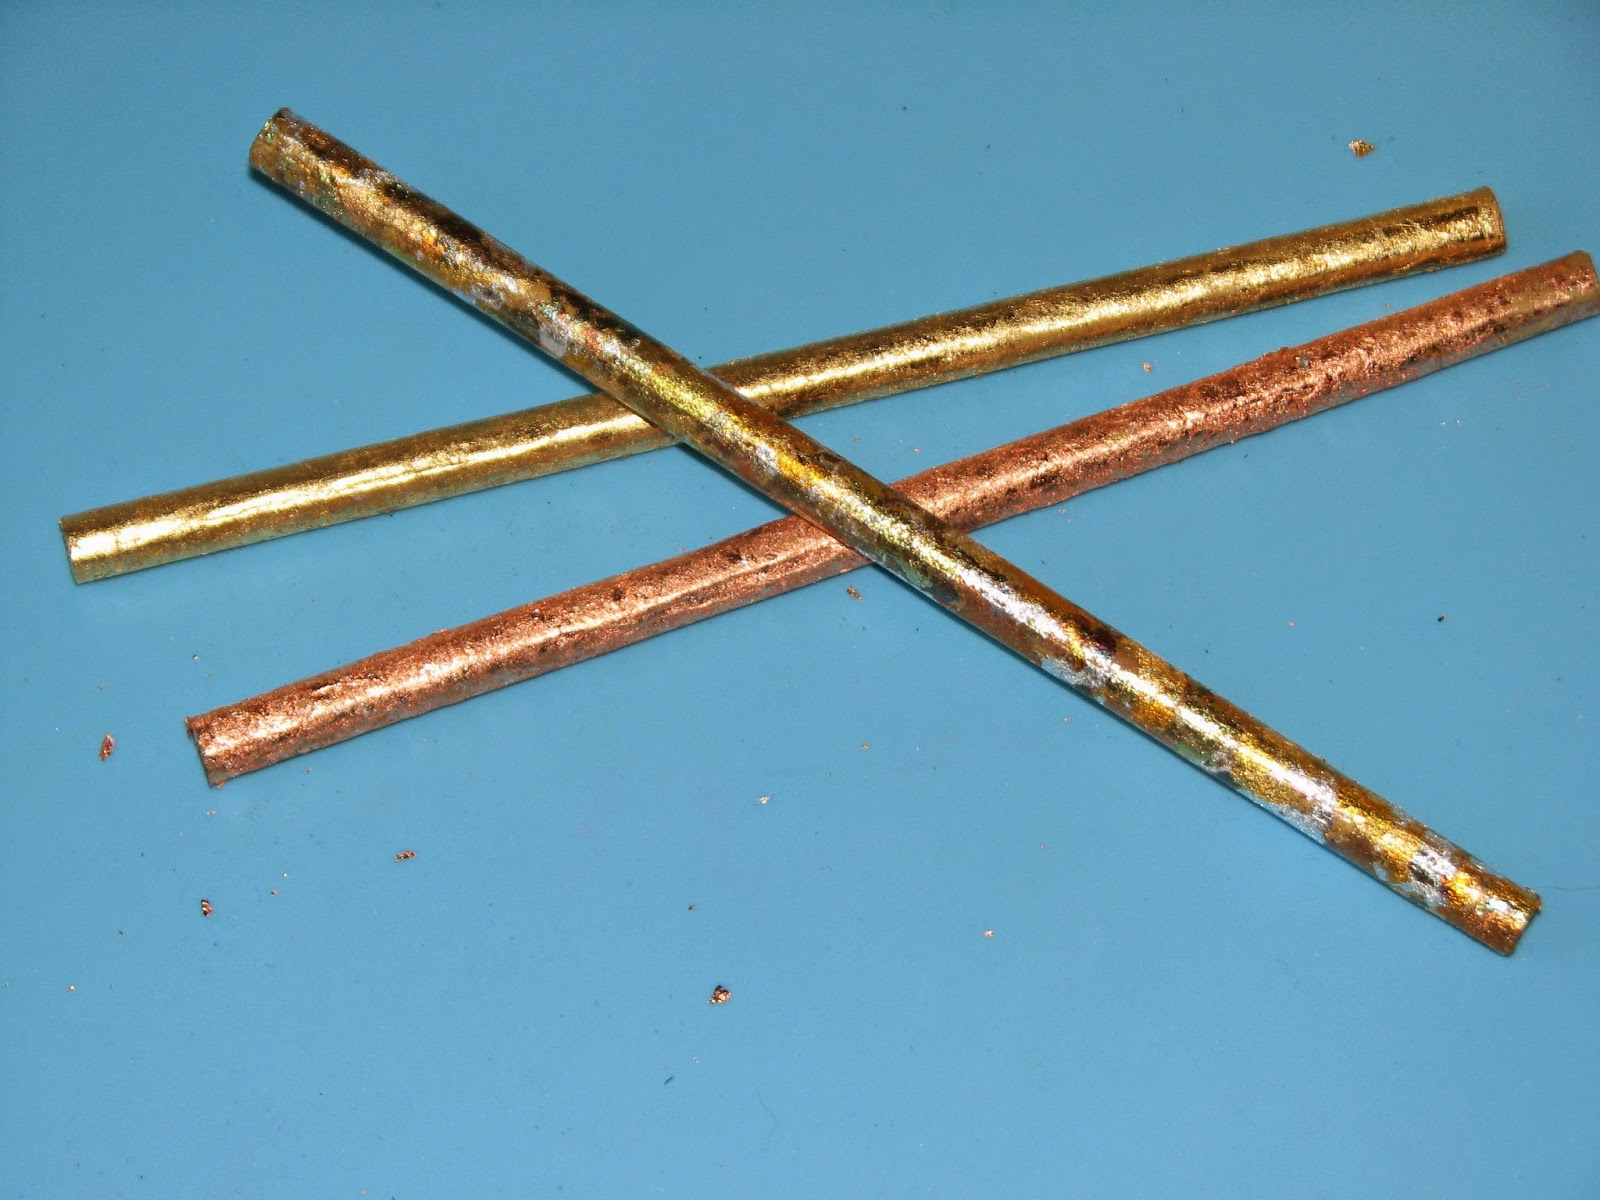
I made a copper example from the "scrapings" what was left over from other projects works just great for something like this... I have found that it's easier to use these smaller bits by sprinkling the flakes onto a sheet of paper and roll the pencil through them letting the adhesive pick up as much as possible.  Once it's covered, again burnish with your fingers. 


I actually made 3 pencils covered with leaf just because I was having so much fun.  The third pencil was made with a leaf mix which has several colors of leaf in one box - I love the randomness of it.


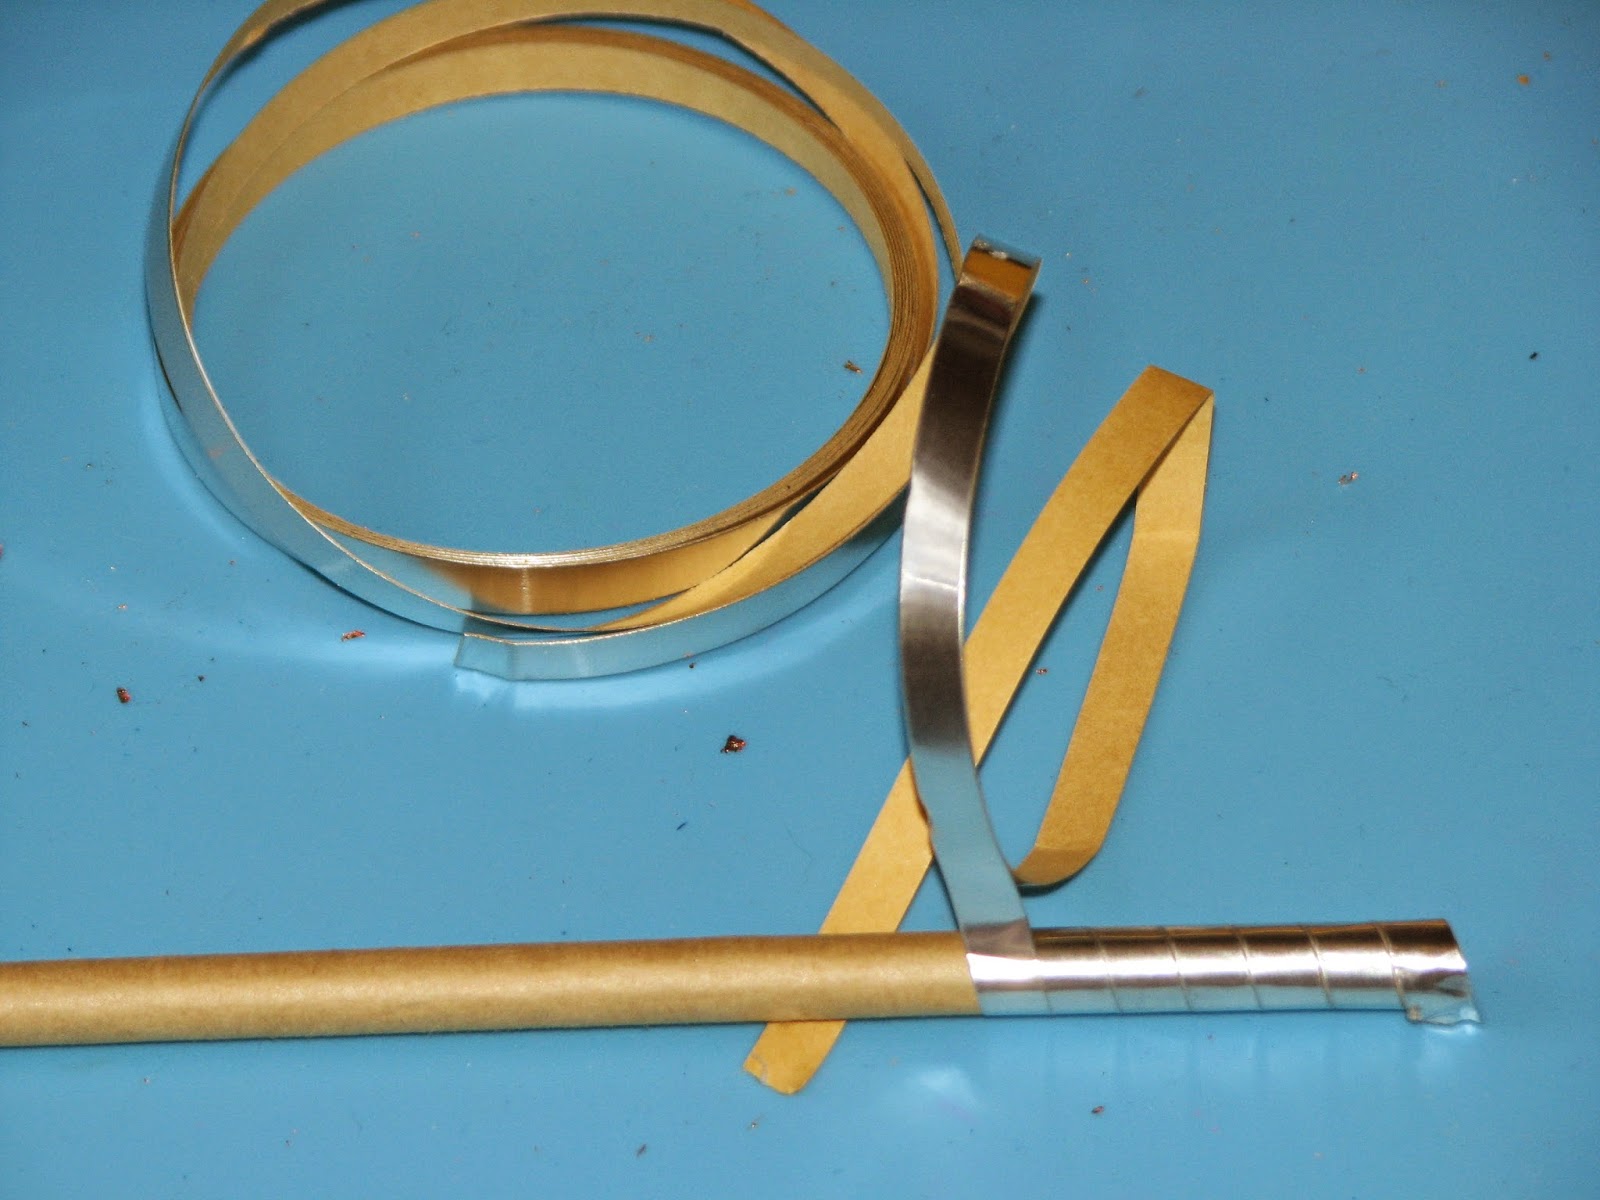
My next pencil is covered with metallic foil tape.  Just wrapped around the pencil right off the roll.


I then used my Delicata ink from Tsukineko to cover another pencil.  I love the new colors - Celestial Copper and Bronze Burst.


I covered the next pencil with a layer of Silver StazOn Studio Glaze!  Wait till you see the finished pencil!  Looks like a silver rod.


And for my last pencil I thought it would be fun to stamp onto tissue paper with Golden Glitz Delicata metallic ink.  I stamped, dried then glued the tissue to the pencil.


And here's how they all turned out...from top to bottom - Tsukineko Bronze Burst Delicata Ink; Golden Glitz Stamped Tissue; Sepp Spring Leafing Mix; Silver Foil Tape; Sepp Copper Leafing Flakes; Silver StazOn Studio Glaze; USArtQuest Gold Leaf


We'll continue this project on Wednesday by completing the pencil case at which time I'll also be giving away this set of pencils plus I'm going to offer up the second set of unfinished pencils to another reader that they can finish on their own!

Tomorrow is Club Scrap Design Challenge - I've got a really fun project to share that I'll also be giving away to one lucky reader so be sure and check back often...so much fun going on!!

Thursday, January 8, 2015

True Love...ATB

Today I have a fun project to share with you...
and Artist Trading Block!

I am using products from DecoArts Media line.  This is a fun newer line of products from DecoArts that is geared towards the mixed media artist.  I have to say I was very excited when I heard about these products.  Lots of fun mediums all designed to work together or on their own.  I have used several on this block....

I started off using the Matte Medium to glue down the vintage text and collage images.  I really like the matte finish - it allows you to use other mediums on top of it without issue.  I have found that many glossy collage glues have compatibility issues - especially when it comes to acrylics or color mediums you want to add on top of your collage.  The Matte Medium doesn't have any trouble and it can be used as a clear ground on many projects besides collage.  This allows your foundation to show through the upper layers you might want to add. 


Next I painted on  a layer of the Crackle Glaze which produces a fine crackling over the entire surface.  Now you might ask why I did so directly over the collage instead of a layer of paint.  Well, I wanted the fine lines but I still wanted to high light the collage underneath.


Once it had dried I rubbed DecoArt Antiquing Cream (Raw Umber) over the crackle which gives a beautiful vintage look.... 


This close up shows the lovely crackling pattern the glaze created!  I love it...very cool effect I think.


Next I cut out a heart shape from chipboard and roughed up the edges...


I then applied a layer of DecoArt Media Crackle Paste... I used a palette knife but you could use a paint brush if desired.  I wanted really big cracks so I used a very thick coating.  Thinner coats will yield more and finer cracks.


After it had dried I painted with DecoArt Media Fluid Acrylics and finished it off with a coat of the Titanium White Antiquing Cream again to highlight the cracks as I did with the Crackle Glaze but it also highlights the texture I achieved with the Crackle Paste.


And here's my finished block....


I am very excited to play with these mediums some more to test their limits and see what I can do with them.