Tuesday, December 22, 2020

12 Days of Christmas Shakers #11 - Oh Christmas Tree...

 Day 11 of the 12 Days of Christmas Shakers....


Today I have a fun Christmas Tree shaker which I made using this lovely die from Gina Marie Designs. I love the design inside the tree. It's so pretty cut from the Emerald/Emerald Starstruck foiled paper from Rinea. It adds such a lovely shine.


It is filled with the shaker mix Boughs of Holly from Sparkle Blends.

Monday, December 21, 2020

12 Days of Christmas Shakers #9 & 10

 Unexpected DT work popped up - Fairy Hugs is going to be on Hochanda January 6th - made 21 cards :) Hope they reach their destination on time!  Anyway, I was so busy creating I didn't have a chance to post the last couple shakers I have for you...Both of these are ornaments but the 2nd one is a bit special. Check 'em out....

#9 - Wreath Ornament Shaker...


I love this shaker...it is a Wreath shaker kit from Creative Embellishments. It has such an intricate frame...so very pretty. I colored it using Cottage Ivy Fireworks! Spray which as you can see has such a beautiful shimmer to it. It was filled with a sequins mix from Sparkle Blends called Light In The Forest. Blues, Greens, Golds with a hint of black. Just lovely!


#10 - Shaker Ornament/Gift Box


Can you guess what this shaker/ornament/gift holder is made from?  
Yes? No? Anything?
Here's a hint... 

Ha Ha Ha - Moo!!

Did you guess? It's a Laughing Cow cheese container. I don't know about you but I can't throw these boxes away. They are just so much fun! I decided to turn a few into ornaments and what better than a shaker ornament?


So I started off by cutting a hole in the lid, adding a piece of acetate and inserting double stick foam tape inside the lid. I then cut 3 pieces of pattern paper - These papers are from Echo Park Lumberjack Christmas (LOVE these papers!!). One is for the back of the shaker element, one for the inside of the box and the third is for the back of the box to cover the label. 


Inside of the box where you can if you choose add a little gift. It's a large enough compartment for all sorts of things but I'll probably add money or a gift certificate.  I did reinforce the hinge since the original is only paper with a bit of gaffers tape. That way it can be opened lots without it coming apart.   There was a hole in the box already which is what I used to add a bit of ribbon for a hanger.  

Note: If you make one of these you'll have to trim the cardboard ring on the inside of the box a bit to account for the foam tape. 


To finish this off I filled the shaker with a few different sequins mixes from Sparkle Blends... Old St. Nick, Holly Berry and Minter is Coming.  All so very beautiful.

As luck would have it, the Christmas Wreaths chipboard set from Creative Embellishments are a perfect fit for these boxes!! I used the Joy wreath for this shaker. I used gold embossing powder for the sentiment and Fairy Hugs Powder glitter to embellish the holly and berries.

I hope you are enjoying these shakers as much as I am making them :)
Not long now....are you ready?

Thursday, December 17, 2020

Steampunk Ornament

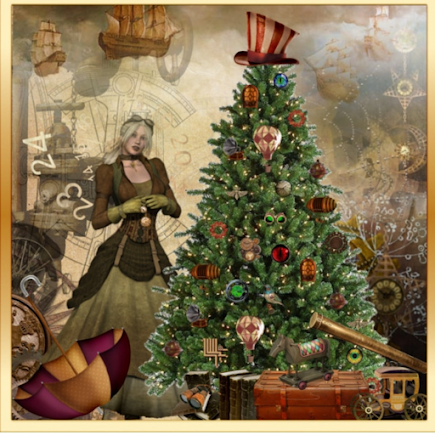
 The monthly challenge at Creative Embellishments is to take inspiration from this photo....


Well you all know how much I love Steampunk so this was great fun! 
Here is what I created....


This was so much fun to make! The base is their plywood Ornament home decor pieces and it measures 10" x almost 12". A great jumping off point for loads of projects.


I knew basically what I wanted to do but it's always handy to lay things out so you know if it will work before you begin.  That's what I did here. I did add a few extra bits to the finished project but it turned out exactly as I envisioned.... which is nice for a change - LOL!!


To create this project I decoupaged some faux newsprint onto the ornament leaving lots of bumps and ripples for texture for the next step. After the decoupage glue had dried I then spritzed the ornament with Cottage Ivy Fireworks! dye spray. Now this took quiet a while to dry because of the glue but when it does dry it has got such a beautiful shimmer. If you notice the ink has pooled in those bumps and ripples I created really highlighting the textures.

Now for the chipboard goodies!!! So many cool Steampunk goodies to choose but I wanted to narrow it down so it didn't get too busy. I love the new Distressed Clocks. These are just so much fun and I knew I had to use them for this piece. Time to paint...I painted the clock pieces brass, ornament gears copper and the chain a vintage silver. Then the fun began....Glitter...lots and lots of glitter - it is Christmas after all!  (well, I probably would have added glitter anyway but it's a good excuse!  I glittered the raven, Merry Christmas sentiment and the hanger on the large ornament as well.

At this point the ornament needed something to keep the eye moving to balance it out so I glittered up a piece of holly, a few smaller gears to add to the small ornaments and I also added the bows.  I am so happy with how it turned out. It was going to be a gift but I think it may have to continue to hang on my door - LOL!!


I hope you enjoy and find inspiration in this piece...
Merry Christmas friends!


Creative Embellishments Monthly Challenge 
December 2020

Supplies:

Creative Embellishments - Ornament, Distressed Clocks, Merry Christmas, Holly, Gears (in various sizes), Steampunk Timepieces, Raven, Chain

Fairy Hugs - Fairy Hugs Powder (glitter)

Imagine - Fireworks! - Cottage Ivy; StazOn - Jet Black

Adhesive, newsprint, metallic paints


Wednesday, December 16, 2020

12 Days of Christmas Shakers #8 - Santa is Coming to Town!

 Guess what day it is?  

Day 8 in my 12 Days of Christmas Shakers!!


Today's make is a darling little tag shaker which was created using VersaFine Clair inks and Mister Huey's Opaque white color mister.  It was then stamped with images from the Clearly Besotted set of stamps called One More Sleep. The moon above the town was perfect for a shaker.

The shaker is filled with a sequins mix called "Mixed with the Fans" as it was mixed live on the Sparkle Blends FB group! How fun is that?  I glued a few extra bits to the front of the tag for some extra sparkle. I finished off the tag with lots of pretty purple fibers.


Have a lovely day friends!!

Tuesday, December 15, 2020

My Secret Garden Embroidery Hoop Art

 Today I wanted to share my latest Fairy Hugs creation...


Fairy Hugs Store recently released a giant selection of lovely new stamps and this fun home decor piece incorporates many of them. I thought it would be fun to make the swing actually swing so with the help of a few jump rings and a piece of foam core board hidden behind the tree it really swings!

To create this piece:

I started off by stamping Tiana using a stamping platform - stamping each color separately. I then masked her off and stamped the Fairy Swing over top again stamping each color separately. They were then fussy cut leaving an extra 1/2" of paper at the top of each swing rope (more on this later).

Next I created the background papers for the Stonewall, Fairy Steps and Leafy Scrolls by applying the appropriate colors of alcohol inks to glossy cardstock. 

The Stonewall and Forest Steps were stamped onto the grey AI paper and fussy cut. To create the mossy effect I used a VersaMark pen and marked along the bottom edge and at various spots among the stones, sprinkled with Patina embossing powder and heat to set. I stamped a second set of  Forest Steps on a separate piece of white cardstock, colored and cut. The stones on both sides of the steps were covered with the Alcohol Inked stones which was then paired up with and attached to the AI Stone Wall to create one long piece.

Bulrushes were stamped on various pieces of green cardstock by coloring the stamp with water based markers and fussy cut. These were attached to the wall/step unit.

The Moon Tree was stamped on a piece of Kraft colored cardstock then colored a bit more with colored pencils. This was then fussy cut and set aside.

The Leafy Scrolls were stamped on green Alcohol Inked cardstock and the Wild Leaves were stamped on scraps of green cardstock, all were then fussy cut.

All of these items (except for the Fairy & Swing) were attached to the embroidery hoop with liquid glue.

To create the moving swing I mounted the swing to a rectangle piece of foam core board giving it stability. Two holes were punched in the top of the foam core board and eyelets were added. Eyelets were added to a second piece of foam core board was glued to the leaves and embroidery hoop. The swing piece was attached to the stationary piece of foam core board using a series of jump rings. The swing can now move freely!

And there you have it!


Be sure to stop by our Fairy Hugs Facebook Group 


Monday, December 14, 2020

12 Days of Christmas Shakers #7 - Merry & Bright Bunnies

Another day of Christmas shakers!  
Today I have a bunny/snowman shaker for you :)


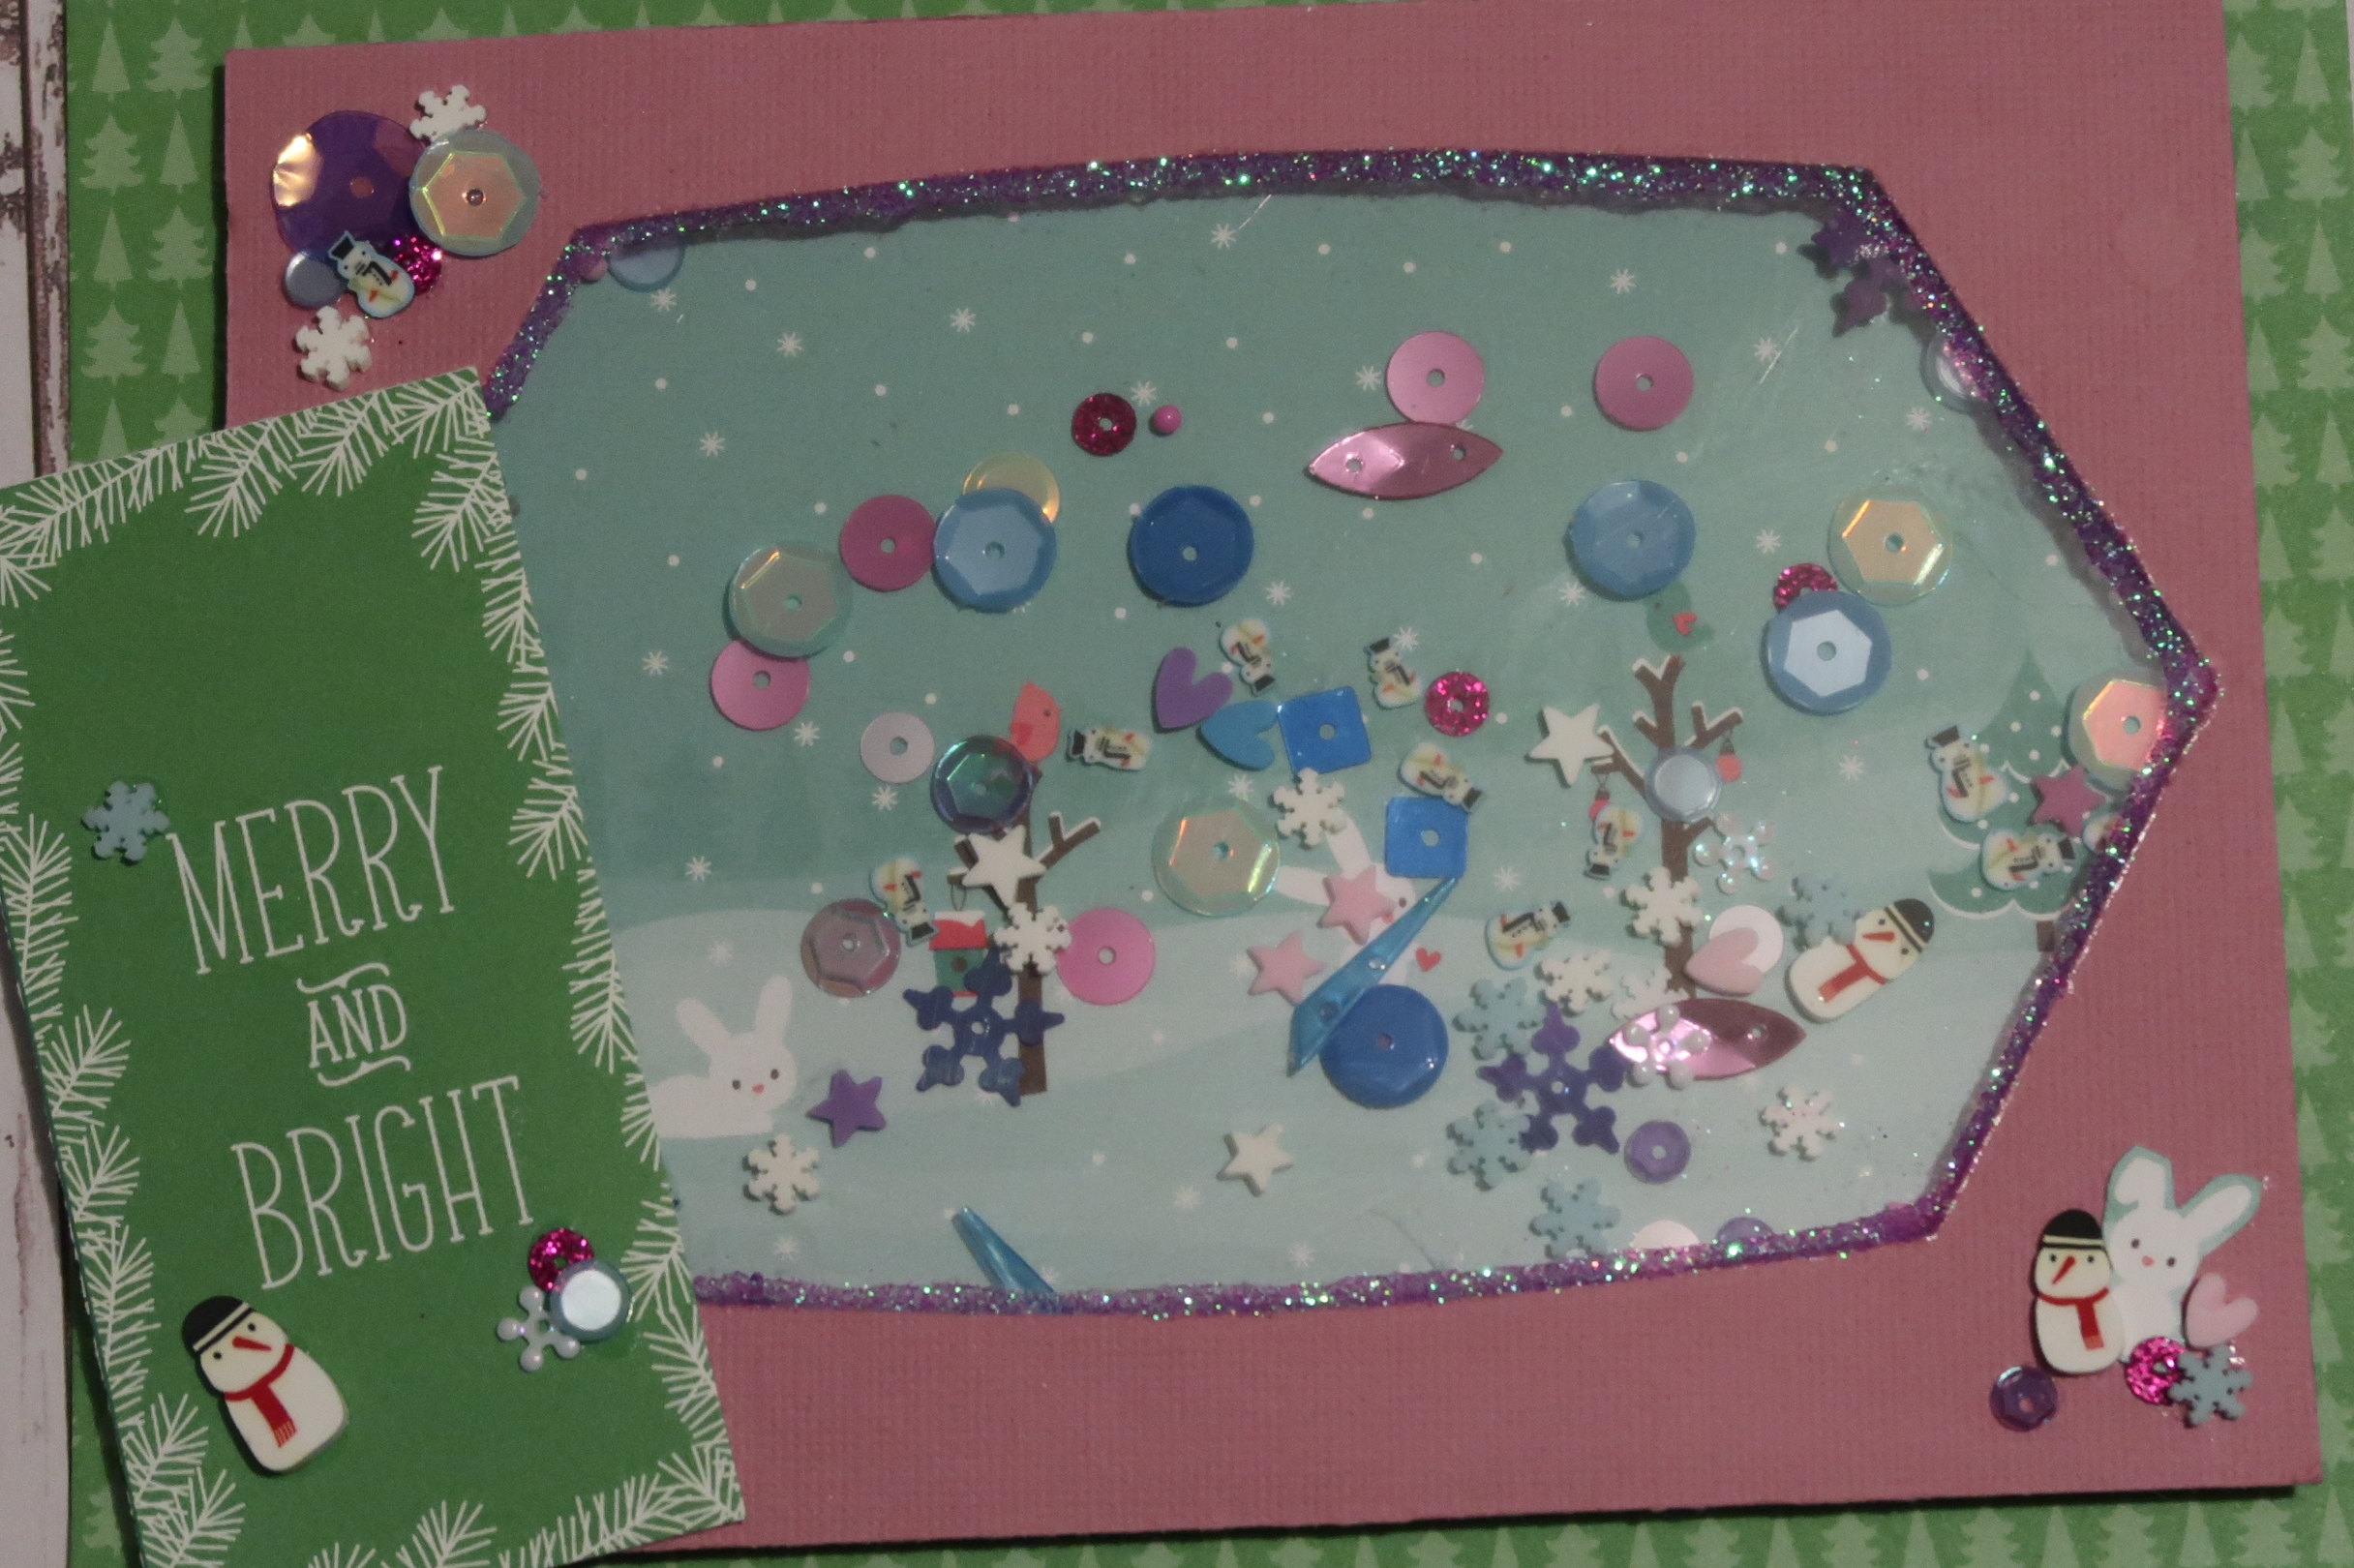
This card was made using some cute pattern paper that I received as a gift (not sure the brand). I just fell in love with those darling little bunnies and I knew I had to turn them into a card. The card is filled with the limited edition sequins mix called Hello Frosty.  This mix comes with those fun snowmen pieces in it as well as snowflakes, icicles, hearts and more! It was a perfect match for this pattern paper.


I fussy cut an extra bunny for the front and embellished with extra sequins, snowmen, etc.  It needed a little something so I used Fairy Hugs Powder glitter around the window. Really sets it off and gives it that extra something special don't you think?

Only 11 days till Christmas...are you ready?

Supplies:

Sparkled Blends - Hello Frosty
Fairy Hugs Store - Fairy Hugs Powder - Orchid
Pattern Paper - unknown


Sunday, December 13, 2020

Happy Poinsettia

Today I wanted to share a couple cards made using one of the newest peg stamp sets - Happy Poinsettia! It's one of Rubber Stamp Tapestry's smaller sets but it still packs a punch. Check it out.... I thought it would be fun to share a few ideas using them on different size cards.  


My first card using just those 2 stamps for this fun frame on an A2 size card. I have used a wide variety of inks to add depth and dimension. A bit of pen work completes the frame with a sentiment from the Christmas Greetings UM set of stamps. This was matted on a card base covered with Violet/Violet Starstruck foiled paper.

Sparkle Blends Sequins Mix: Rustic Rudolph

The next card I have for you is a 6x6 card again using Happy Poinsettia with the addition of the Large Pinecone and a sentiment from the set Winter Wishes UM.

Sparkle Blends Sequins - Various 

My final card is the popular slimline card! I wanted a rustic look for this card so I smudged up the panel, stamped the poinsettias, pinecones and other foliage peg stamps then added the sentiment from Christmas Greetings.  I then added a few small groupings of sequins here and there for a bit of sparkle.


Supplies:

Rubber Stamp Tapestry Stamps: Happy Poinsettia, Christmas Greetings UM, Winter Wishes UM, Large Pinecone

Sparkle Blends - Rustic Rudolph,

Rinea - Violet/Violet Starstruck foiled paper.

Saturday, December 12, 2020

12 Days of Christmas Shakers Day 6 - Deer Me

 Back with another shaker for the 12 Days of Shakers...

Deer Me ornament


Today I have another fun shaker kit from Creative Embellishments - Deer Head Shaker!!


I created this shaker in the same fashion as I did the Santa Boot Shaker Ornament on Day 2. I covered the back piece with Mocha/Gold Glossy foiled paper from Rinea then filled with the shaker mix Eggnog with Nutmeg from Sparkle Blends! I love this mix!

I added a few extra sequins to the front for his little nose and holly; I also added a gold stretch cord to be used as a hanger.  I sponged a bit of Acorn VFC ink on his horn and around the edges for a bit of extra depth!

Hope you have enjoyed the 12 Days of Christmas Shakers so far - half way through - more fun to come :)

Friday, December 11, 2020

Kiss Me in Blue

Oh how I love the current Lost Coast Designs challenge - Winter Blues - where your creations can be filled with winter goodness or BLUE (my fav. color!!)


So today I have this beautiful lady to share with you....


She is Mistletoe Goth and was stamped/embossed on a piece of alcohol inked paper. After she was embossed she was colored with alcohol markers, die-cut and mounted on a blue panel which was stamped using the Daisy Flourish stamp.  That panel was then mounted on a white card base. To finish off the card I added glitter to her fringe.

Hope you join in this month long challenge!!


A Fern Leaf Christmas Tree

 Good Morning Friends! It's Friday!!! YEAH :) Today I have a fun card to share with you....a Christmas tree stamped using just 2 stamps - Fern Leaves from Fairy Hugs and the trunk of the Fairy Fir Tree from Lavinia.


I had so much fun making this card!!


I started off by stamping the larger of the two fern leaves from the set using 4 different colors of green VersaFine Clair inks. I used a scrap of paper near the center to keep it from getting overstamped in the center of the tree.  Once I was satisfied with how the tree looked I used the Fairy Fir Tree to stamp the trunk up the center of the tree.  I only inked the trunk of the Fairy Fir and stamped it several times until I had the entire trunk for my Christmas tree stamped.


I finished off the tree by decorating it using sequins and enamel dots and one large sequin star. I used one of the mice from the Lavinia stamp set called Three Woodland Mice.  He is checking out his handy work in fairy land!  To create the background I used VersaFine Clair Blue Belle and a sponge dauber swiped along a scrap of torn paper.

The finished tree was matted on Gold/Gold Starstruck Foiled Paper from Rinea and a black card base.

Supplies:

Fairy Hugs - Fern Leaves

Lavinia - Fairy Fir Tree, Three Woodland Mice

Rinea - Gold/Gold Starstruck

Imagine - VersaFine Clair inks, Sponge Dauber

Sequins, cardstock