
Today I wanted to share a fun technique I thought of while watching TV recently... since my fall DH has "asked" me to slow down and rest my leg so the swelling and bruising would go down. I listened and as a result have been watching lots of TV and reading more than I care to (far too many things to do than just sit around doing nothing).
I was flipping through the channels one day and happened upon "That 70's Show" and they had a 70's swirl graphic in the background... I knew instantly I could replicate it and that it would make a great ink technique so I wrote the idea down so I wouldn't forget. Now that my leg is feeling better (yeah!!) I gave it a try this morning and it works great! I'm calling it Pivot Point Inking...you'll see why below.
Let's get started!
Pivot Point Inking
Supplies:
Cardstock (Club Scrap)
Scrap Paper (copy weight)
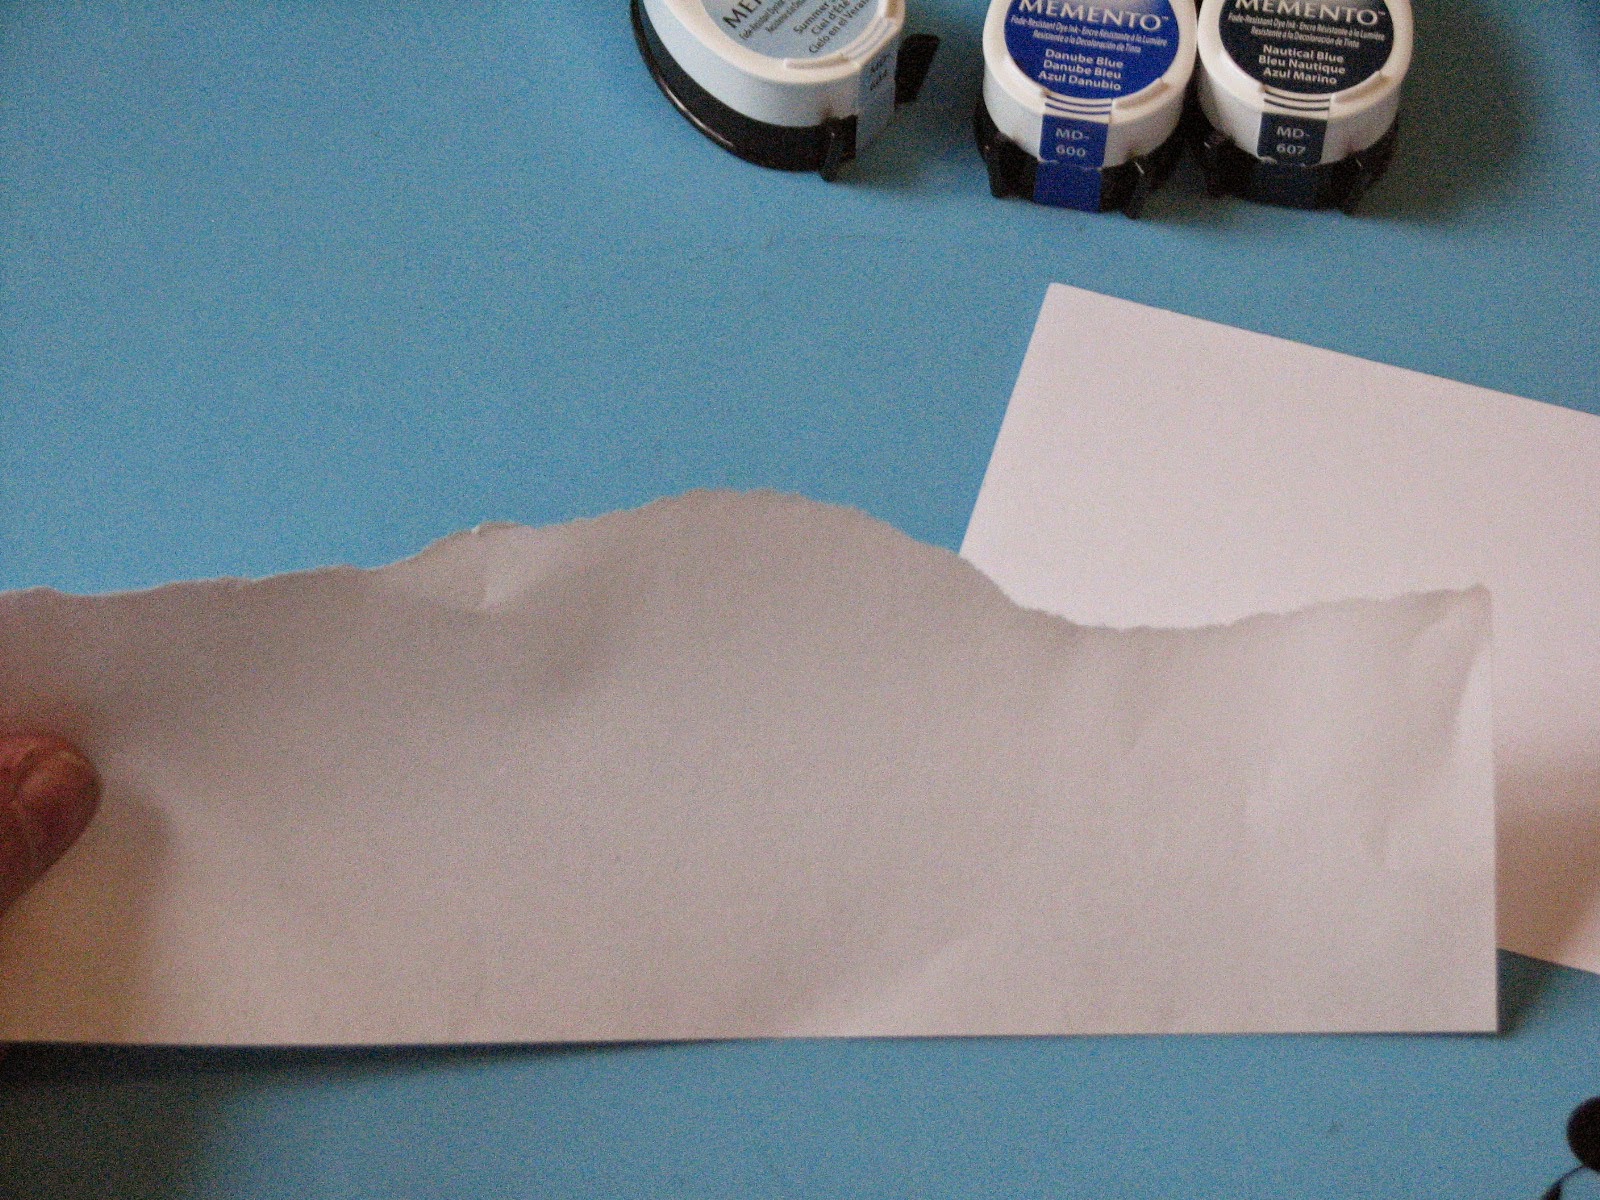
Ink (IMAGINE Crafts/Tsukineko - Memento)
Sponge Dauber (IMAGINE Crafts/Tsukineko)
Instructions:
Start off by tearing the copy weight paper in half. This will give you a nice edge to work with.
On your cardstock panel mark a starting point where you would like to begin inking.

Position your torn piece of paper over the card and make a mark on this piece of paper which corresponds to the mark on the card. This will be your "pivot point" guide for placement of the torn paper for the rest of the technique.

Choose 3-4 colors of ink to use on your background.
Starting with the first color position the torn paper so the guide marks line up and use the sponge dauber to ink along the edge of the tear.
Slide the torn paper down a bit, line up the pivot point guide marks and ink along the edge of the torn paper again.
Continue to pivot the paper making sure the guide marks line up with each move; ink the edge and move on. Switch colors of ink when desired.

Once you've worked your way around the entire card panel you'll end up with a wonderful inky background!

And here's how I used my Pivot Point background....

(stamps: ClubScrap.com)
Now how fun is that? You'll be surprised at how quickly you can work your way around the paper. A really fun and easy technique but I found it to be zen inking & pivoting. Be sure to check back tomorrow, I've got another fun variation to share with you!
Have an inky afternoon!
WOW, Roni, what a fun technique, I am definitely going to try this!
ReplyDeleteThanks Roni, will have try this fun technique out. So simple and can use our stuff without going to have to buy something for a fun project.
ReplyDeleteRoni I am pleased to hear you are on the mend, and it probably doesn't hurt all of us from time to time to do nothing.......I love how there is always inspiration out there waiting to be found and this looks like such a fun idea to play with.....the end result is fabulous. TFS xx
ReplyDeleteHappy birthday to Marc!
ReplyDeleteGreat technique you've shared Roni- I like the look of it- I am totally into groovy and that's what comes to mind!!
Keep resting that leg! hugs
I love it when such a simple idea can create such elegant cards. Thanks for sharing!
ReplyDeleteCool technique Roni! Definitely fun to see what can be done with things you already have on hand!
ReplyDeleteI really like this and am now anxious to give it a try! Thanks for the technique!
ReplyDeleteOh this is so fun; just love the card you created. Glad to hear you're doing better! I hope Marc had a very happy birthday.
ReplyDelete