Whew - it's been a busy week ~ it's already Thursday, can you believe it? I don't know where the week has gone.
Today I've got June's Mixed Media Technique Calendar page to share...this time I'm using up lots and lots of pattern paper scraps. I swear once I stick a single scrap of paper in my pieces box they multiply 10 fold. I always have a huge box of scraps and this is a super way to use some of them up.
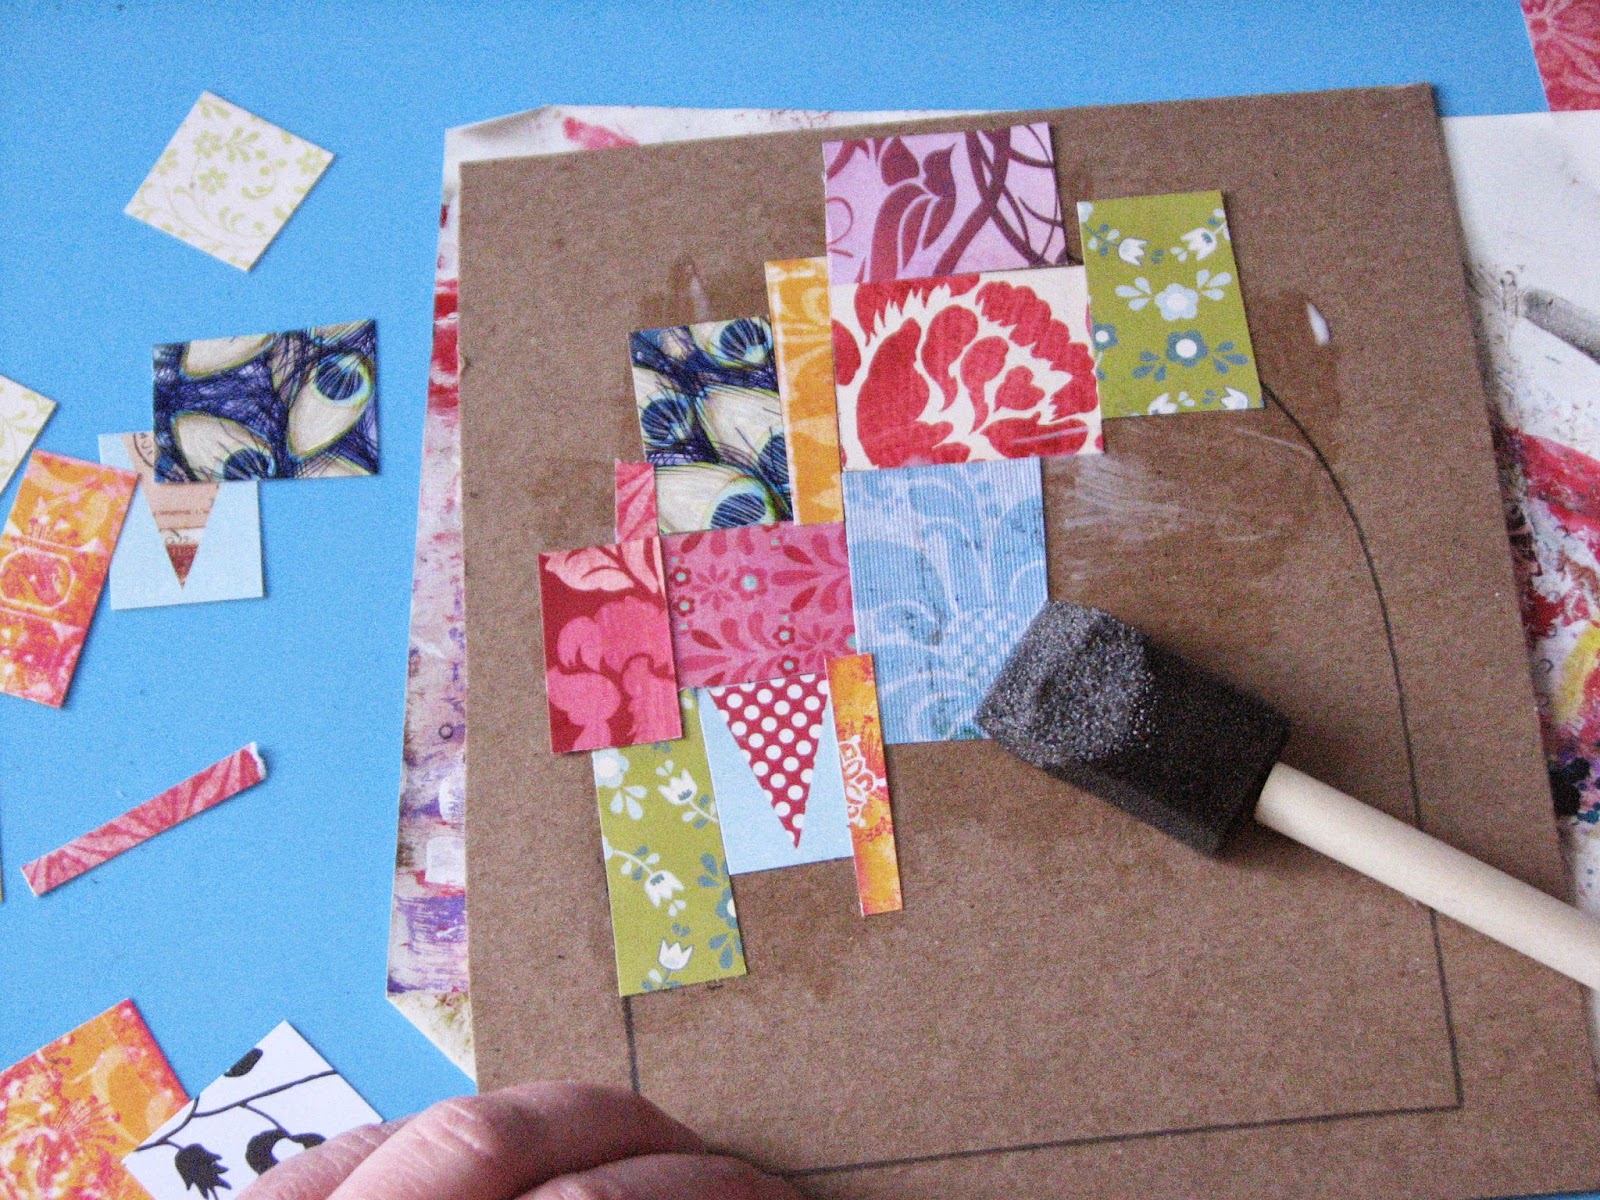
So I started off by pulling out some scraps of pattern paper and cutting them in to small squares and rectangles.
I traced my gothic arch onto a piece of chipboard then began gluing down the various pieces of paper.
Here's how it looks so far... You need to let this layer dry completely.
Now water down a bit of white acrylic paint to make a wash. This is just to tone down some of the brighter pieces and give it a more uniformed look.
You can see how the paint has muted some of the brighter colors...
Next I watered down a few bright colors - blue, lime and lemon yellow and painted it over various parts of the arch. This layer isn't intended to cover the cardstock - just add a thin layer of color which is why it was watered down. This would be similar to mixing the paint with a glaze medium. Since most people don't have the glaze, water is a great substitute.
For the next layer I applied modeling paste over a couple different stencils. I used the DecoArt modeling paste because it dries to a translucent finish which allows the layers below it show through. If you don't have modeling paste gesso is a great substitute (but it won't dry translucent).
After the modeling paste had dried I applied Radiant Neon inks using sponge daubers. These are really vibrant colors - just what I wanted for June.
And here's how it looks at this point. To finish it off I added some word stickers but stamped words will work great too. I am just trying to use up some of my stash and I just happened to find these words the other day while looking for something else. I also added some fine pen work to the edges of the blocks of paper and the edge of the arch.
And here's how it turned out....
Of course you could have added more layers of stamping and color but I wanted to keep the integrity of the papers I started off with. That's totally up to you. Below are a few more close up photos of various areas of the calendar....
Hope you have fun making your own!!


Fabulous post Roni. I loved your mixed media creation with scraps.
ReplyDeleteI am totally inspired and would love to try out something like this :)
Off to find some paper scraps, paint and vibrant inks! Currently snowing so some bright colors will be a welcome change.
ReplyDeleteThis was really inspiring! Thank you! :)
ReplyDeleteAbsolutely gorgeous Roni. I love the bright warm colours - so cheering this time of year! Thanks once again for another awesome tutorial.
ReplyDeleteI too have self growing snippets and will be glad to use more of them. I only just got February's page finished! Hoping to catch up this weekend with the other pages, but I'm in no rush and seriously enjoying the journey Karen xx
Love it! I have plenty of small pieces I can use. I am almost done with March.
ReplyDeleteIt looks really great, amazing how the layers on top tie all of the papers into a cohesive background.
ReplyDelete