Saturday, October 24, 2020

Happy Fall Ya'll Rinea Foiled Card


Happy Harvest time friends! Today I wanted to share with you this fun slimline card I made using Rinea Foiled papers and Joy Clair Stamps. It's so fun and easy to make but the final project is a real WOW!

Here's how I made the card....


Step 1 - Trim a card panel 3.5" x 8.5".

Step 2 - Cut background sky and grass by hand or use diecuts as shown here.

Step 3 - Adhere these elements to the card panel.


Step 4 - Stamp desired elements onto Rinea Foiled Paper using StazOn ink - pumpkins, corn stalk, and scarecrow.

Step 5 - Fussy cut all of the stamped bits.


Step 6 - Adhere all of the elements to the card.


Step 7 - Stamp sentiment and adhere it to the bottom of the card.


You've now got a wonderful fall themed card to brighten anyone's day. 

Supplies:

Rinea Foiled Papers - Sapphire/Gold Glossy, Emerald/Gold Glossy, Emerald/Emerald Starstruck, Marigold/Gold Glossy, Gold/Gold Glossy, Ruby/Gold Glossy

Joy Clair - Harvest Blessing

Imagine - StazOn Jet Black Ink

MFT - Grass, Hill

Cardstock, Diecut Machine


Thursday, October 22, 2020

Rustic Holiday Challenge at Sparkle Blends Fan Club


Hello Friends...today I wanted to share a couple cards I made for the October Challenge at Sparkle Blends Fan Club.  This is the inspiration photo....


Lovely isn't it?

Here's what I created...


My first creation is this fun christmas tree shaker using the Sparkle Blends mix Holly Berry. I used papers from Echo Park paired with Spellbinders Christmas Tree die.


I am loving slimline cards and this one was so much fun to make! Silver Bells sequins mix was used to embellish this card.  I used paper from Carta Bellas Christmas collection and Jingle Bells and the words "Jingle Bells" from the Christmas Sentiments mix from Creative Embellishments.  Both the bells and sentiment were embossed with Mboss embossing powders from Imagine.


Finally I have this fun candy cane shaker card! I had so much fun with this.  The Candy Cane Shaker from Creative Embellishments was filled with Minter is Coming Limited Edition sequins mix. I LOVE this mix...it's filled with such fun bits. It really makes this shaker shine, well that and the red glitter that I glued to the top piece of the shaker!

Hope you join in the fun!!


Wednesday, October 21, 2020

Happy Meow-loween!

 Today I wanted to share my sweet Halloween Kitty....


To create this card I stamped the Large Peekaboo Kitty on dark grey cardstock using VersaMark ink which was then embossed with Black Mboss embossing powder. The kitty was then shaded with white pigment ink and glitter gel pens to color the ears, nose and eyes. The kitty was then fussy cut and popped onto a card that I had added some bits of halloween pattern paper in my stash.  I stamped bits and pieces of the Spiderwebs Background image onto a piece of taupe colored cardstock to which the sentiment was added.


Happy Meow-loween!
Roni

Supplies:

Carmen's Veranda - Large Peekaboo Kitty
Lost Coast Design - Spiderwebs Background
Imagine - VersaMark, Mboss embossing powder, StazOn Pigment Ink - Cotton
Glitter Gel Pen
Pattern Paper, Cardstock

Tuesday, October 20, 2020

Puzzled Fairy Melia

 Today I wanted to share my latest Fairy Hugs creation...


I often like to take my stamps off the card to create other pieces of stamped art. Today Melia graces a giant 5" x 6" floor puzzle piece. 


Directions:

Paint the entire puzzle piece with black acrylic paint.

Stamp Melia and the Fairy Lily onto the puzzle piece with VersaMark ink.

Sprinkle with white embossing powder, shake off excess and heat to melt.

Paint the puzzle piece with metallic watercolors.


Such a simple process but the results are amazing!


Fairy Hugs Supplies Used:


Fairy Hugs - Melia


Fairy Hugs - Fairy Lily

Other Supplies Used:

DecoArt - Americana Acrylic Paint - Lamp Black
Imagine - VersaMark, White MBoss Embossing Powder
Metallic Watercolor Paints, Puzzle Piece


Be sure to stop by our Fairy Hugs Facebook Group 


Friday, October 16, 2020

Candy Corn Shaker

 It's Friday!!  Hope you've all had a wonderful week. Today I wanted to share my Candy Corn Shaker with you...  I love this die, it's so much fun.


Isn't that great...I know not everyone loves candy corn like I do but I think this is one we can agree on!


It was cut from some great pattern paper I found in my stash (no idea who made it). I then filled each section with a different Limited Edition Sequins Mix from Sparkle Blends.

The yellow portion is filled with Candy Corn, the center section is Jack-o-lantern and the tip of the candy corn is filled with Spectral a spooky ghostly blend.


I finished off the card by adding a bit of orange and gold glitter spread lightly over the entire front of the card. Because you know everything is better with glitter ;)  LOL!!

Hope you have a wonderfully spooky weekend!!


Thursday, October 15, 2020

RIP Creative Embellishments Tombstone

 Mid-way through October already...can you believe it? I sure can't. This year has just disappeared in the blink of an eye. Half way to Halloween so today I have a spooky creepy tombstone for your approval.  

Creative Embellishments Monthly Challenge for October is to take inspiration from at least one portion of this image... with the added twist of adding wings or something with wings.


Well now any Halloween lover would have a field day with this because it is chock full of fun spooky, creepy goodness!  Here is what I have made...


Isn't that great - even if I do say so myself!  I wanted a creepy, ancient tombstone and I think I've achieved that.  The Tombstone it's self is cut from 3/16" plywood so it's very sturdy and takes lots of layers very well.


The skull is actually from the Skull Shaker kit. It was on my desk waiting to be turned into a shaker but it was the perfect size for this project so you gotta do what you gotta do. I sacrificed the shaker for the tombstone.  I also used these highly detailed Angel Wings. I purposely attached them upside down to give it a more menacing look. The skull also has a Raven sitting on top his head which can be seen in the first photo.


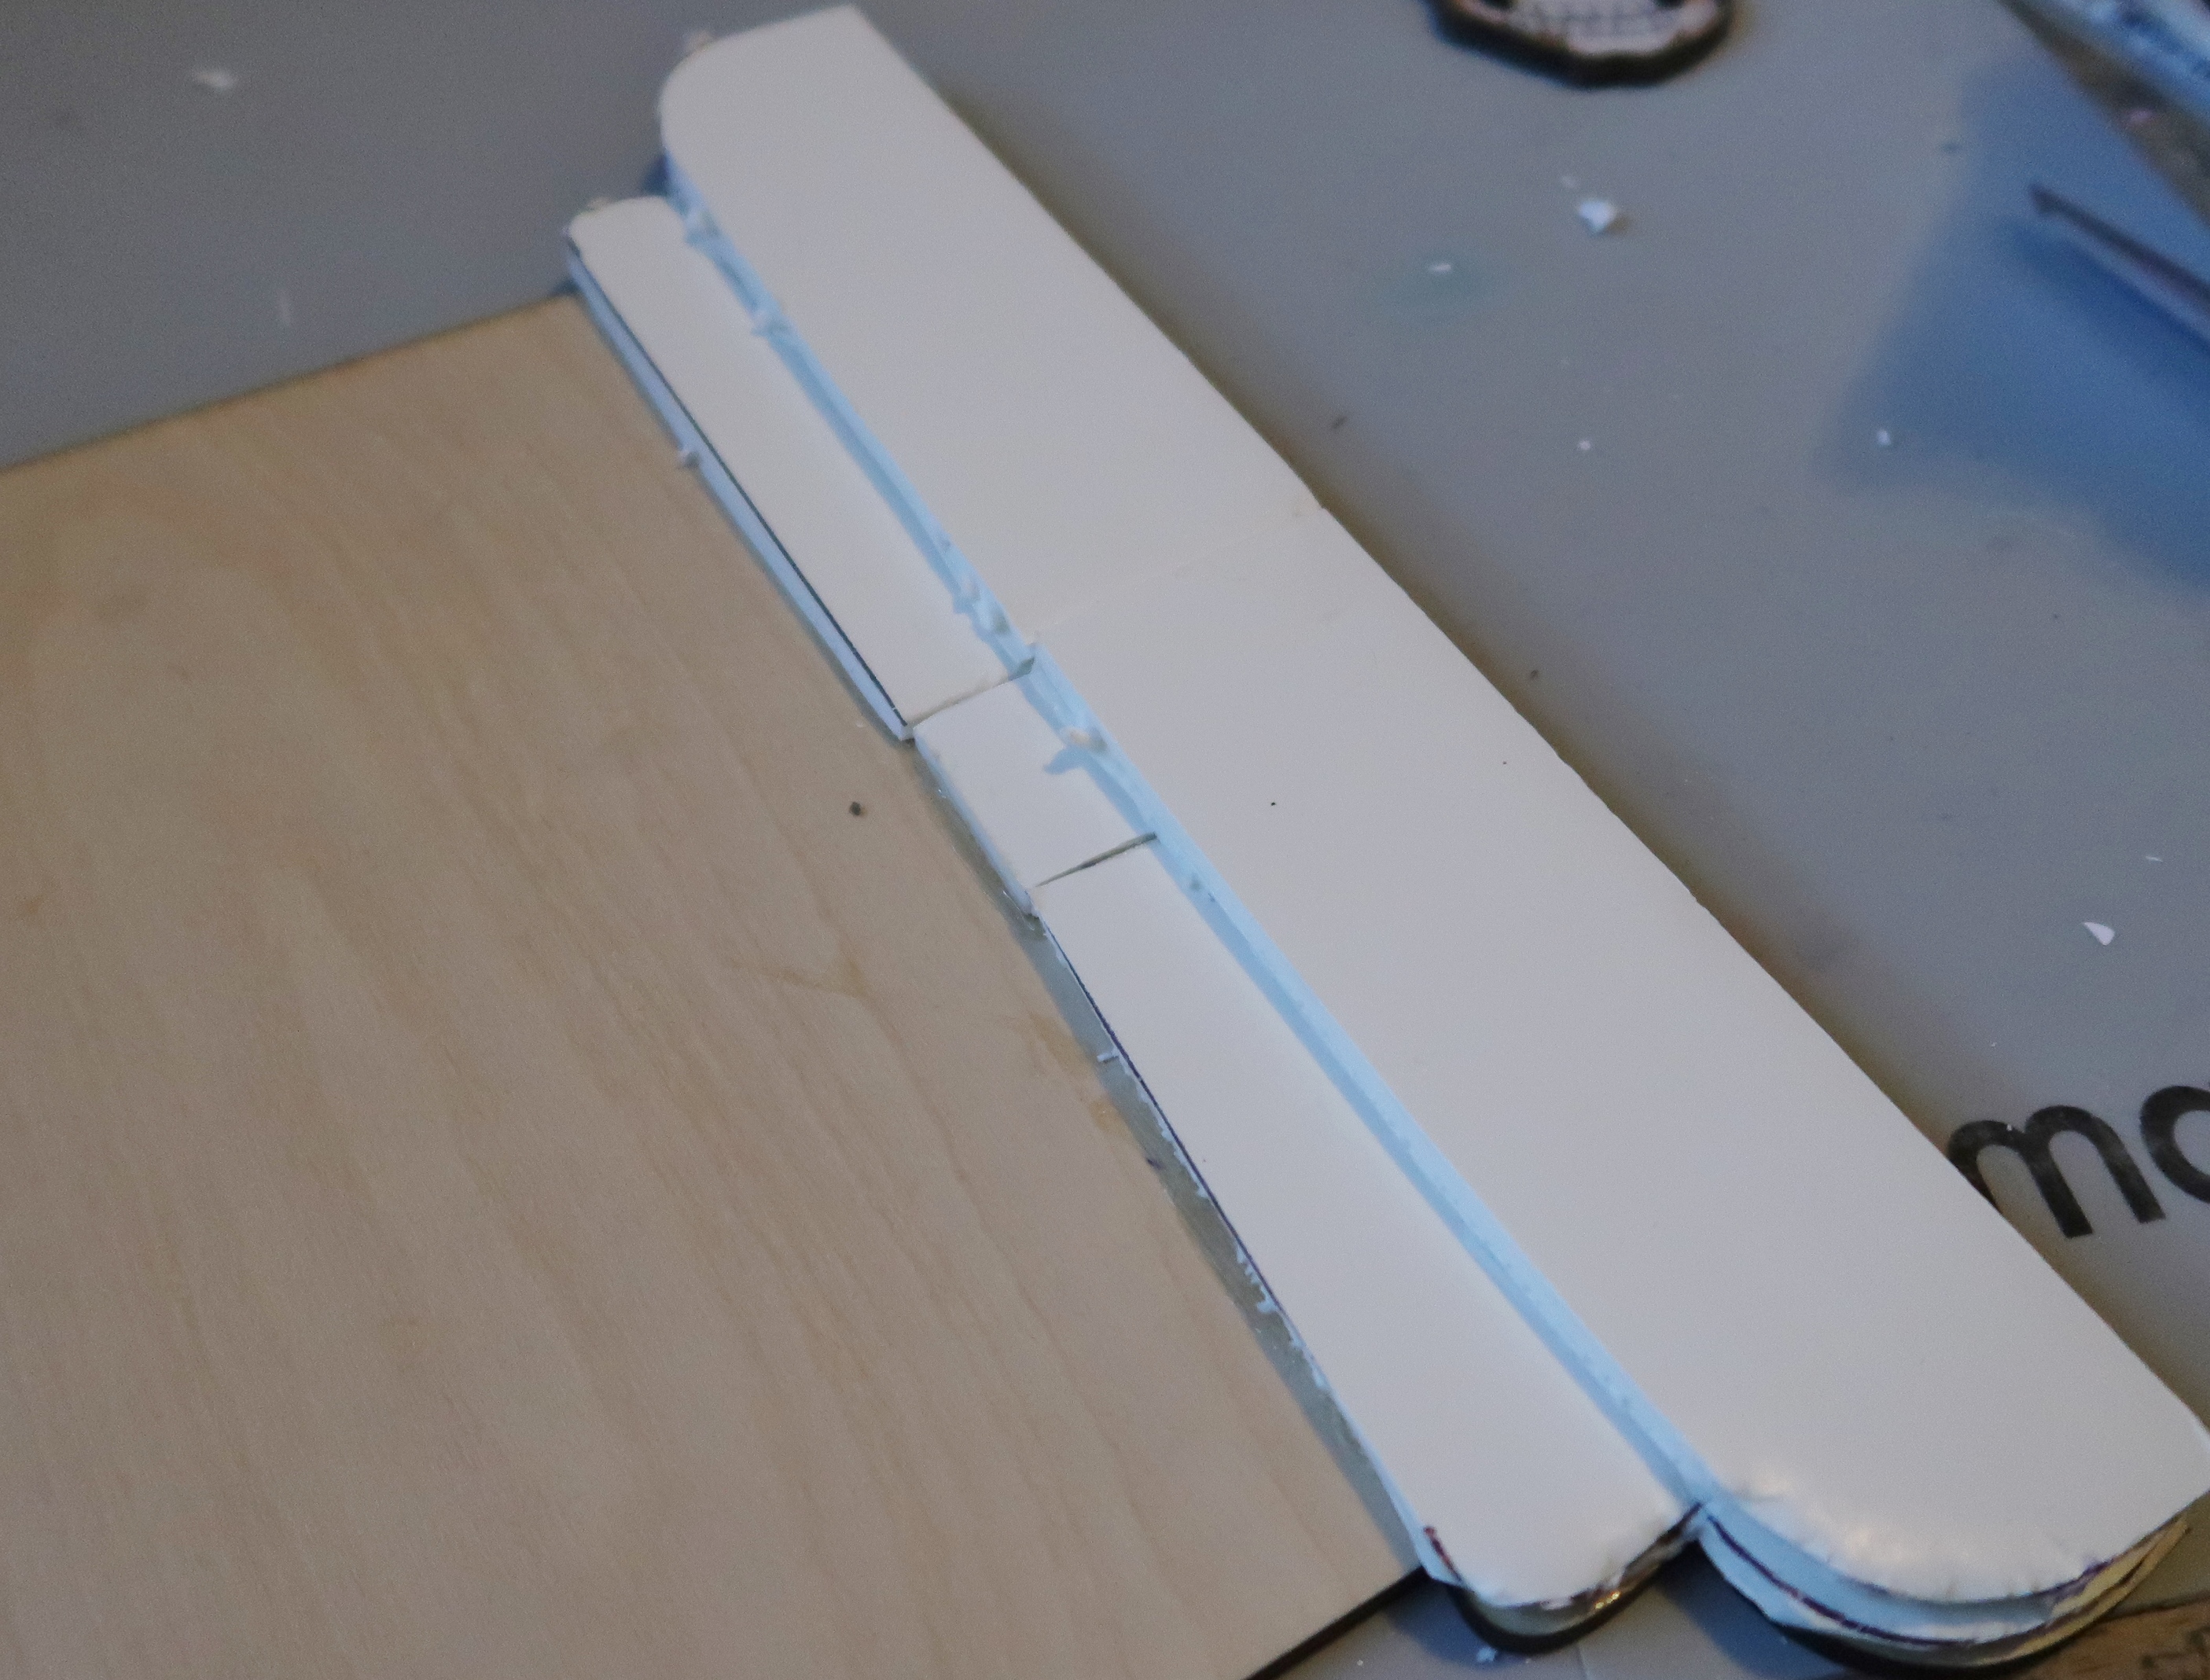
I cut the letters from foam core board freehand. 


I also added the Corner Spider Web, Thorn Flourish Pair and a worn and weathered Crow Skull.


This is one of my favorite Halloween pieces I've ever made! I'm thinkin' I need to make more of these and set them out on Halloween.


Here are some "in the process" photos - they are pretty self explanatory.


Foam Core Board (1/4") - used for the bottom of the tombstone to give it depth and for the letters as well. Very easy to cut into any shape and adds lots of dimension.


Grey acrylic paint with sand added.


Sponged on darker grey and green to add shadows and "mossy" look. 
Dripped watered down black acrylic paint for years of filth...also used on both of the skulls.


Flicked on watered down white acrylic paint for specks of gunk - LOL!!


So there you have it....my creepy, ancient tombstone!


Supplies:

Creative Embellishments - Tombstone, Skull Shaker, Raven, Angel Wings, Corner Spider Webs, Thorn Flourish Pair, Crow Skull

DecoArt - Acrylic Paints - Grey, Green, Black, White

Foam Core Board 1/4"

Beacon 3in1 Adhesive

Sand

Wednesday, October 14, 2020

Let Your Halloween Spirit Take Flight

 We're up to Lucky #13 in our 31 Days of Halloween and today I have a touch of elegance for you....


Would you believe that this is one stamp? 

It is, it's called Winged Skeleton from Carmen's Veranda. 


I stamped this image twice onto black cardstock and embossed one image with gold and the other with white embossing powders. The white skeleton was fussy cut out of the frame and the gold image was fussy cut as a whole. I added black and red gemstones to the image which was then mounted on the skeleton pattern paper (which was mounted on a card base). I then added the white winged skeleton to the card using foam tape.


It's such a striking image all gussied up don't you think?

Happy Day friends!
Roni

Supplies:

Carmen's Veranda - Winged Skeleton
Imagine - VersaMark, Mboss Embossing Powders
Faux Gemstones, Foam Tape, Cardstock, Pattern Paper

Tuesday, October 13, 2020

Ciana Dare To Dream Pink Twilight

 Good Morning!!

Today I wanted to share my latest Fairy Hugs creation...


Ciana is daring to dream in the lovely pink twilight.


The FairyScapes make it so easy to create a stunning card. 

Began by cutting the FairyScape to 4.25 x 6. 

Stamp Ciana partially over the moon. 

Frame the moon with Fairy Hugs Powder in Pearl, Flamingo and Orchid. 

Diecut the vines and grass and affix to the card.

Add a few "highlights" to the leaves using Raven Fairy Hugs Powder.

Embellish with sequins and the sentiment. 

Affix this panel to a pink mat and black card blank.


Fairy Hugs Supplies:


Other Supplies:

MFT - Leaf Vine, Grass Border
Sparkle Blends - Sequins

Be sure to stop by our Fairy Hugs Facebook Group