Hope you all had a wonderful Thanksgiving! If you recall, Wednesday I shared my finished Star Album with you during the Club Scrap blog hop. Today I am back to show you how to make one of your own! These albums are the perfect vehicle for displaying favorite collections of pattern paper or colors. When the album is displayed fully open as a star the papers become the center of attraction with your story coming to life along the outside edge (the lo's in the album).
Just to refresh, here is the album....
and this is what it looks like once it has been completely opened up.
So, let's make one!
Supplies:
8-10 sheets of 12x12 Cardstock I used Club Scrap Lake Kit for the example but any cardstock will work.
Double Stick Heavy Duty Tape
Chipboard (for cover)
Ribbon
Bone FolderInstructions:
1. Determine how many points/pages you would like in your star album. I chose 7 but you could use 8 or 9. If you use 7 pages when the book is completely open each of the pages will be fully open and the second and third layers of paper will be displayed nicely. The individual pages won't lay flat when opening the pages one by one though. With each additional page you add the individual pages will be closer to laying flat when viewing like a conventional book but when displayed like a star they won't be as full as the 7 page lay-out.
2. Once you decide how many pages you want to use cut each sheet into 3 pieces -
4" x 12"
4" x 10"
4" x 8"
Keep the cut off pieces - those will make great embellishment pieces for the actual lo's.
3. Fold and score each of the pieces in half.
4" x 12" - score @ 6"
4" x 10" - score @ 5"
4" x 8" - score @ 4"
4. Separate the individual folded sheets into 7, 8 or 9 piles (depending on how many pages/points your album will have). I know some of my piles look funky (with two greens in each pile) but a few of them are patterned inside.
5. Take a pile of pages and apply really sticky adhesive tape on one end as shown on the 12" and 10" pages. Remove the tape from the 12" piece and secure the 10" page directly over the 12" page. Remove the tape from the 10" piece and adhere the 8" piece on the stack and set aside. Repeat this process for each stack of pages.
6. You should now have 7 (8 or 9) sets of pages for your album. Since the pages in your book don't lay down flat like a conventional book once assembled I have found it is easier to embellish, stamp, and ink your lay-outs at this time. This is what I have done above.
7. After you have finished decorating your pages it's time to finish assembling the book. Apply a strip of the really sticky tape to the 12" and 10" pages on each stack. Peel off the backing on the 12" page and adhere the 10" page. Peel off the backing from the strip of adhesive on the 10" page and stick down the 8" page. Repeat with each of the remaining stacks of paper.
8. You will now have 7 (8 or 9) nifty little 3 layer pages as shown above...
9. Arrange your pages in the desired order.
10. Flip the first 3 piece page set off the stack of pages. Apply strips of double stick tape (I ran out of the red so I'm using the kind with white paper backing now) as shown to the 2nd set of pages. Remove the backing paper and adhere to the first set of pages.
Next, flip those two sets of pages over and add strips of sticky tape to the 3rd set of pages; remove the backing paper from the tape and stick it to the first two sets of pages.
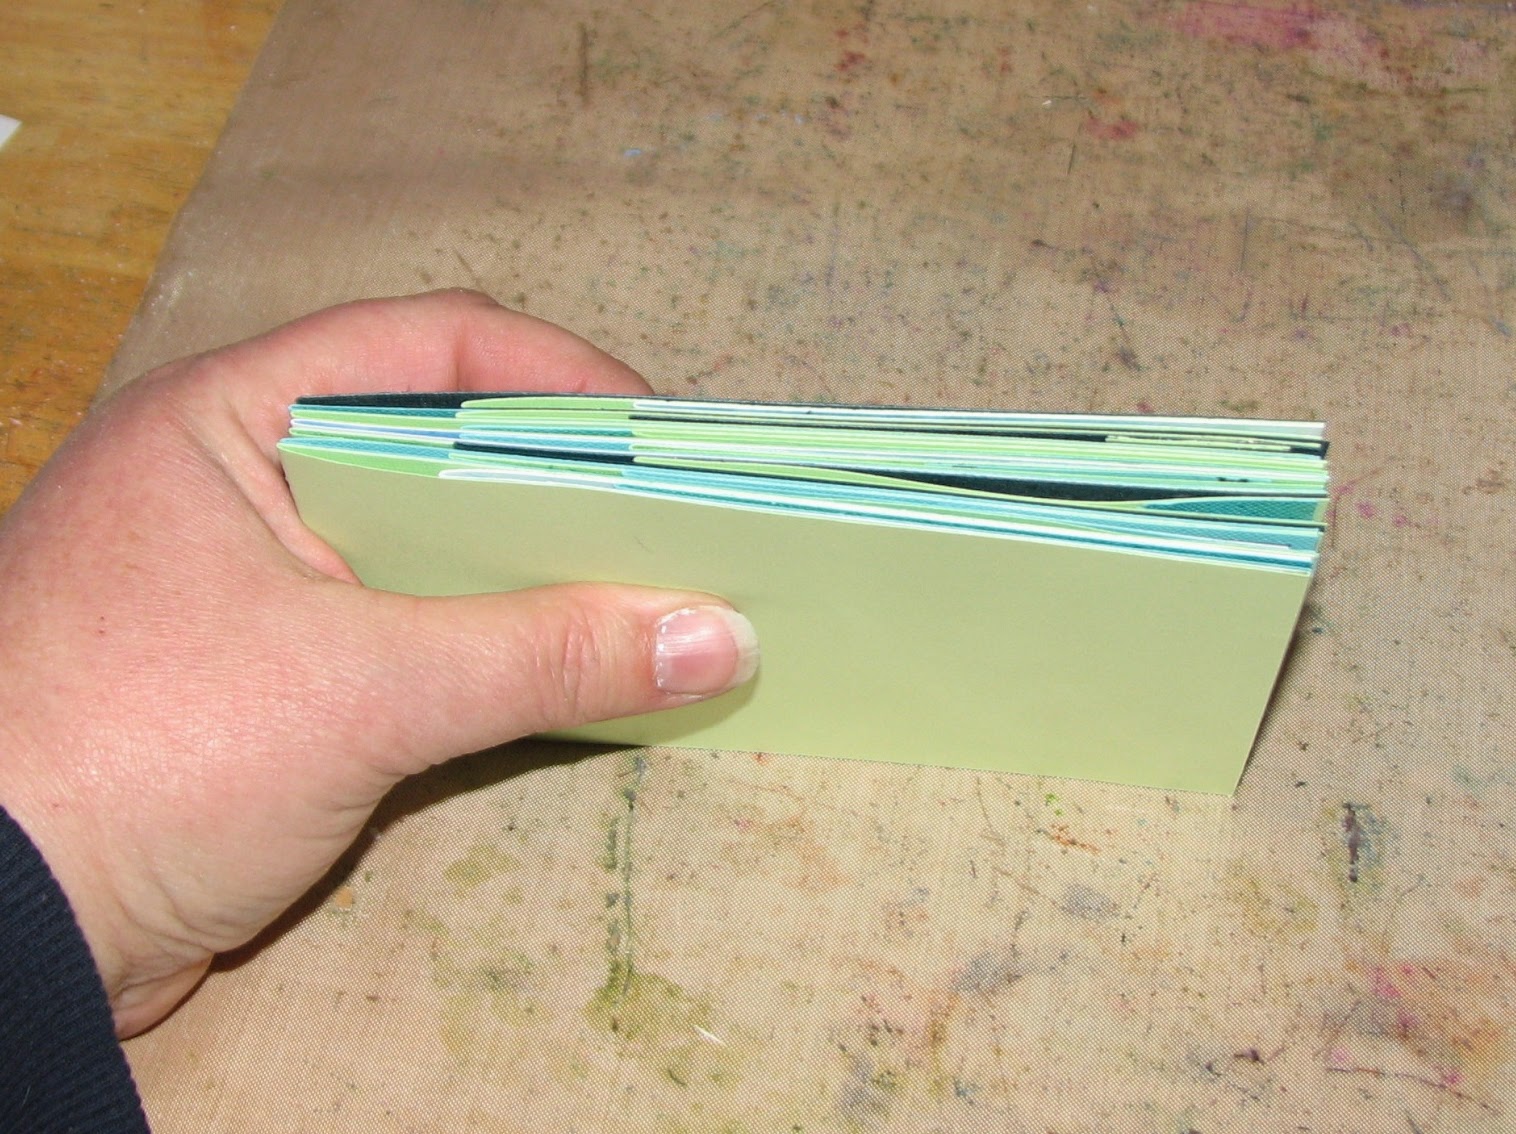
Repeat this process until all of the page sets have been stuck together forming the body of your mini star album.
Here is what my stack of page sets looks like once I finished step #10.
11. Time to create the cover pages. Cut 2 pieces of chipboard 4.25" x 6.25"; cut the last piece of cardstock in half.
12. Adhere the chipboard to the back of the cardstock; miter the corners as shown.
13. Crease and fold each side flap, apply a strong adhesive and secure.
This is one of the covers - repeat steps 12 & 13 to create the second cover piece.
14. Wrap and tie the ribbon around your bundle of pages.
15. Adhere strips of the stick tape to each of the cover pieces, remove backing paper and stick over the ribbon to the front and back pages of the bundle of pages. Press to ensure proper adhesion...
To display the album as a star, open the book completely so the covers meet and tie the ribbon in a bow to hold it open as shown above. Once you add photos you'll have a beautiful display piece to keep or give as a cherished gift.


Wonderful tutorial!!!
ReplyDeleteNICE work!!!!!
ReplyDeleteThank you for bringing back an oldie but goodie technique. You did such a nice job on your book and your tutorial. I think I'll attempt one. Thanks for the inspiration.
ReplyDeleteGreat tutorial, Roni! You always do such a good job of making the instructions clear. Thanks!!
ReplyDeleteFab tutorial Roni!! You always make things look so easy!! teehee xo
ReplyDeleteGMTA! I haven't make a star book in years and this month I made two as thank yous for friends. It was fun to make them again. Your fish star book is Fin-tastic!!!!
ReplyDeletestamping sue
http://stampingsueinconnecticut.blogspot.com/