
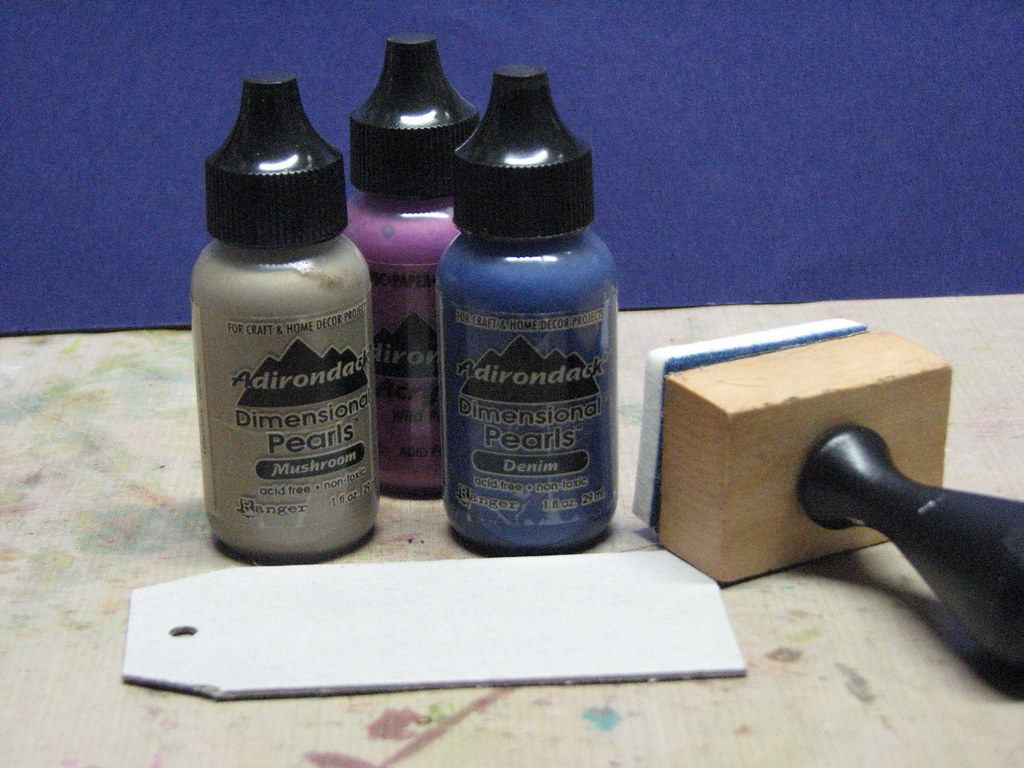
Today's technique uses Adirondack Dimensional Pearls. A little known but WONDERFUL addition to the Adirondack family. 12 Earthtone colors which offer up a pearly sheen and dimension when applied in a thicker layer. BUT, these paints are almost translucent when thin layers are applied!! Almost like having 2 great products in one :) I've got lots of cool techniques to show you with these but that's another day - LOL!!
Just a note when using Dimensional Pearls, they do tend to curl lighter weight paper when they dry. If you apply this to another piece of cardstock when finished it's just fine (matting it for a card for example) but if you're using it as a stand alone type project I would suggest using a piece of chipboard.
Also, when working with more than one color start with the darkest first and work towards your lightest. For the following example I'm using 3 colors of Pearls.
On to our Blended Pearls!
Supplies:
Ink Blending Tool & Foam
Adirondack Dimensional Pearls
Cardstock or Chipboard
THAT'S IT!! How cool is that :)
Instructions:
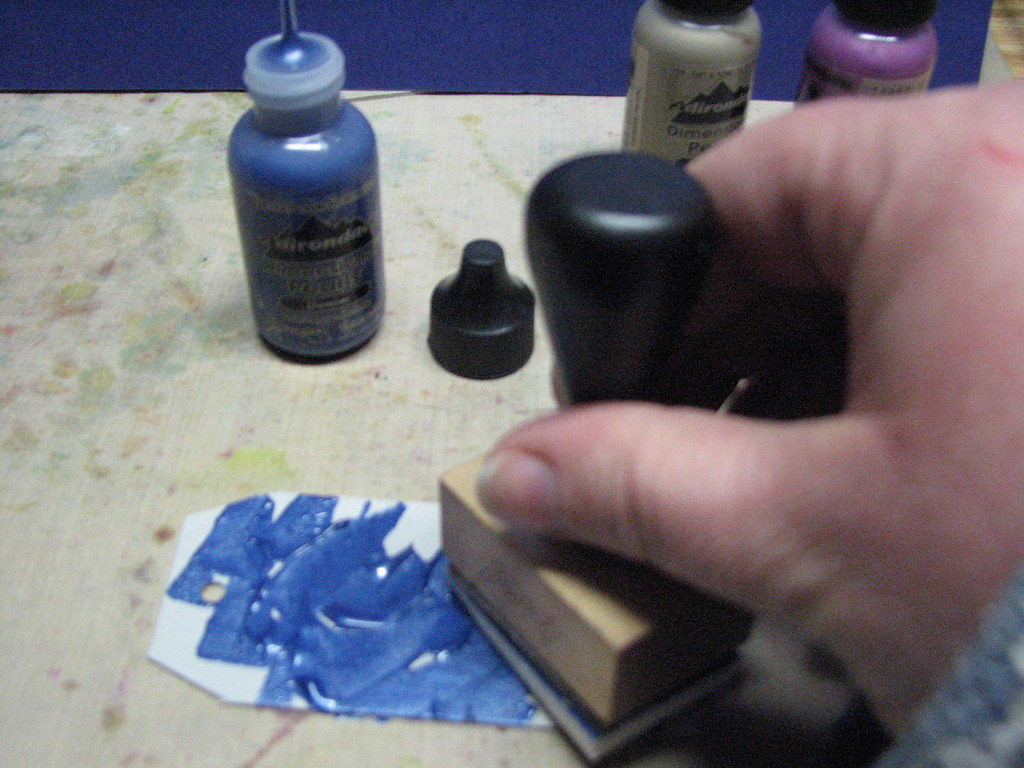
1. Apply a generous amount of your first color to the chipboard.
2. Smoosh it around until you get some good texture going on. (Note - this doesn't need to cover your entire piece...)
3. Add your second layer of color and lightly blend the two together.
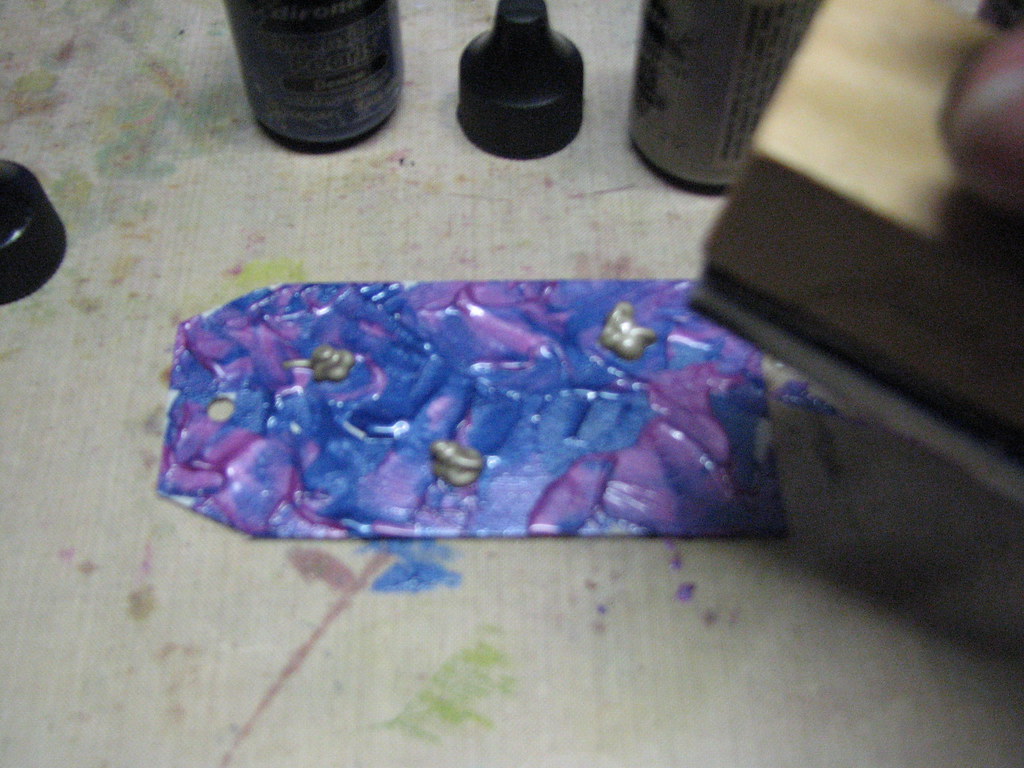
4. Apply your final color and blend with the first two colors. Be sure at this time that your entire piece has been covered by one of the 3 colors.

You will end up with something like this....notice all of the great texture that the paint has. It will stay like this even after it dries!!
It's time to let your creation dry. Because of thick layer I like to let these air dry over night. Just keep this in mind when you're working on a project. You may need to plan ahead if it you are working on a specific time frame.
no greater love...
Supplies: Ink Blending Tool & Foams - Ranger; Adirondack Dimensional Pearls - Denim, Mushroom, Wild Plum - Ranger; Archival Ink - Jet Black - Ranger; Distress Ink - Tea Dye - Ranger; Couple Image - Queens Dresser Drawer ; Border - Inkadinkadoo; Rub-ons - Creative Imaginations

Here is another technique that is made using the same supplies as the first technique, you will just be applying the paint to your project a bit differently. One example of this technique is shown on the "no greater love..." card. It is the background paper for the tag.
Basically, you will be applying one or more colors of Dimensional Pearls to your Blending Foam at the same time. Once you have your paint applied to your foam, you will simply be moving the foam in any desired pattern. The card above was made by moving the foam repeatedly in a diagonal pattern. Read on for some additional examples.

Instructions:
1. Apply desired colors of Dimensional Paint to your foam.
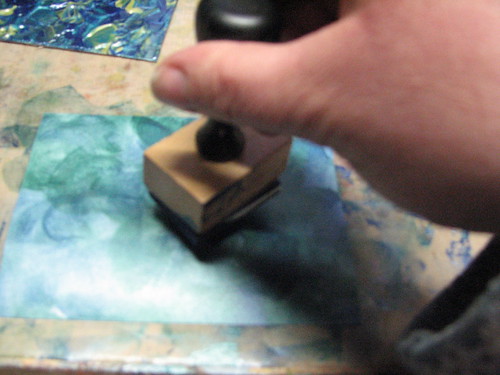
2. Place the paint laden foam down on your cardstock and give it a twist. You want to make a complete circle with your foam.
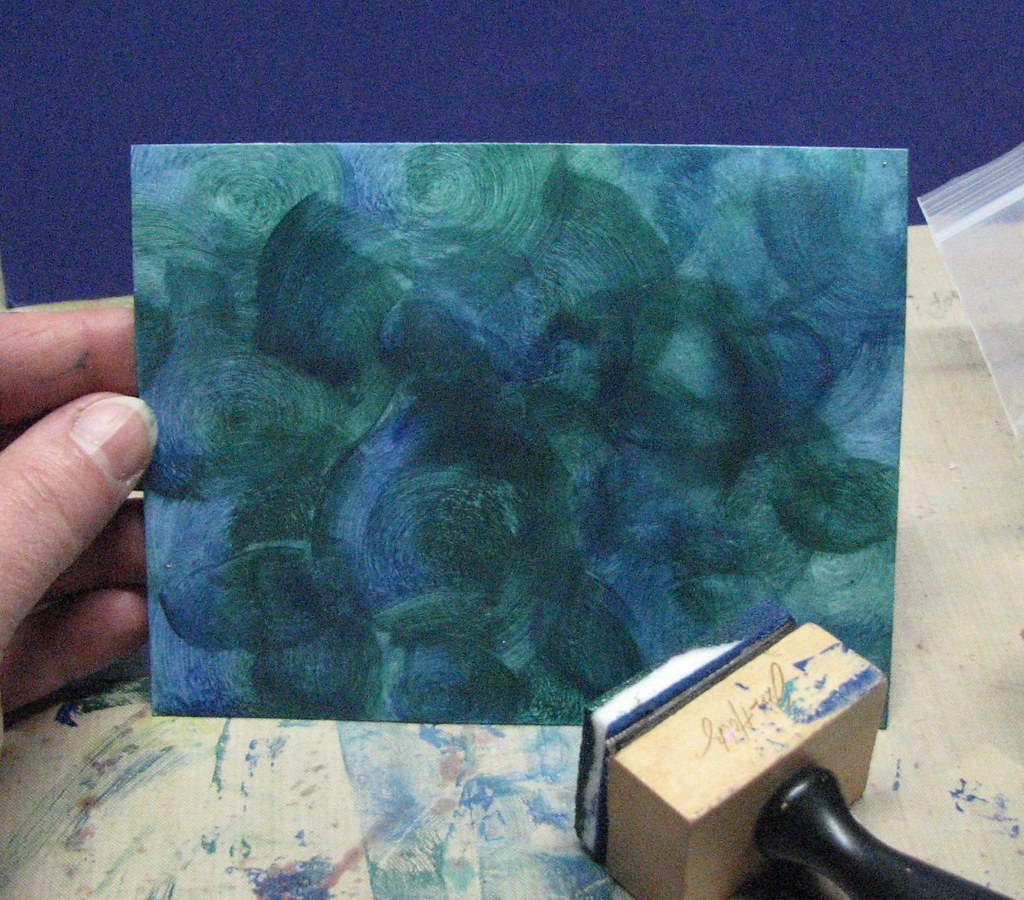
3. Continue with this motion until the entire piece of cardstock has been covered in paint/swirls!
I wish I could show you the amazing sheen this gives off. You can see every stroke made using the paint. Even though this is basically a "flat" technique the paint still leaves a great texture!
Flower Silhouette
Stamps - Inkadinkadoo

Birthday Wishes
Stamps - Inkadinkadoo, Stickles - Ranger

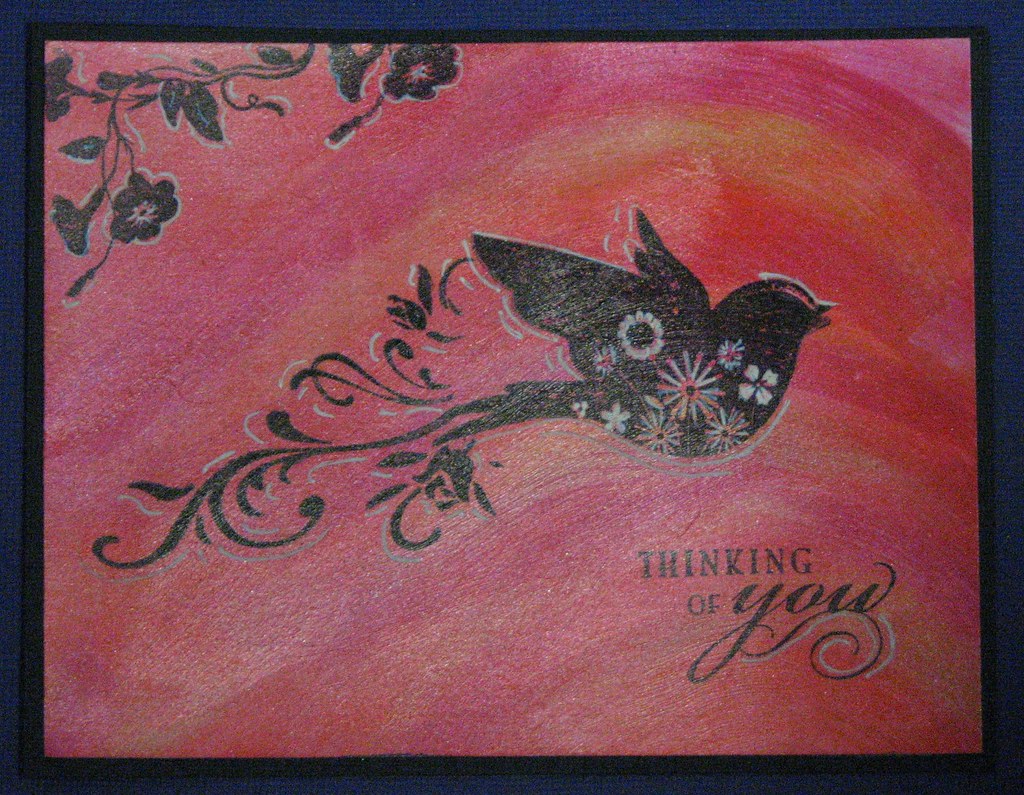
Thinking of You
Stamps - Inkadinkadoo; Inkssentials White Pigment Pen - Ranger
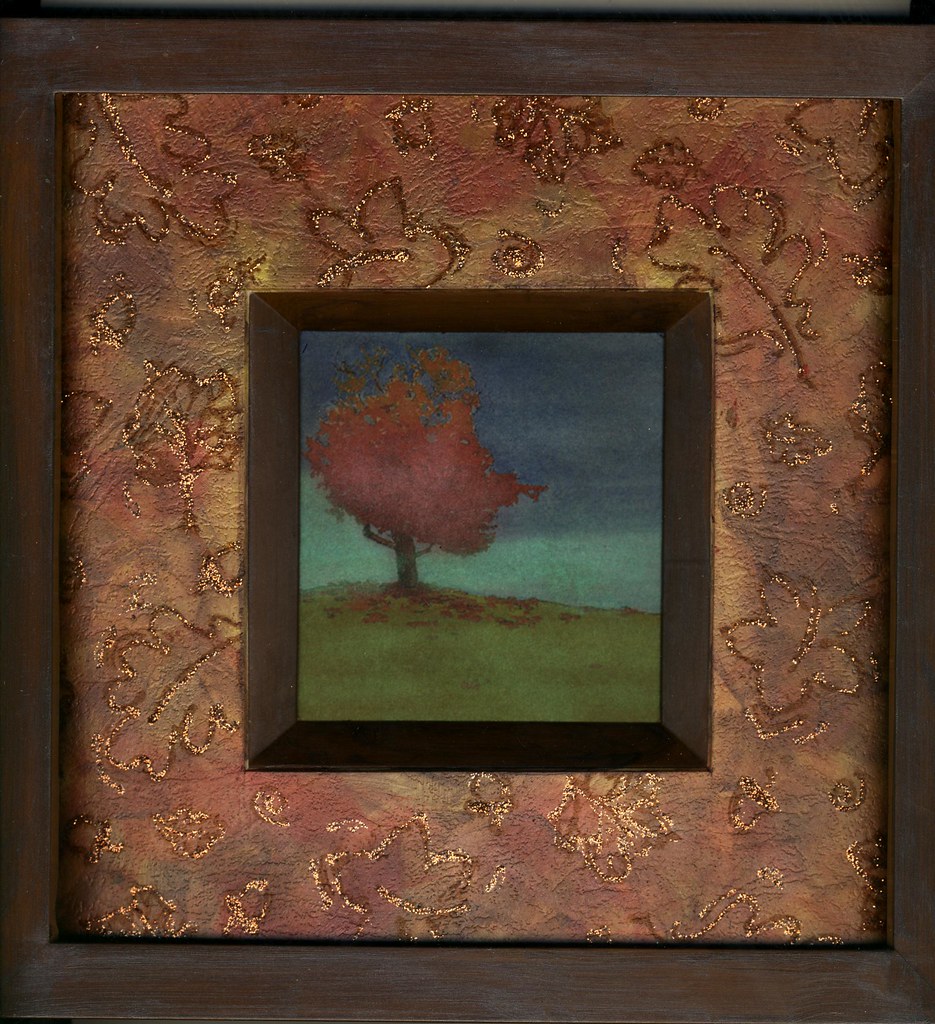
Pretty as a Picture
Image - computer generated; Stickles - Ranger; Stamps - The Paper Studio; Perfect Pearls - Ranger
Well, there you have it...my Ink Blending Tool Top Ten Techniques!!
I hope you've enjoyed seeing what you can do with the Ink Blending Tool and played along when time allowed.
There are many many more great techniques to be explored, I just wanted to share my favorites.
**Remember You have until Noon tomorrow to post a comment on any of the Ink Blending Tool Techniques to be entered into the Inkssentials White Pigment Pen Give-A-Way!! I will be drawing the names of 3 lucky posters on Saturday afternoon :) Be sure to check and see if you're one of the luck winners!!
These are just absolutely beautiful! I love the texture - gorgeous!
ReplyDeleteWow - I agree, scrappypam. If it looks that amazing in the photos, I know I just have to try it myself to see the effects in person.
ReplyDeleteIt never once occurred to me, Roni, to put (basically) PAINT in my ink blending tool. I don't know why not, though. It looks fantastic.
You know... that kind of sums up what I love about these tutorials. You give me lessons / projects so I can practice my technique and improve in my own art skills AND you show me new and amazing ways to use the tools I already have.
A huge thank you from me for this series and for your excellent blog, Roni. Well done!
~phinny
Wow, the texture is amazing, can't imagine how wonderful it'll be in real life. Like oil painting I imagine. Got to find me some dimensional pearls!
ReplyDeleteOnly just found your blog, but loved looking at the technique's. Some lovely cards!!
ReplyDeleteClairexx
wow these are just awesome projects! i love how those blended pearls look in your card. so exotic!
ReplyDeleteOh wow! I just love, love, love the technique where you twist the foam as you apply!! Is there no end to the ways you can use this tool?! And here, I thought it was just for ink.
ReplyDeleteThe texture on that tag is super!!
Wow, these look fantastic - I will have to get some of those and give it a try.
ReplyDeleteThank you so much Roni for the 10 top things to do with the IBT, I've really enjoyed reading them and learned so much too.
I am going to check with my local art store today to see if they have the Pearls. :) Love this technique!! Like I love all the other ones. ;)
ReplyDeleteThanks so much for sharing these with us. It has been a delight to learn some new ways to use different products.
Hugs, Nanette
just fabulous!! thank you so much for the tutorials!
ReplyDeleteThanks so much for putting these all together. I've learned a lot and been enabled a lot too!
ReplyDelete