
Hidee Ho Neighbors!
Can you believe it's the end of April already? I just can't believe how quickly this month has flown by. Anyway, the end of the month is always something to look forward to as it means the Club Scrap Blog Hop is almost here ~ tomorrow as a matter of fact! This month the kit theme is Hydrangeas...simply beautiful!

I love hydrangeas, I have always wanted to grow some but I seem to kill them every time. I have one planted in my garden right now - it looked like a stick last year and it still does so we'll see if this time I'm successful. Despite the color of my thumb with regards to the real thing I am so tickled with my paper hydrangea project! I've had in mind that I wanted to make a scrapbook portfolio for some time so I decided this kit was perfect for it.
I started off by cutting up the cardboard pizza box the kit is delivered in...I used this for the covers & spine of my book.

I added some book binding tape that Making Memories used to sell quite some time ago ~ it's great stuff. I wish they still made it. It's a sticky back cloth tape that is super for re-enforcing spines of books. I LOVE it but use it very sparingly as I don't have much left. I keep searching e-bay but haven't been able to find more.

So, next, I snipped a few relief cuts here and there, glued the cardboard panels/spines down,

and adhered the cover to the book. Notice the spaces I left between the spines. This helps when opening and closing the book so it doesn't bind or the covers don't want to stick out at odd angles.

I covered the inside of the book with a couple of the prints included in the kit....

I mentioned that I've wanted to make one of these portfolios for a long time - my original thought was there could be different components making up the portfolio allowing the user to store photos, memories, ephemera and mementos in a variety of ways. Since my portfolio has 3 pieces to the cover I decided on 3 different ways to keep items. One of those ways is a flip album...
To make this flip section of the portfolio I cut a 5.5 x 12" sheet of cardstock and scored it every 1/2". Using the score board made this a very quick and easy process.

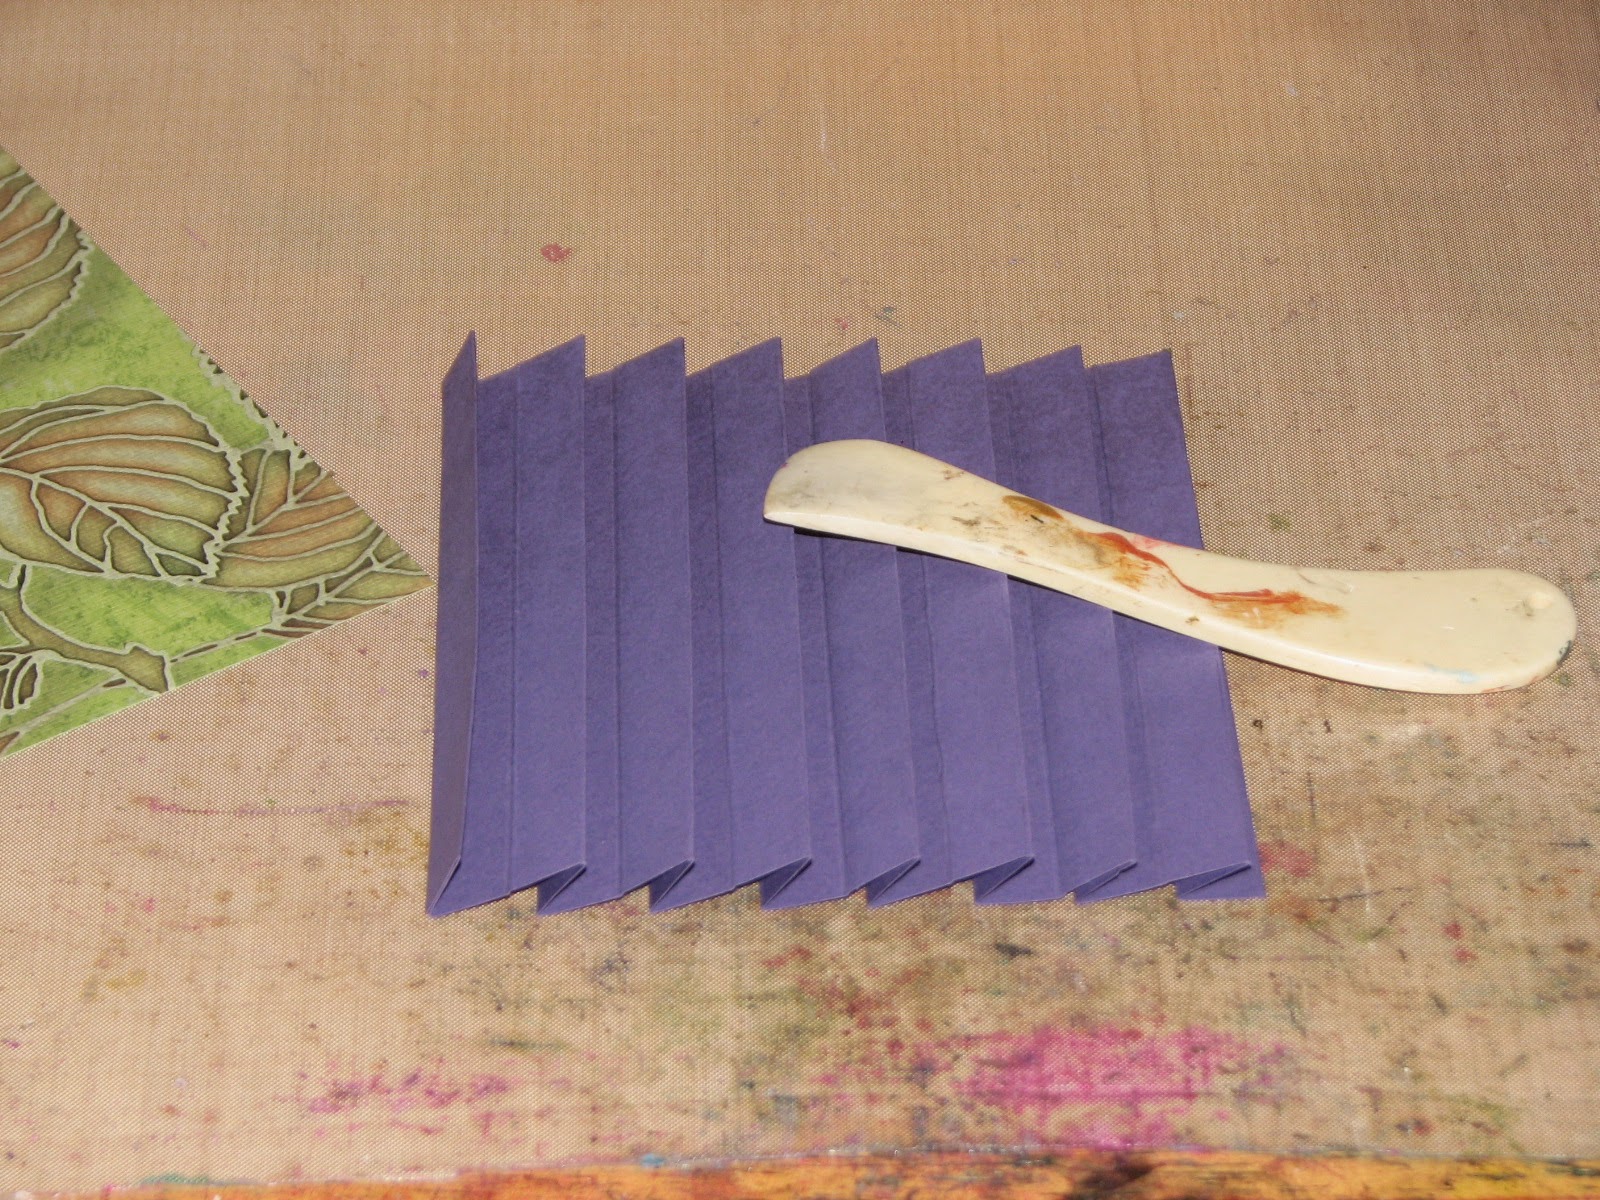
Rather than the usual hill & valley accordion style fold I folded it to make little troughs as shown in the photo. By folding the paper this way the hills would be what I attach the flip pages to and the troughs would be what I use to attach the completed flip section to the book.

Here is a closer look at the fold...

And this is what it looks like when the hills are creased flat, ready for the pages to be added.
And here is a peek at the flip album portion of the portfolio with the pages added and inserted into the portfolio....

That's all for now!
You'll have to wait till tomorrow to see the entire portfolio.
Be sure to stop back tomorrow to see the completed album.
Have an Ink Stained Day!
Roni -- for your sticky back cloth tape, try library suppliers as they are commonly used in book repairs. Demco, Highsmith, or Brodart would be where I would start. -- Debbie
ReplyDeleteI love hydrangeas too I found that you have to keep them really watered well and make sure the ground around them stays shaded it seems not a lot of direct light that's what finally worked for me :)
ReplyDeleteBeautifully made too :)
Hi Roni,
ReplyDeleteLove what you made. Love your tutorials and fun projects.
This is a great album, Roni. Thanks for sharing!
ReplyDeleteDo you have measurements for the pizza box board cuts?
DeleteThanks for the instructions for this awesome album. Can't wait to give it a try!
ReplyDelete