
St. Patrick's Day Gift Cone
Supplies:
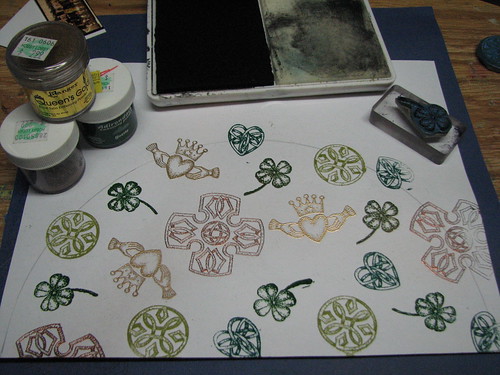
Big & Bossy Embossing Ink - Ranger
Adirondack Lettuce & Bottle Embossing Powder - Ranger
Queen's Gold Embossing Powder - Ranger
Copper Embossing Powder
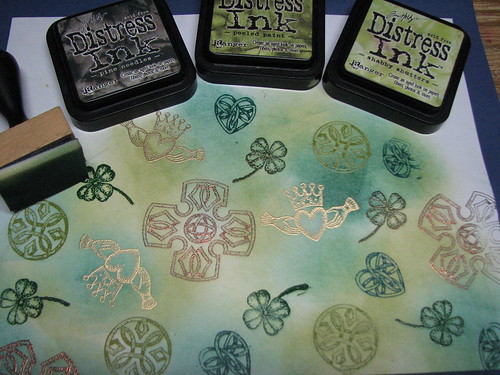
Distress Inks - Ranger
Ink Blending Tool & Foam - Ranger
Rubber Stamps - TAC
Double Stick Tape
Glue Dots
Cardstock - Bazzill
Colored Art Wire - Hobby Lobby
Copper Eyelets - Making Memories
Shamrock Sequins - Jo Ann Crafts
Beaded Fringe/Trim - TrimTations (Wal-Mart)
Instructions:
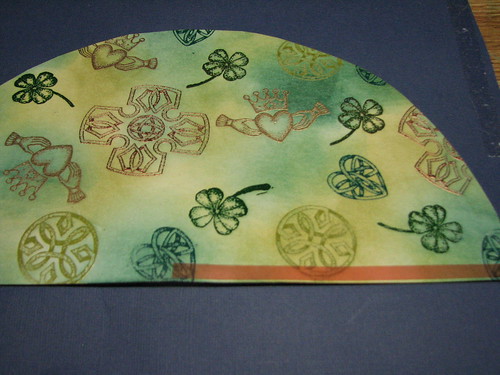
1. Draw half a circle onto your cardstock. I used 8 1/2" x 11" cardstock but you may adjust this for desired finished project.
2. Stamp and emboss images. I used 4 different colors of embossing powders. You will need to stamp and emboss each color separately to avoid cross contamination of colors.
3. Using Ink Blending Tool & Foam color various sections of the cardstock using Peeled Paint, Pine Needles and Shabby Shutters Distress Inks.
 Cover as much or as little of the surface as desired. Wipe excess Distress Ink off of embossed images using a soft cloth.
4. Cut the circle half from the cardstock sheet.
5. Apply Red-Line/Magic Tape to bottom edge of circle half.
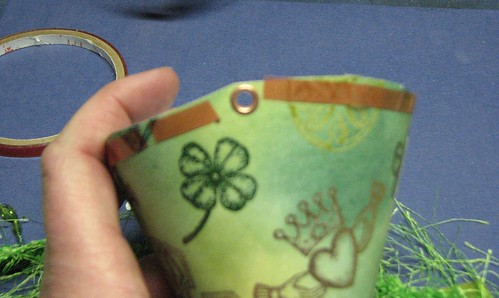
6. Now remove red liner and curl the circle half into a cone shape. Secure by running your finger along the tape edge.
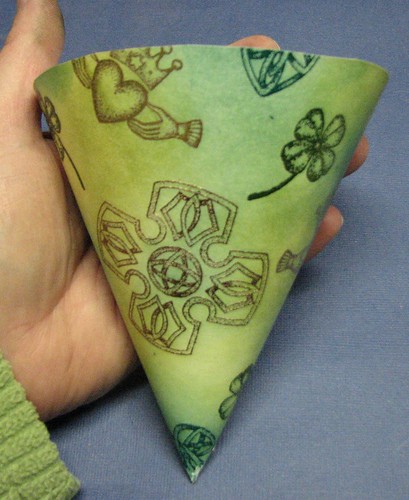
You will be left with a cone that looks like this. Note: your seam may droop down on one edge. This is perfectly normal but don't worry, it will be covered up by the beaded fringe trim in the end.
7. Attach 2 eyelets, one on each side of the cone.
8. Apply Red Line/Magic Tape around the top edge of the cone.

9. Remove liner and adhere the beaded fringe around the cone rim.
10. Attach a small piece of Red Line/ Magic Tape to the tip of the cone and apply beaded fringe.
11. Thread a length of copper wire through the eyelets to form a handle.
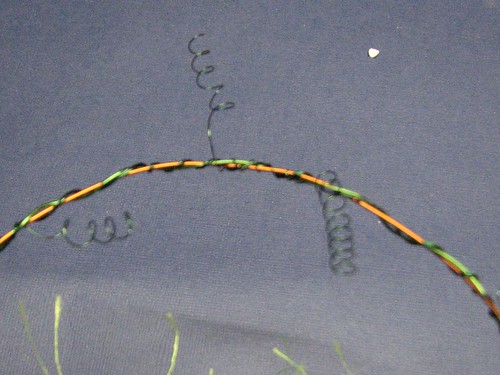
12. Cut smaller pieces of green wire and twist around the handle leaving a 3-5" "tail" on each end.
13. Once you have attached the green wire, spiral each of the tails as shown....
14. Now using Glue Dots, sandwich the ends of the green spirals with shamrock sequins. I like to use 2 Glue Dots for this step, one on each shamrock sequins. This way I know they are securely attached and won't fall off.
15. Add ribbon to the handle and fill with desired goodies - This could be small gifts, stuffed animals, jewlery, or candy....the possibilities are endless!!!
These are fun to hang up for your loved ones to find on their own :)
Enjoy!!

As you can see this little gift cone could easily be turned into a cute little gift for any occasion that you might find on your calendar.
Here's to an inky day!!
Hi Roni - I think that's your name. Robyn, my sister, is in the Wild Card Traders ATC group with you and sent me your blog URL. Very nice. I'd love to subscribe, but don't see how.
ReplyDeleteLesley
Hi Lesley! You're right, my name is Roni :) Thanks so much! If you scroll all the way to the bottom you will see something that says "Subscribe to: Posts (Atom)" if you click on that you will be able to subscribe :)
ReplyDeleteLove this idea!! My DGS would love this for Easter filled with goodies.
ReplyDeleteThanks again!! :)
very cute cone!!!
ReplyDeleteThat is so cool Roni!!
ReplyDeleteGot to get that ink blending tool! I just love the effect of combing the different distress inks!
ReplyDeleteI can see all kinds of uses for this project, everything from Easter, to birthday favors, to Christmas!
That's a fun project - I can see it working with all sorts of holiday themes! Thanks :)
ReplyDelete