
Just a note before we begin. You will need 3 colors of ink for this technique. One light shade for the inner most shaded area, a darker shade of ink for the center color and either black or dark brown for the outter edges. The color combinations are totally up to you...I have tried this technique with many many color combos from monchormatics to combinations you'd never expect to find together. It's totally up to you...experiment and have fun! After all, that's what it's all about :)

Supplies:
Distress Inks (or Dye Inks) - Ranger
Ink Blending Tool & Foam - Ranger
Non Stick Craft Mat - Ranger
Distressing Tool - Tonic
Cardstock - Ranger
Instructions:
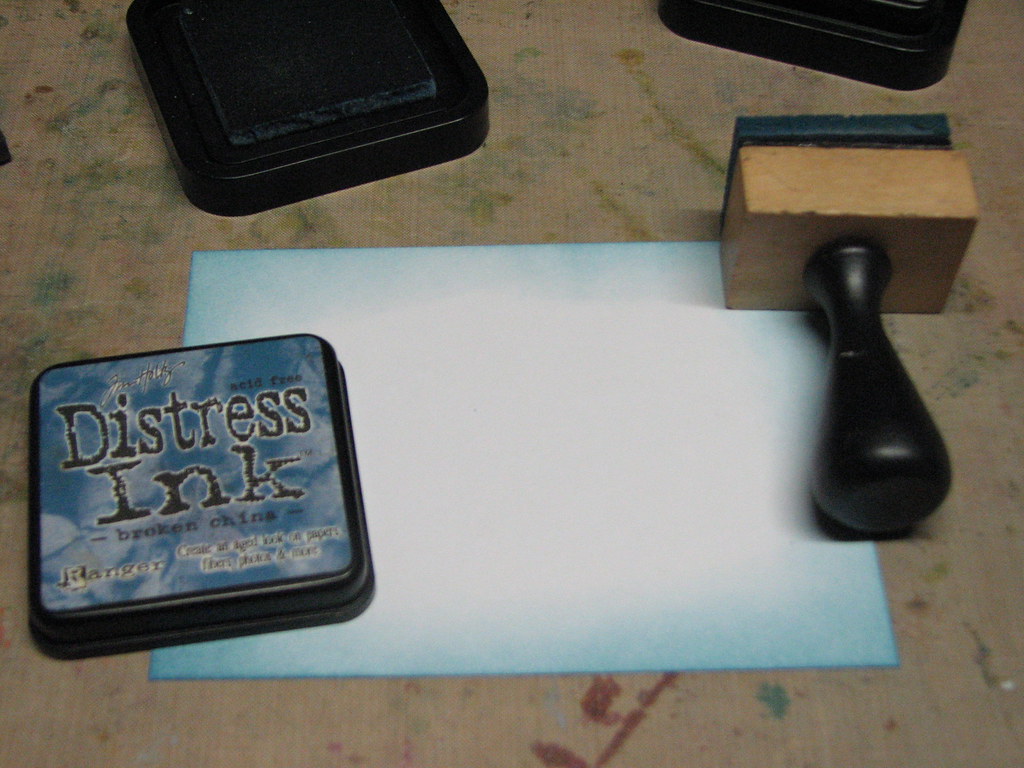
1. Dab the lightest (inner most) color of ink onto the Ink Blending Foam and apply to the panel. Apply the ink in the same circular motion we've been using the last several days. Note: You are going to work your ink in towards the center as far as desired. As you will see in the examples below I worked the ink in to make a 1 - 2" border all the way to entire piece. For this example I worked the ink in about 2".

2. Now it's time to apply the second color to your panel. You will apply your ink in circular motions just as before. This layer will only hit the corners heavily and 1/2" in around the rest of the cardstock.
3. It's time to apply the final color to the edges. I us
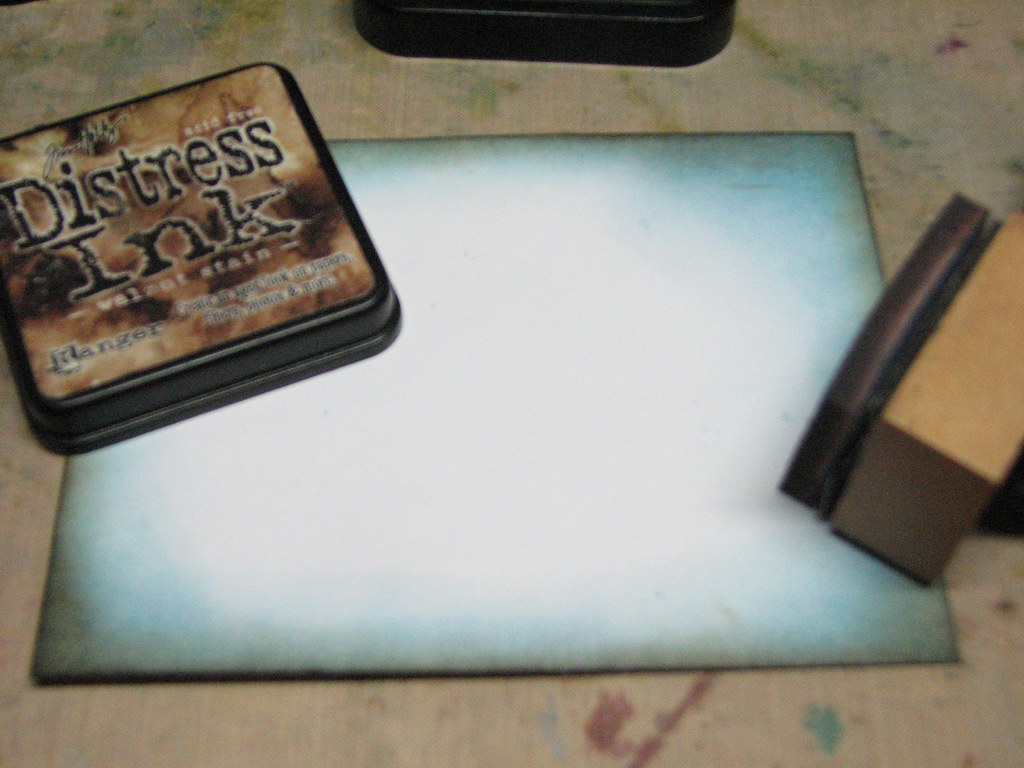 ed my favorite Distress Ink color - Walnut Stain. You will apply it using the Ink & Drag edging technique. Basically you run the edge of your panel over the ink pad, lay the cardstock down and using the Ink Blending Tool drag the ink towards the center of the card. Make sure to apply a heavier coat to the corners for a more natural "burnt" look.
 4. Now it's time to rough it up a bit! Take a distressing tool and scrape all of the edges until you're satisfied they look ragged enough for you. I like to get them pretty damaged for a really nice worn look. Tonic's Tim Holtz disressing tool is shown but you can use whatever you have on hand. I also like the Making Memories distressing tool. It has a longer blade and can really get a good bite on the cardstock.
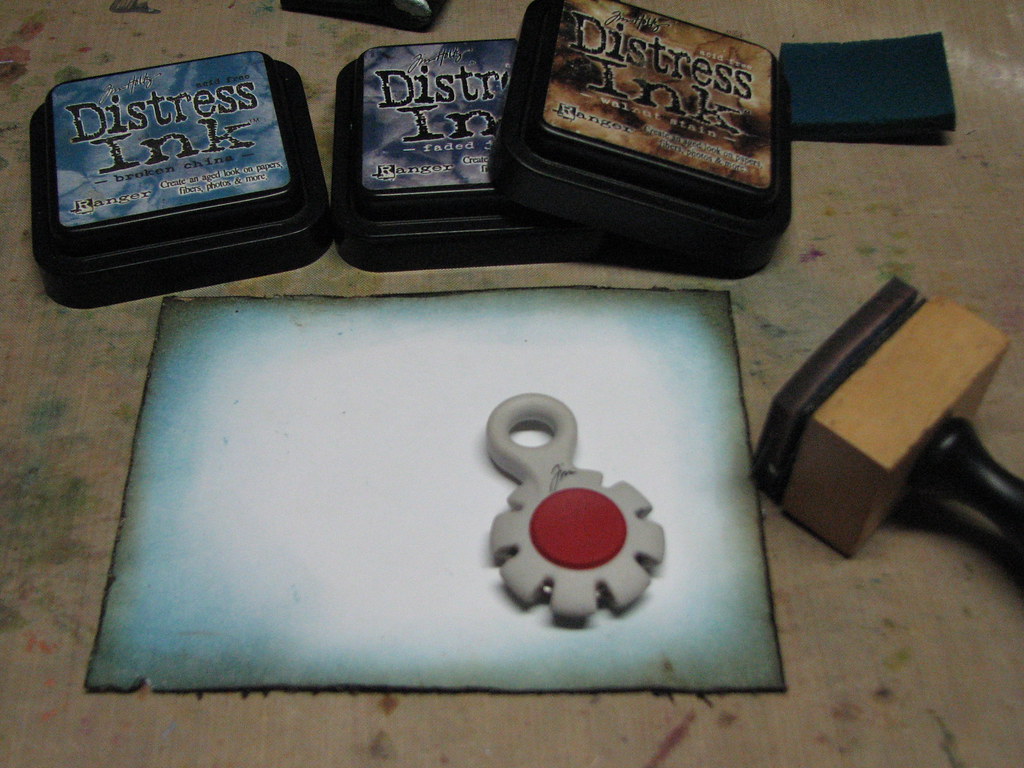 Now, you're going to notice alot of white may be showing along the distressed edges. You can leave it as is or you can go back over it and add more of your final ink color (black or brown). I usually go over it again to get rid of the white for a more finished even look.
Your cardstock is now officially "Burnt!" Time to put it to some good use :)
~ Mom ~
Photo image - Fire Cracker Designs; clock face, key - SU!; rub-ons - K & Co.

And here are some additional examples of the Burnt Edge Technique....enjoy!
All of the following examples were made using Distress Inks and the Ink Blending Tool.
Stamp credits are listed by each example.
~ Love You ~
Background script, wings - Stampers Anonymous; Flourishes & Sentiment - Fiskars; Couple - Unknown; Chipboard heart - hand cut.

~ Hot Stuff ~
Dress Forms - Lost Coast Designs; Rub-ons - K&Co
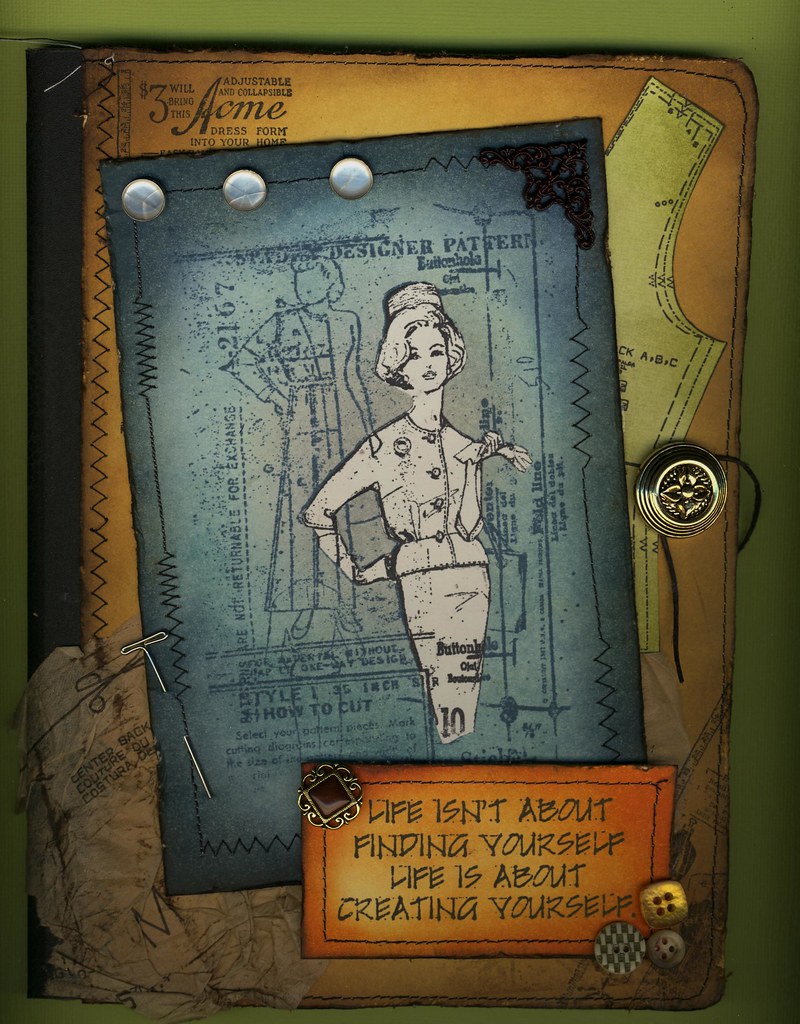
 ~ Create Yourself ~
Woman Pattern (center blue panel) & Sentiment - Stampers Anonymous; remaining images - B-Line Designs; Vintage Sewing Ephemera - my collection.
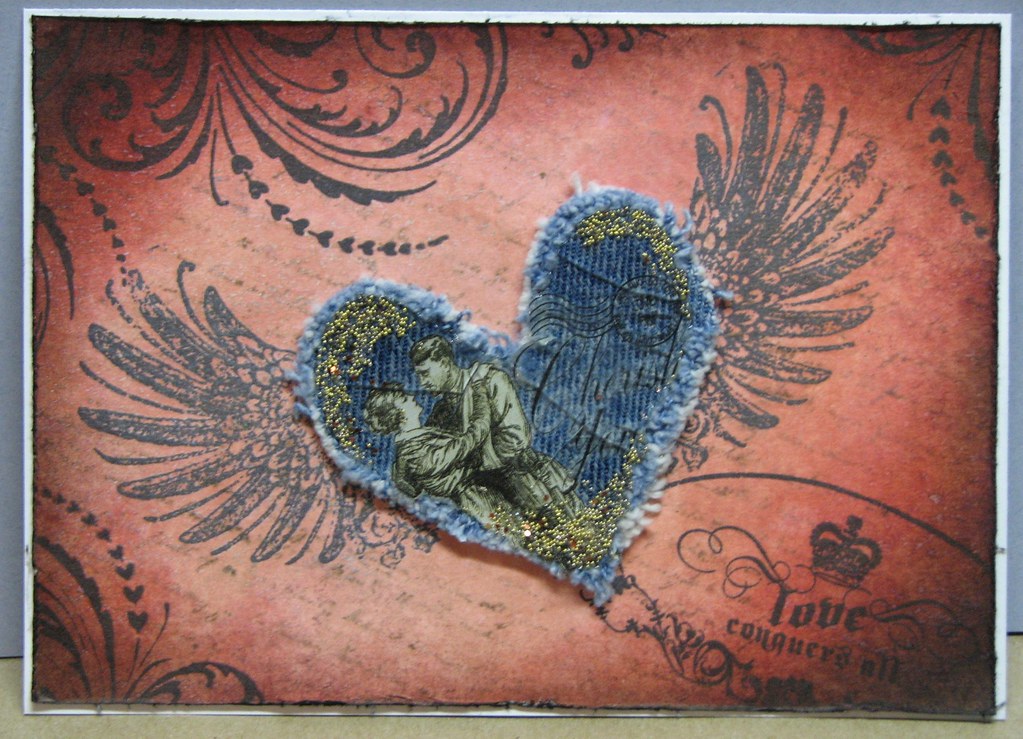
~ Love Conquers All ~
Wings - Stampers Anonymous; Flourishes - Fancy Pants; Sentiment - Autumn Leaves; Rub-on couple - unknown; Denim - my husbands jeans
 Another fun technique you can add to your collection :) I hope you give it a try and if you do, remember you can share your creations here by adding a link in the comments section or e-mail a photo of your creation and I will post it on the blog for you!
 Another fun technique you can add to your collection :) I hope you give it a try and if you do, remember you can share your creations here by adding a link in the comments section or e-mail a photo of your creation and I will post it on the blog for you!
I know it's Monday but have a WONDERFUL day!!!
gorgeous examples - i must find some time somewhere xx
ReplyDeleteSome more great projects. I found the blending tool and pads at my local art store!! I am so thrilled. Now to find time to do some of your techniques!!
ReplyDeleteWow! I just discovered your blog and what a treasure it is!!!
ReplyDeleteCarmen
Thanks guys!!
ReplyDeleteHey Nanette, I'm glad you found one!! That's wonderful :)
Welcome Carmen! Glad you like :)
Hey, Roni. Does your hubby know you cut up his jeans to use on your art projects?!? Or is he walking around oblivious to the heart shape cut out of his... er... um, posterior!
ReplyDeleteGaaaaaaaag! LOL *grin*
Gorgeous examples as always. I have been working along side of each of these techniques and so far my ink is still going on with some streaks. Yours look so smooth and blended while mine look just plain splotchy. I'm sure no one but me would notice, but...! Any suggestions on why this is happening or is it just a matter of practicing until I can apply the ink smooth like you?
~ phinny
LOL...Yes, he knows...he just shakes his head when he sees me doing things like this...oh and no, he doesn't wear them anymore - tee hee hee!!
ReplyDeleteAs far as the streaks, you will want to be sure that you are doing a few things which will help eliminate streaks and blotchyness....
1) start your IBT off your cardstock and swirl your way on.
2) always keep your IBT moving in circular motions. NEVER stop or you'll get foam marks where you've rested.
3) move quickly. I've found that if I go too slow I tend to mark things up a bit so I always try to work at a medium to fast rate of speed.
4) keep your movements fluid...don't start and stop alot or you'd definately make extra little ink spots you don't want.
5) have fun and relax...sometimes you don't see my mistakes because I cover them up with stamped images ;) You'd be surprised what you can hide with a good placed stamp - LOL!!
Ah ha! I think #2 and #3 in particular may be the problems. I am going to go do some more now, so thanks for taking the time to write out those tips.
ReplyDelete(((( hugs ))))
~phinny
WOWEE ZOWIE!! This is by far my favorite look!! I love that you can use any color combo and have it look wonderful! I've got a bunch of distress inks...and the ever faithful walnut ink...so just need to get the ink blending tool!
ReplyDeleteI'm definitely trying this!
ReplyDeleteRoni, you just keep on inspiring me hun! I love how you have used the wings, I have this stamp and would never have thought to use it like this....what a fabby idea...one I will have to remember for the future :O)) Just wanted to tell you that I loooove your Blog!! Hels x
ReplyDeleteI thought when you say burnt edges you need to burn the edges.
ReplyDeleteThanks Roni for the useful techniques. You keep on inspiring me and giving us so much tutorials. Loved it so much and I might also buy more of the distressing ink.
This is absolutely brilliant work, it is actually classical post. Thank you for the share. Keep it up.
ReplyDelete