
I want to cover the first technique in my Ink Blending Tool Top Ten Techniques....Edges.
There are probably as many ways to apply ink to edges as there are rubber stampers out there but I'm going to share 4 of those with you.
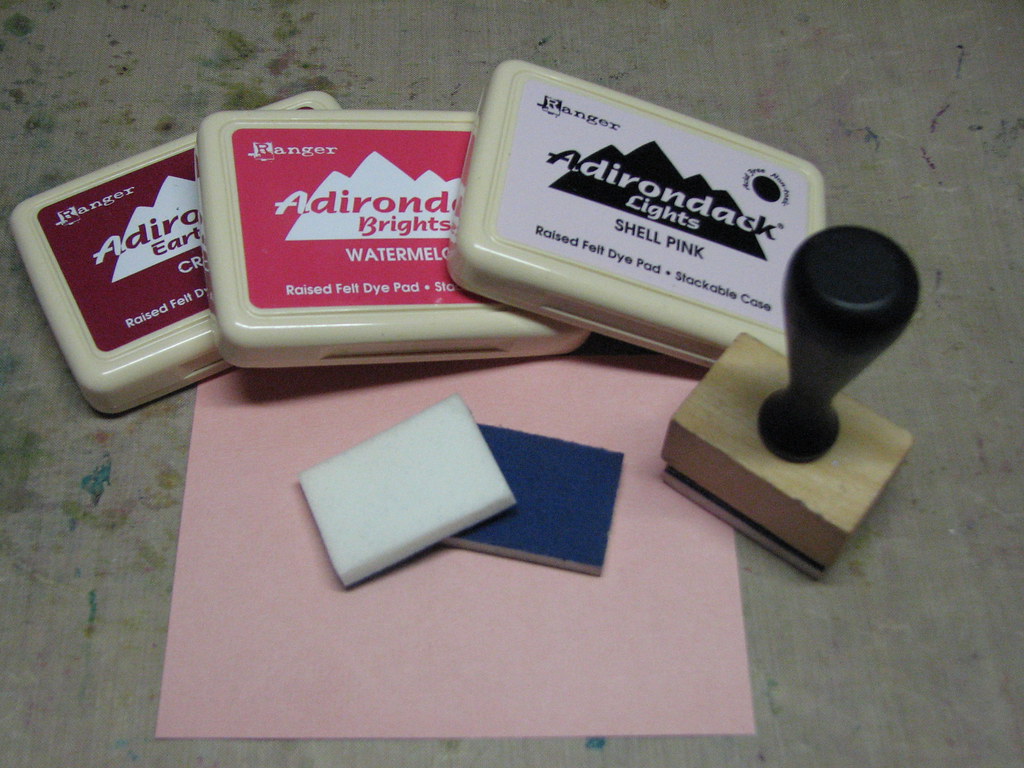
Supplies you will need:
Ink Blending Tool & Foam - Ranger
Ink - Adirondack Dye Ink - Cranberry - Ranger
Non-Stick Craft Mat - Ranger (optional)
Cardstock
A bit about the Non Stick Craft Mat.... I like to use this mat with the Ink Blending Tool because you can prevent those unsightly blotchy ink marks that you get when starting to ink directly on the paper. If you start your inked Blending Foam off the edge of the cardstock and work your way onto the cardstock you should have a smooth transition every time. Another plus is that by using the Non-Stick Craft Mat any ink that was initially left on the Craft Mat will still be there....you can go back and pick it up using your circular motions. You won't have that luxury if you are working on scrap paper.
Some basics....A B C's of Ink Blending Tool
When working with the Ink Blending Tool there are a few basics that will apply to each technique shown below. You'll want to keep these simple A B C's in mind when working with the Ink Blending Tool.
A - You always need to apply a piece of Ink Blending Foam to the Ink Blending Tool...don't laugh, as silly as it sounds I've had people try to use just the IBT w/o Foam! (Note: The foams are re-usable. I like to use one foam for each color family of ink I'm working with.)
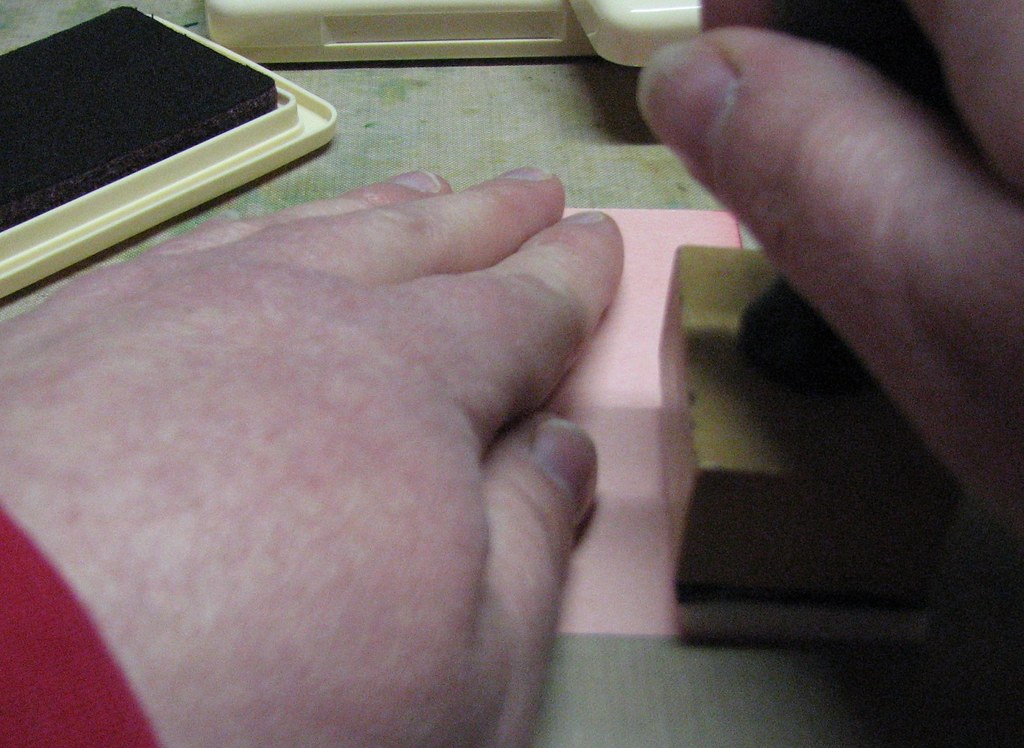
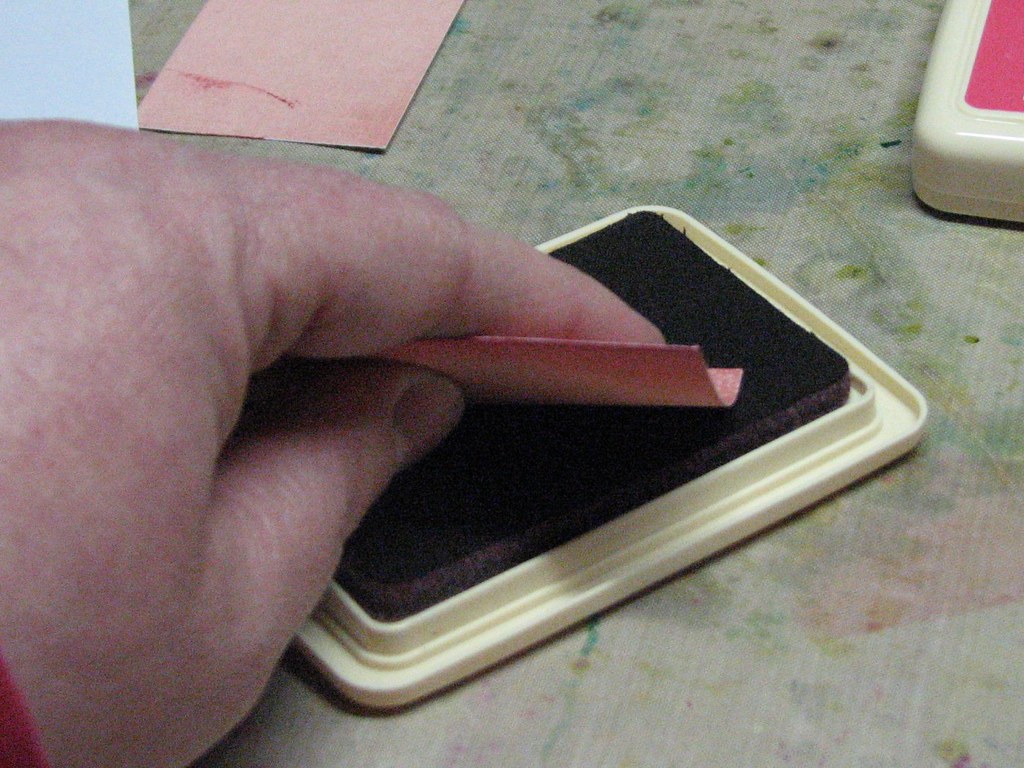
B - To apply ink to the Foam, pounce the Ink Blending Tool/Foam onto an ink pad several times.
C - Always work the Ink Blending Tool in a circular motion when applying ink to your project and start off the edge of your paper.
Now that you've got a few basics....let's begin!!
IBT - #1 Edges - Shadow FX

2. Working in a circular motion, move the IBT so the foam is just barely coming onto the edge of the  paper.
 paper.
 This will give you a nice shadowed effect with very minimal effort.
(finished example below - sorry...didn't get a seperate photo of this technique.)
IBT - # 1 Edging - Heavy Duty Shadow FX

IBT - # 1 Edging - Heavy Duty Shadow FX

1. Pick up an ample supply of ink with your IBT.
2. Starting off the edge of the paper work in circular motions apply a heavy coat of ink to the edges working inward as far as desired. 
3. Continue to work around the entired piece in the same fashion until all edges have been inked.

IBT - #1 Edges - Ink & Drag FX
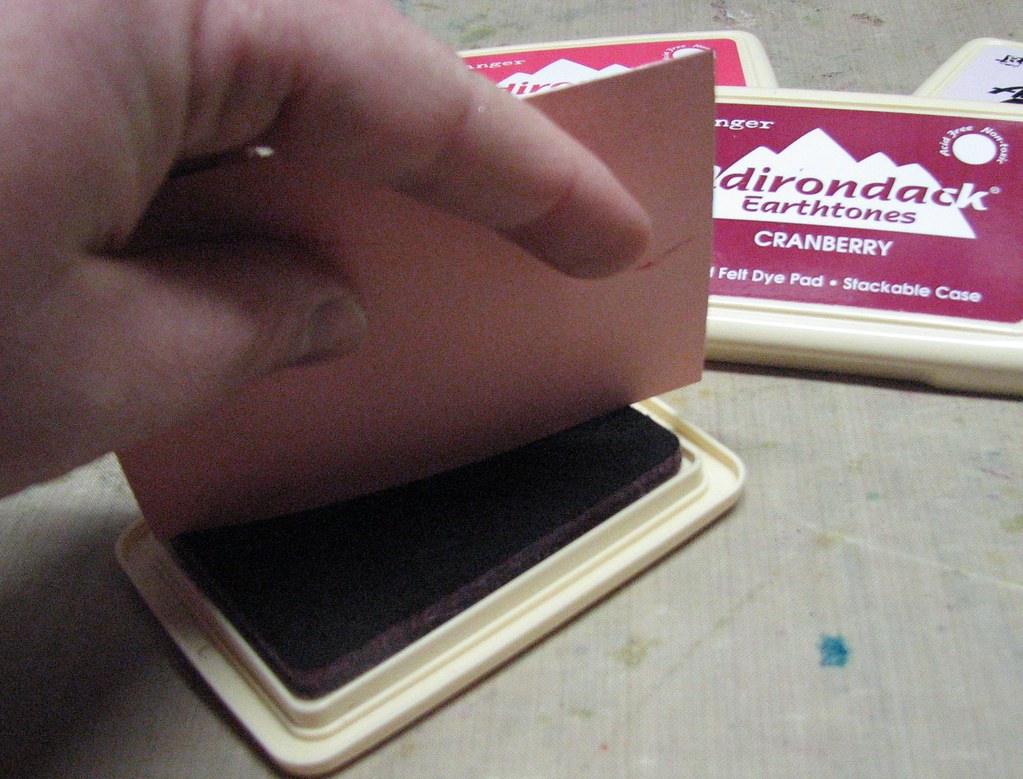
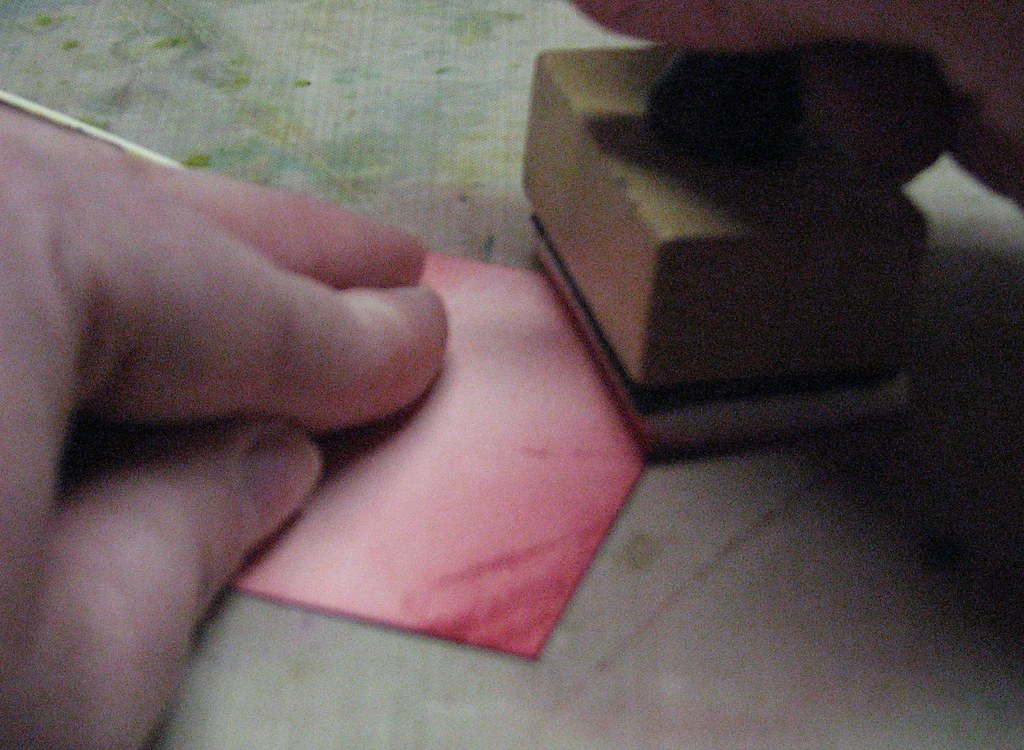
1. Run your cardstock edge along an ink pad making sure to pick up pleanty of ink.
2. Place the IBT off the edge of the paper and drag the ink towards the center of the cardstock in one quick stroke.
You will end up with a nice feathered  edge as shown.

1. Pick up your paper and rub it along ink pad. No need to be neat or gentle, we're going for a heavily distressed look.
2. Place your inked piece of paper on the Craft Mat.

3. Drag and blend the ink over the entire edge. This step will soften some of the rougher looking inked areas and cover what wasn't directly inked from the pad.


Finished looks....from left to right Shadow FX, Ink & Drag; H. D. Shadow FX, Aged Inks FX
Hopefully, these techniques have inspired you to play with your Ink Blending Tool. Maybe you'll give one, two or all of these techniques a try!
I'm embarrassed to admit that I really didn't know how to use the tool / pads so I really appreciate your tutorial on the basics. I've had my IBT for awhile now and I fiddled around with it and didn't quite get it. So, I've been using cut up pieces of the foam without the tool to add distressed effects.
ReplyDeleteVery cool! I'm gonna practice tonight. Thanks (as always) for a great tutorial, Roni!
-phinny
P.S. How is the little guy? (puppy)
Thank you for sharing the techniques. Was wondering if besides 'blending', could you use the tool to pick up 1 single ink color from those multi-color ink pads (several colors laid next to each other in a row) to ink your stamps for stamping?
ReplyDeletep.s. hope your puppy's feeling better now.
No need to be embarrassed Phinny ~ there are lots of people who don't know how to use it...I'm glad it helped!!
ReplyDeleteFidge is doing o.k...he's getting used to the collar (one of those giant plastic things) so he's not as afraid as he was. We find out in 2 weeks if the surgery was a success or if he's going to be blind the rest of his life. Sad, he's only 2!
Kit Kat -
ReplyDeleteI'm not sure if that would work...I do have a suggestion for you though. If you have a particular color you'd like to pick up on a stamp without picking up the side colors. Place 2 pieces of acetate (transparency) over the colors you don't want leaving the desired color exposed. Once you ink your stamp simply remove the acetate. The reason I would suggest using acetate instead of cardstock is because acetate won't soak up the ink like cardstock or scrap paper will. HTH!
I think I like the soft shadow effect the best! Cool way to add color...and kind of an ethereal look! Can't wait to try it.
ReplyDeleteLike I said before, with all these wonderful techniques I'm just going to have to pull our my blending tool and go to work!
ReplyDeleteThanks again for more ideas. :)
I am really enjoying your tutorial. Actually, I learened a lot especially those types of edging.
ReplyDeleteIn my layout I always apply the edging but different technique from yours, now that I learned your great techniques and style I am adopting your styles.
Thank you so much for sharing your talented arts.
Oh gee, thanks for your suggestion. I must sound so dumb not to have thought of that! Thanks so much - I will give it a try!
ReplyDeleteWhat a difference it makes, rather than just inking round the edge! I shall have to put one on my ever growing NEED list!!
ReplyDeleteThanks for the inspiration x
Thank you for this tutorial. I don't have the tool, but do have cut n dry foam, but i guess the technique is the same.
ReplyDelete