Monday, November 25, 2013

Brilliance Distress Stain Resist

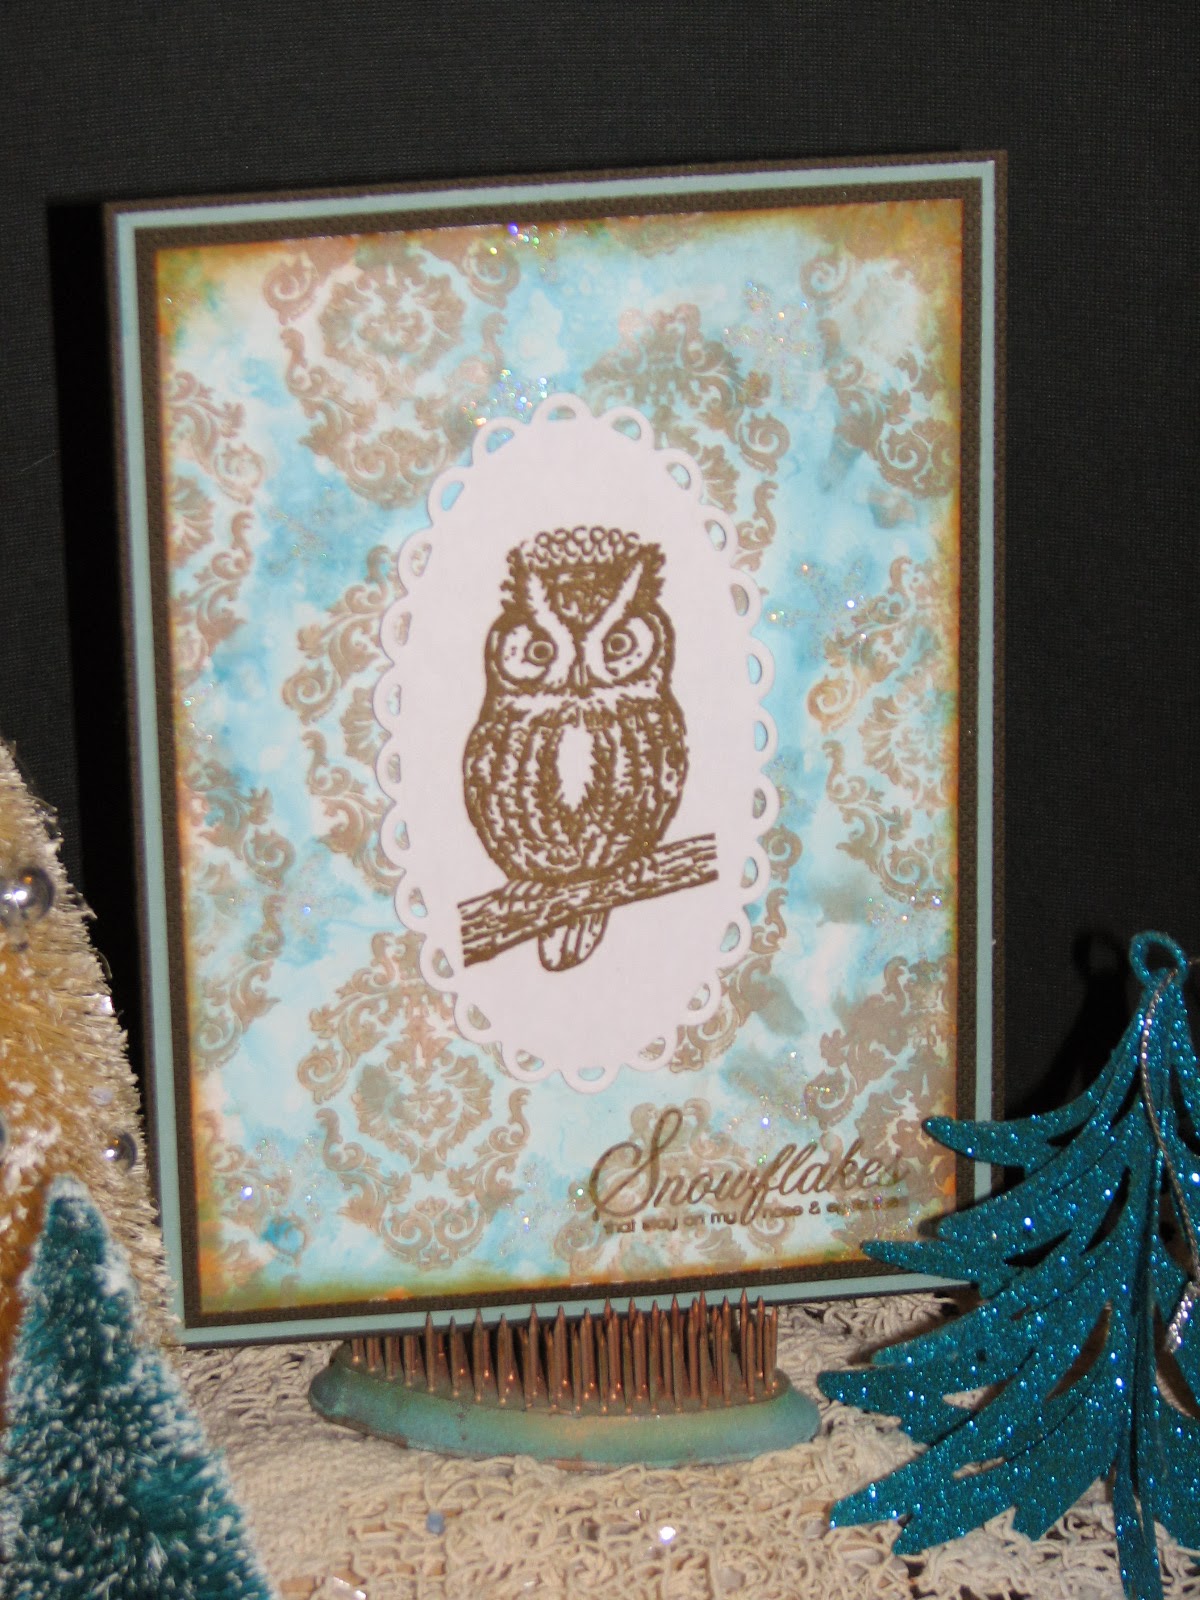
Did you know that Brilliance ink from Tsukineko actually resists Distress Stains once they have dried?  Well it does and I made a card for you today demonstrating it!
The first thing I did was to stamp the flourish image repeatedly over the entire piece of cardstock (Ranger's Specialty Stamping Paper).  Since Brilliance ink is a pigment ink it takes quite a while to dry so to speed drying I zapped it with my heat tool.
Next I squeezed quite a bit of Distress Stain (Tumbled Glass) over the cardstock.  As you can see I used quite a bit...I wanted it to be able to pool in various areas creating depth and faux dimension after it dried.  


Here's what it looked like after it was dry...


I then mounted it to my card base


Stamped a few snowflakes again using Tumbled Glass.
I wanted them to show up just a bit but not over power the Brilliance flourish.


I then added a bit of stickles to each snowflake.


I finished it off with this royal looking little owl and sentiment from Fiskars "Winter" set of stamps.


I wish you could see the shimmer from the brilliance ink and depth of the Distress Stain paired with the sparkle of the stickles. It really makes for an amazing looking card but you'll have to trust me when I say it's much prettier in person.

Is it snowing where you live?
It is here in Indiana and from listening to the news it sounds like LOTS of folks are getting snow today.  Hope you all stay safe and warm!

Take care ~

Thursday, November 21, 2013

Multi Layer Background Technique

Today I wanted to share a card/technique that I had planned on sharing with you 2 weeks ago when we had 3" of snow on the ground but alas way too many irons in the fire, I never did get it posted.
 
Better late than never!
 
I wanted to show you how easy it is to make a multi level background which really adds depth and dimension to a card for any season/reason.  I just happened to be using it for a wintery card because of the weather.
 
Multi Layer Background Technique

1. Decide how large you would like your card to be.  I was going for a 5x7 card so I started out by stamping a background that was about 6x8...  I always like to have a bit extra I can trim off around the edges.

2. Choose a background stamp you like and stamp it over the entire area...I am using a fairly large background image so I only had to stamp it twice as shown.


3. Sprinkle with embossing powder (in this case silver) and heat to melt the powder.  Don't worry if it's not perfect...as you can see I have a few areas where the ink was light and my center line seems to have over lapped a bit.  This just adds a nice bit of character I think.


4. Next flip the paper over and mark out 2 or more layers.  I am using 3 for this card but you could use 2, 3, 4 or more.  I wanted a larger frame around the outside edge and smaller portion for the center because I have a winter themed sentiment that will fit into it perfectly. 
 
TIP: I used the grids on my stamping blocks as guidelines but a ruler would work as well.


5. Cut apart your individual frames with an exacto knife, scissors or trimmer.

 
6. Mat each layer with desired color of cardstock.  The extra mat will nest over the previous layer perfectly!

 
7.  Choose a few embellishments for your card...for this one I am using die-cut snowflakes along with a stamped sentiment and pair of mittens.

 
8.  I added a couple of the die-cuts to the base of the card.

 
9.  I then used foam tape to lift the next layer off the base and added 2 more snowflakes.

 
10.  I added the final layer again with foam tape then finished off the card with a bit of Stickles Glitter Glue and some half pearls.

 
You now have a very dimensional card with very little effort
yet it yields stunning results!


Added Goodies to My Etsy Store!

You all know I'm not a very good sales person but I'm trying :)
 
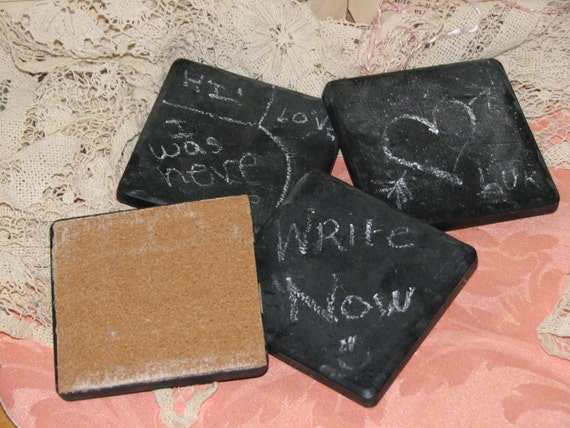
I had a few people ask if I was going to add some of my hand made goodies to my Etsy store so I got around some of the items I thought you might like and added them to the store.  I have also added LOTS of other vintage finds from recent auctions and estate sales.  Most of them would make cool gifts is you're into vintage goodies like I am!
 
Here are a few pics....
 
Made my ME :)
 
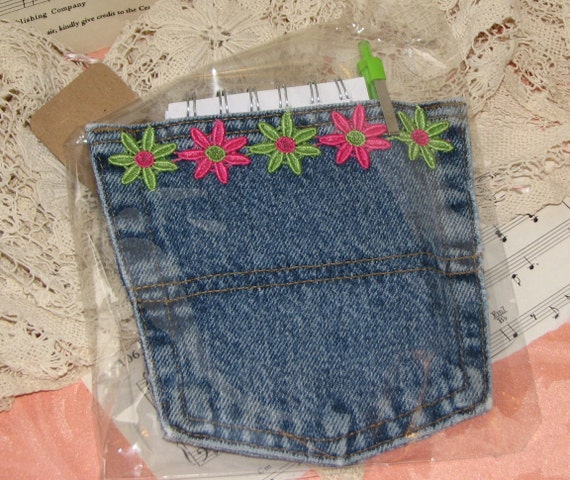
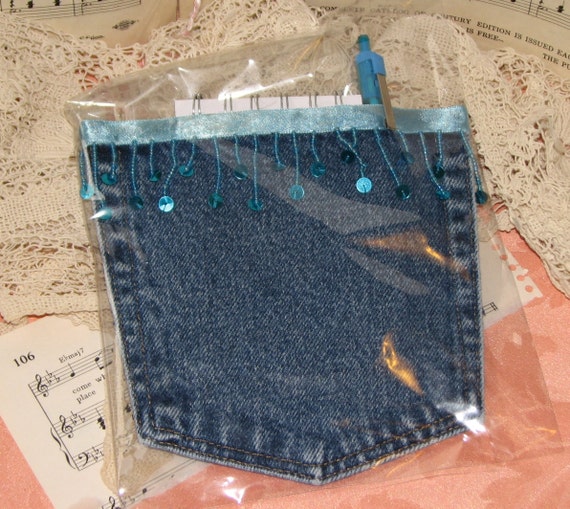
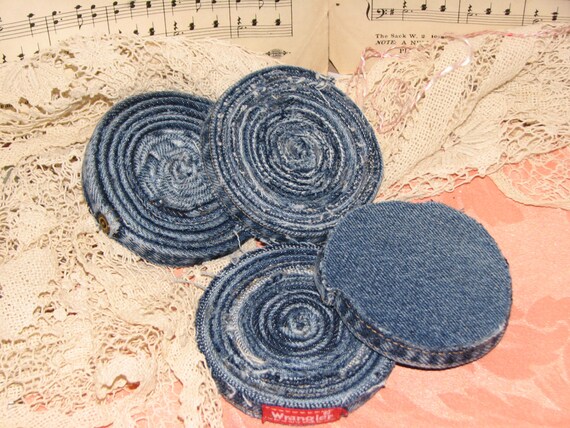
Denim Pockets - There are several different designs, these are just a few. 
 
Denim Jean Pocket Magnet Note Pad Holder


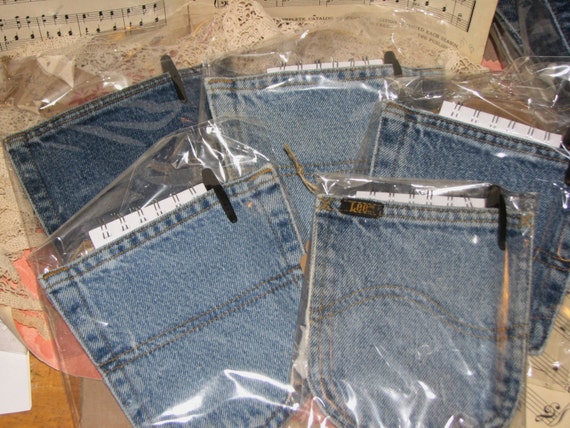
I made some Plain Denim Pockets for the guys in your life...
 
Denim Jean Pocket Magnet Note Pad Holder


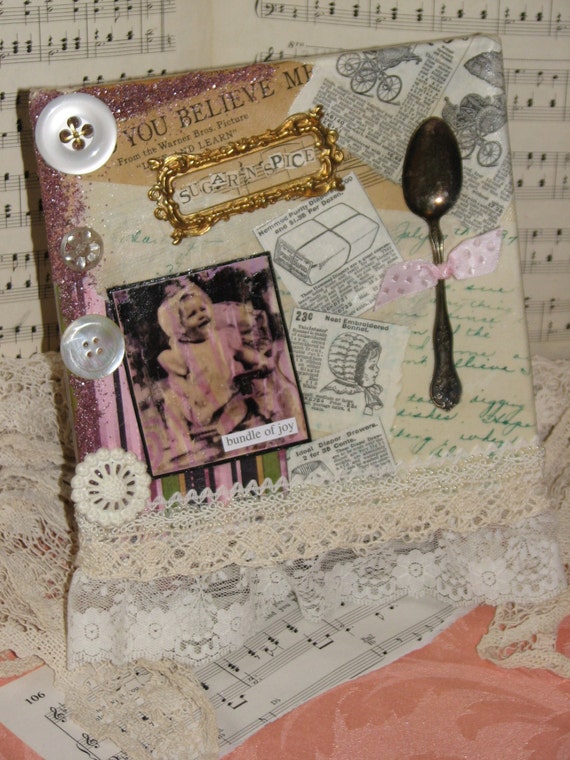
Sugar & Spice Original Canvas Collage
 
 
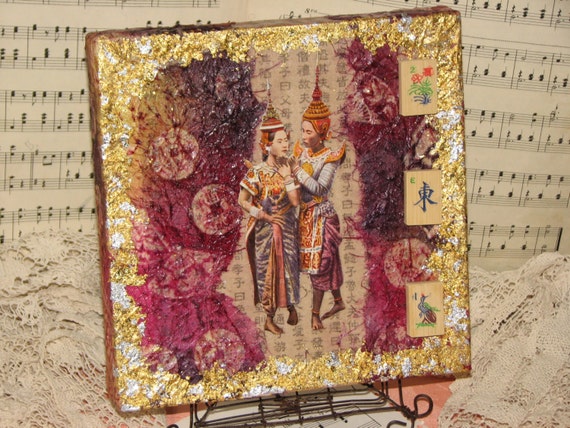
Golden Love - Original Asian Influenced Faux Batik Canvas Collage
 
And there are lots of vintage or collectible goodies as well....


and lots more...
 
There are of course all sorts of vintage ephemera and supplies for your own art.
 
I hope you take a minute and check some of it out :)

Wednesday, November 20, 2013

Book - "Totally Awesome Rubber Band Jewelry" - Review & Give-A-Way!

Recently I was asked if I'd like to review the new Design Originals / Fox Chapel  book,
by Colleen Dorsey.
 
 
Now I must admit, I hadn't heard of the loom or jewelry until it was featured on the Today show back in August.  Apparently this is new crafty trend is sweeping the nation!
 
If you've not heard of rubber band jewelry, maybe you've heard mention the "tools" to make it ~ the Rainbow Loom, Cra-Z-loom or Fun Loom are the hottest "Must Have's" for kids (8+), tweens & teens.   To me it's reminiscent of the potholder looms from the 70's updated for today's youth.  The principal is basically the same, taking small loops, in this case very colorful small rubber bands, weaving them together turning them into fun modern forms of jewelry.
 
Just in time for Christmas Design Originals has come out with this wonderful full color book demonstrating 12 original projects (from bracelets, necklaces to hair accessories) and detailed instructions for each. 
 
The book is laid out in two sections, the first portion of the book is an introduction to the loom, the tools, the basics and how to make a basic bracelet on the loom and one on a (crochet) hook.   Once you know the basics the author shares how to put this information into practice with a wide variety of nifty designs...my favorite being the starburst bracelet.
 
After reading through the book I thought it sounded like fun!
If I had a girl that would wear these rubber band creations I would certainly jump right in and we'd both be making them - LOL!!
 
Since this book is brand new I thought I'd share a few places you can find it....
 
 
NOW, since I live in a house full of guys ~ who definitely wouldn't wear rubber band jewelry no matter how awesome it is, I am going to pass this book on to a lucky Ink Stained reader!
To enter to win, simply post a comment about this fun and funky new craft sensation!
 
You have until 11-27-13 to enter to win...
at that time I will draw the winner using random.org.
 
Good Luck Everyone!!!

Tuesday, November 19, 2013

Pocket Full of Christmas

Today I wanted to share with you the card I made using the candy canes from yesterday's post that I gave a bow-ectomy. 

I started off by stamping two Denim Pockets using black Archival Ink. I then stamped the Holly Branch several times in one of the pockets.  I didn't worry about the images over lapping we'll take care of that later.  The holly was colored with a combination of Distress Markers, Spectrum Noir markers and a bit of Cranberry Stickles Glitter Glue.  I added a line of Faded Jeans Distress Ink around the edge of this pocket as well.

The second pocket was colored using Faded Jeans Distress Stain with a bit of Sakura Gelly Roll White Pen here and there to help with the faded look.


I stamped 3 additional holly branches and colored those as well.
After the Stickles was dry they were all fussy cut.


Next came the Candy Canes. 
After they were colored I applied a layer of Crystal Lacquer to each for a bit of shine.


I then assembled the pocket layer in each of the elements.


This is a very dimensional piece which I tried to show in this photo...


And to finish off the piece I added the "Merry Christmas" Holiday Grunge Seal.


I think that the pocket stamp is going to become one of my very favorite stamps...
I get dizzy thinking about all of the fun "stuff" you could tuck into it.

I'm sure you'll be seeing more of it in the future
till then, I hope you enjoy this bit of Holiday cheer!

Cannon Printer Ink - 40/41

Hi All...

My old Cannon printer gave up the ghost last week so I had to go and buy a new one today.

Anyway, of course the new printer takes a different cartridge but I have some ink left over from the old one.  The old printer took 40 (black) and 41 (Color) cartridges.  I have two brand new blacks still in the box, a 1/2 used black and a brand new color (which was installed into the printer in hopes of making it work).

I was hoping that there might be someone out there that would be interested in buying at least the two new black cartridges and I'll toss in the other two for nothing. 

It says these fit in the following printers:

iP1600
iP1700
iP1800
iP2600
MX300
MX310
MP140
MP150
MP160
MP170
MP180
MP190
MP210
MP450
MP460
MP470

If you're interested, please e-mail me....I'll make you a great deal!

Monday, November 18, 2013

Stamp Surgery - Bow"ectomy"

Today I wanted to share a bit of a project I've been working on.
 
I am making a card using Stampers Best - Deep Red Stamps Candy Cane. 
 
Candy Cane Rubber Stamp
 
Now I love this image...it's got a vintage feel to it don't you think?  Anyway, I thought I might tuck a few into a denim pocket but I didn't want bows on all of them...  It would get a bit crowded I think.  So I decided it was time for surgery!
 
The first thing I did was to stamp the image twice....

 
Then I colored one full candy can and the bottom portion of the second.
I used Distress Markers but of course you could use your favorite medium.

 
I trimmed the colored bottom half of the 2nd candy cane and test fit it to see where it would align properly over the bow.

 
Trimmed a bit here and there...

 
and glued it over the bow.

 
Here is the "new" de-bowed candy cane next to one of the original images.
Looks pretty good huh?

 
I'll share the completed project with you later in the week :)
 
BTW, I wanted to give you an update on the Craft Show this past weekend...
It was a mixed review...LOTS of people looking ~ not many actually doing much buying. I had a few repeat customers from last year who bought lots of goodies again...  One lady bought all of the cards I posted last week plus several more which really tickled me.  She loved the cards she bought last year and was so excited to see me again, she bought twice as many as she had.  That made me feel good.
 
The best seller of everything I made was the clothespin magnets!
I was surprised, those were just a last minute ~ not sure if anyone would buy type of thing.
 
The things I *thought* would do well didn't...
that's what I get for thinkin' huh?
 
Morgan (Bob's girlfriend) only sold 3 scarves so she was a bit disappointed but we were in knitting central ~ there were 3-4 other booths right around us that also had knit items...they weren't selling much either so I told her not to feel bad.
 
Here are a few pics....
 
Morgan presenting the booth :)


(Morgan made me!)

 
We have another one here in town on December 6th...
We're hoping for a good turn out AND buyers - LOL!!
 
Have a great evening!

Friday, November 15, 2013

Autumn Greetings!

 
WOW, it seems like forever since I've gotten to actually stamp anything.  I am FINALLY done making things for the craft show and it's a good thing because it's tomorrow.  Actually, I could have continued to make things...I have so many ideas but not enough time or table space.  Oh well, something for another time.  I can't wait ~ I'm so ready to get there, get set up and ready to sell.  I'm going to take my camera and share some pics this weekend.  Wish me luck!
 
Anyway, my table is still a piled high disaster but I cleared enough space to stamp this tag.  It was fun just to stamp and ink something up for the fun of it...not because it's got to be done to sell.  All of the images are from Just For Fun Rubber Stamps.  I used various shades of Archival Inks to stamp the images, Spectrum Noir to color the wheat and Distress Inks for the background and pumpkin. 
 
I hope you are having a wonderful Autumn so far...
hope you can get out and enjoy it before it's gone!
 
Have a wonderful weekend friends...
have you played with your inks today?  If not, here's to an inky weekend!
 

Wednesday, November 13, 2013

Donkey Friends

Still trying to get things around for the craft show so no new project or techniques today but I thought I'd share some news...


Sadly the boys had to go live elsewhere...
We were running out of pasture space for the cows and since the donkeys were just living here as a retirement thing they had to leave.
 
They went to live at a nice place where they will have lots of horse friends to roam and play with so it's a good thing...even though it is a bit sad for me.
 
Anyway, that's life on a farm.

Monday, November 11, 2013

Washi Tape Christmas Cards

I mentioned that I've been making holiday cards for the craft bazaar.
I decided that now would be a good time to start using up some of the left overs.... 
I'm sure you know what I'm talking about, the left over chipboard pieces from Christmas scrapbook kits; the last two stickers on the sheet of holiday images you bought two years ago; the extra embellishment tags you bought on clearance three years ago...  The list goes on and on.  
I have a whole box full of Christmas/winter themed left over goodies that I've been "collecting" since I started scrapbooking since 1998 (you know you can't throw it away...it might come in handy some day).    
Well, today is the day!  So, the first batch of cards I made I challenged myself to incorporate washi tape paired with some of these left-overs. 
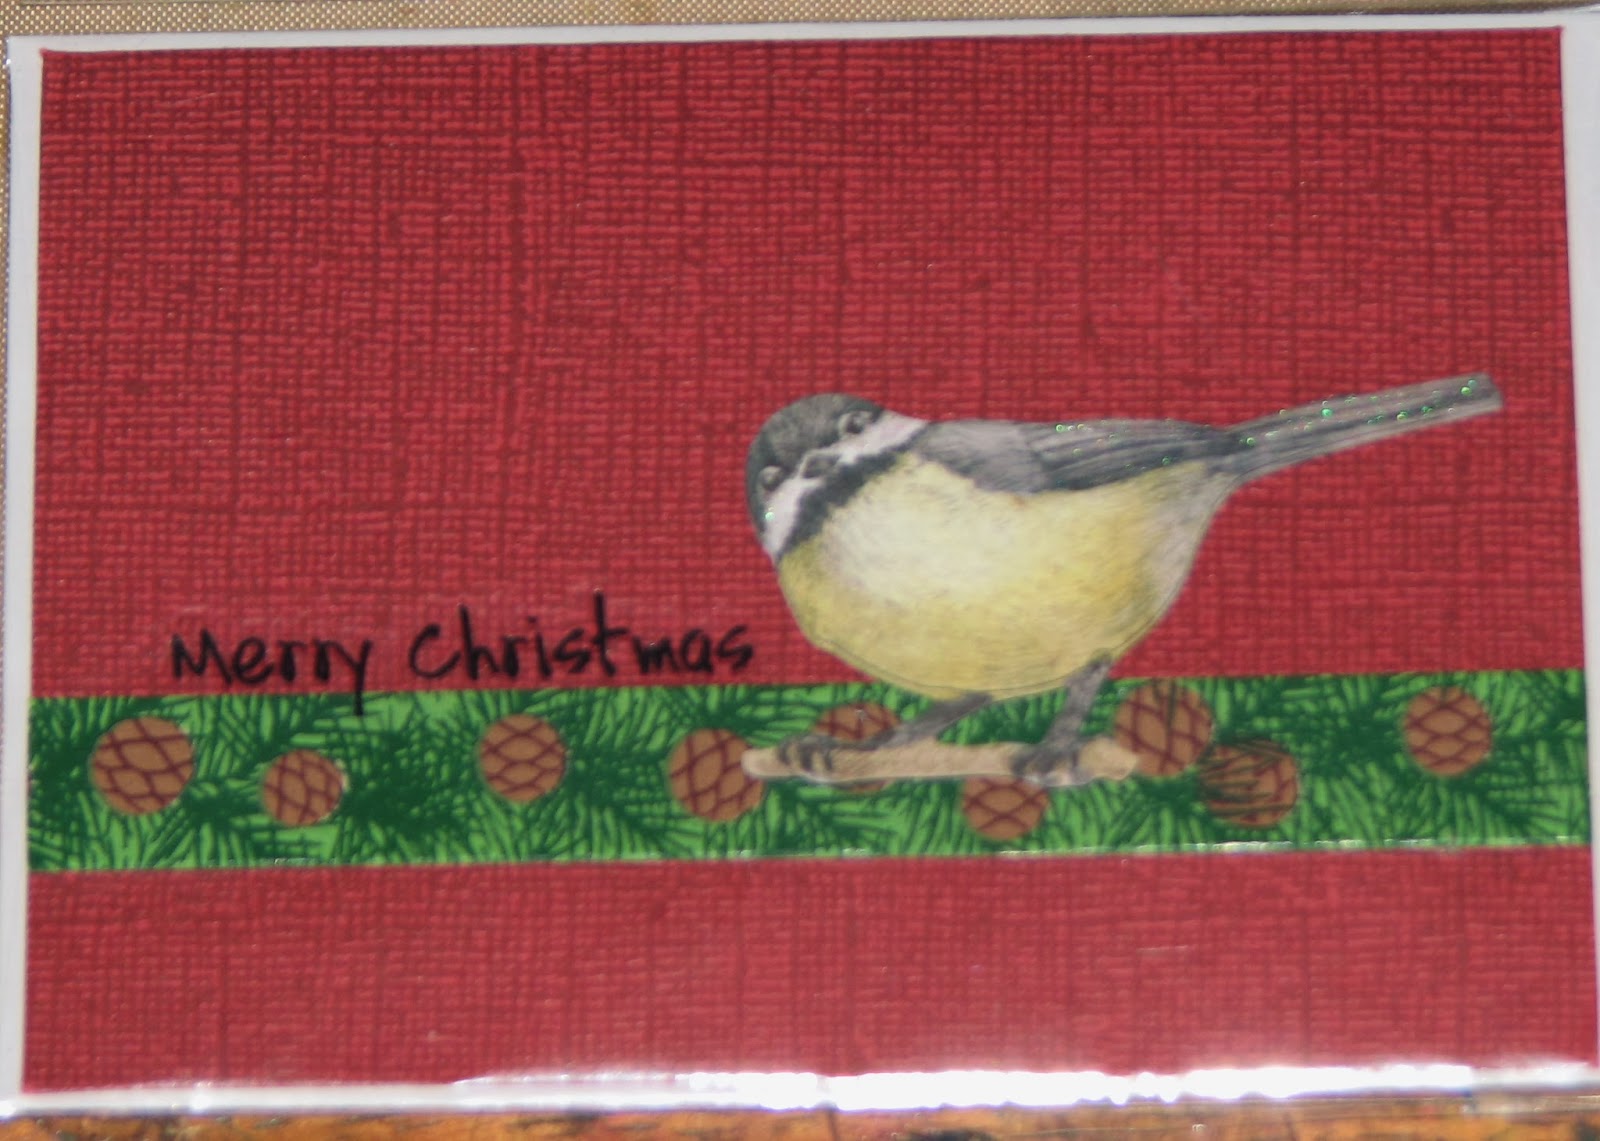
Here are some of the cards I made...
NOTE: Red and Green cards seem to sell the best so that's the main colors I used.  Each card has at least one type of washi tape, some 2-3.  All of the other embellishments are the left-overs I was talking about.  Some are one of a kind from years and years ago, others are things I bought last year after Christmas but everything is things I already had...I didn't buy one additional goodie to make any of them :)


These cloth holiday tags are from the early 00's.


I did make a few cards using non-traditional colors just because I was getting tired of the red and green - LOL!!


So now I challenge YOU to make some cards using up some of your left overs ~ the washi tape can be an extra challenge but only if you already have it in your stash.

Are you up to it?
If you do, please be sure to share your left-over success with us all!
We'd love to be inspired.