Wednesday, February 18, 2015

2015 Mixed Media Technique Calendar - May

Hi Everyone!  I hope your week has been great so far.  Today I have the next page for our Mixed Media Technique Calendar.  This one is a bit different and has such potential.  I originally used this technique on scrapbook pages for photo frames.  Playing with it on mixed media projects opens up a whole new realm though.

I don't know if you recall when everyone was tearing open the center of a photo mat and rolling it back to create a rolled paper frame with a photo nestled inside?  Well this takes that idea a step further by simply rolling papers (all the same or various designs) and framing art work or in this case framing the calendar for May. You could also layer the rolls on your canvas and simply create art over the paper rolls and that leads into a few other ideas but we'll save that for another day ;)

Let's go!

I started off by adding a layer of pattern paper tissue to my Gothic Arch base.  You don't have to use pattern tissue, you could use pattern paper or other types of paper ephemera.


Once it's dry trim off any extra bits.


Add a bit of color - you can use spray dye as I did or you could use watered down acrylic paints, glaze, watercolors, etc.  Whatever you have on hand.


Next add a bit of stamping and or use stencils.  I have done a bit of both.  If desired you could also add bits of ephemera at this time.


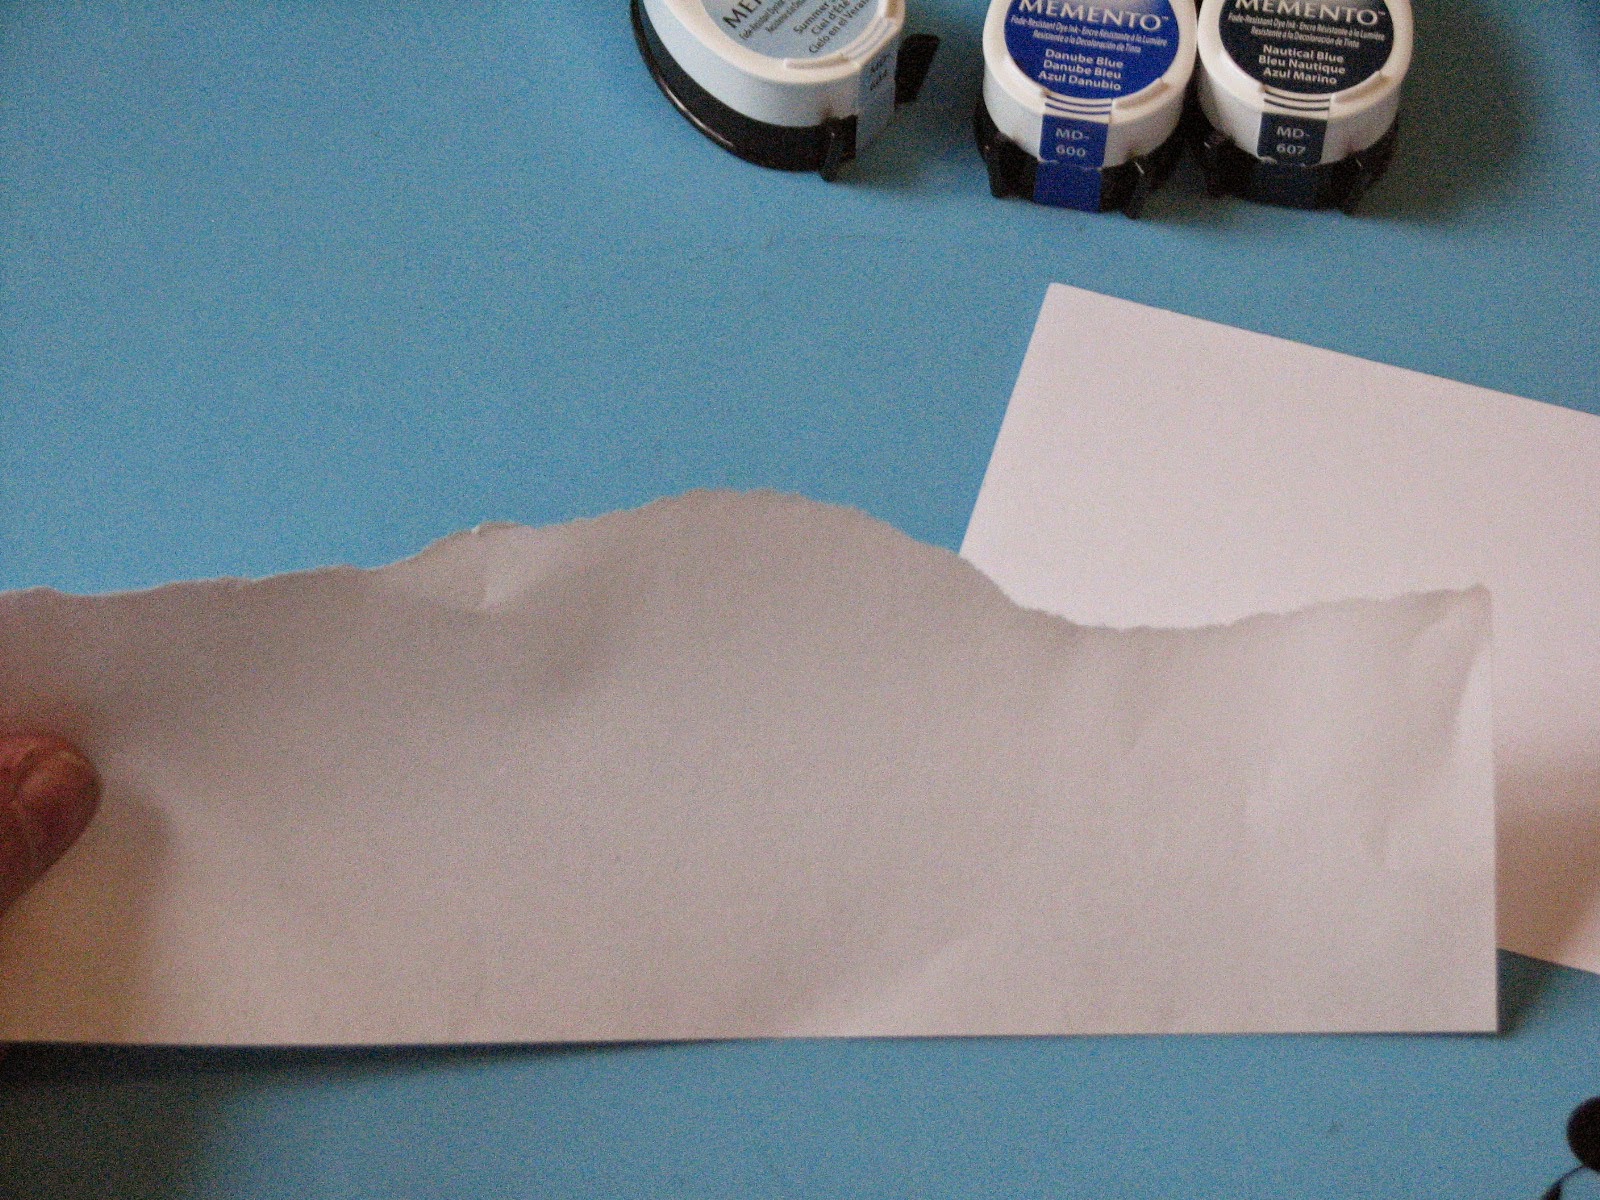
Next our paper rolls...simply tear off a bit of paper and roll it up!


The size of your rolls is totally up to you.  If you have a larger canvas - you could make really big paper rolls, smaller canvases - smaller rolls.


Glue them to the arch around the calendar making a frame with the paper rolls.... For some reason the photo showing the rolled frame won't load so, let's imagine 2-3 rolls on each side of the calendar.


Once you are satisfied with your rolled paper frame, add desired color to the rolls.  You could use inks, paints, or any other type of medium you desire.  I used a bit of paint, ink and irRESISTible Texture Sprays dripped on the rolls.  

I then stamped a few Darkroom Door tulips, trimmed and mounted them on the frame as well!  And here's how it turned out! 


NOW it's your turn :)
Have fun!!

Supplies:

DecoArt: Media - Matte Medium; Americana Paint
IMAGINE Crafts/Tsukineko: Memento Inks; Fireworks! Spray; Radiant Neon Ink; irRESISTible Texture Spray; Memento Dual Tip Markers
Darkroom Door: Tulip Stamps
Just For Fun Rubber Stamps: Line Circles (lg & sm)
Misc: Chipboard; Pattern Tissue; S&H Green Stamps; adhesive; Computer Generated Calendar Aleene's Fast Grab Glue

Tuesday, February 17, 2015

Wee Little Green ATC's

Hello Friends!

Today I wanted to share some St. Patty's Day ATC's with you.  These are going to be little surprises I'm sending off to some distant friends.  St. Patrick's Day is an under appreciated holiday in my opinion so I'm trying to bring a little green into people's lives :)


All of the images and supplies are from Altered Pages.


I LOVE this donkey!


Tomorrow I'll be back with May's Calendar Page.  Hope to see you then!

Monday, February 16, 2015

Sunflower...

Today I have a project I made using a couple of the new mediums from IMAGINE Crafts....Radiant Neon Amplify! and StazOn Studio Glaze.


So to start off I trimmed my pattern paper (ClubScrap.com) to size.  I then drew several stems using Memento Dual Tip Markers.

I then took the Electric Yellow Amplify! and drew various size lines around an imaginary circle.  You could trace a circle if desired but I wasn't too worried about it being perfect.  I repeated this step twice more so I had 3 sunflowers in total.


Time for the magic...heat the Amplify! with your heat gun to puff it up!  I love this part, it's so much fun to watch it grow and bubble.


And here's how it turned out....  LOVE all that dimension!!!


Next I filled the center of each sunflower with Spiced Chai StazOn Studio Glaze.  This stuff is great, it dries to a translucent finish.  (which is why I used the pattern paper)


Once the glaze has dried you can finish off your card.  I did so by stamping a sentiment from Chapel Road Artstamps - "Sun Flower - Turn your face to the sun and the shadows fall behind you."  Perfect I think.  The finished panel was mounted on more CS cardstock - all from the Trees kit.


Supplies:
IMAGINE Crafts/Tsukineko: Radiant Neon Amplify!; StazOn Studio Glaze; Memento Dual Tip Markers; Memento Tuxedo Black
ClubScrap.com: Trees Kit
Chapel Road ArtStamps - Large Sunflower
Heat Tool; Adhesive; Trimmer

Saturday, February 14, 2015

Valentine's Day Club Scrap Blog Hop

Happy Valentine's Day everyone!!!

I hope you're all having a wonderful day and
 thanks for joining me for a bit of Valentine's Day fun!  


Today is Club Scraps Valentine's Day Blog Hop and I wanted to share a couple projects I made today using papers from the Picnic collection from June of 2014.  The delightful colors and designs work perfectly for Valentine's Day as you will see.

 photo Vday Hop_zpscnsd2lu5.jpg

And here is what I created....  Yes!  Gnomie and his girlfriend are back!  Today he's presenting a little shimmery heart to her because he's "Sweet on you!".


The stamped sentiment "Sweet!" is also from the Picnic collection but works perfectly for Valentine's day.  I hand wrote the "on you" portion.  Both Gnomie and his girlfriend were colored using Inktense watercolor pencils.  The little shimmery heart sequins was something I've had in my stash forever.  I think it was from Doodlebug (when sequins were originally in style).


I also made a little take out box filled with paper fortune cookies!  


And here's how I created them...  I started off by trimming down a piece of the plain pink cardstock to fit in my printer then printed the template directly onto the cardstock.  The template has grey score lines printed on it which I darkened up a bit so it would show up in the photos.  You could of course print these at a lesser value so it doesn't show up in your finished project.  

As far as the template goes I just googled Take Out Box and choose one I liked.  This one is from polkadotmaker.com.  

Once printed I cut it out and scored it in the appropriate places.


I then printed a second template on copy weight paper, cut out the sides to use as a rough guide for cutting out the decorative panels.


I stamped the dark pink panels with the swirl stamp from the Reunion Art Nouveau set of stamps and Memento Rhubarb Stalk ink.  I also used the same ink to edge each panel.


After I mounted the panels to the sides of the box I set about assembling it using double stick tape.


I formed a handle from a piece of red wire I had in my stash and this fun little box is ready to be filled....


What better to fill it with than fortune cookies!  So I punched out several 2" circles from the same papers from the Picnic kit and inked the edges with the Rhubarb Stalk. 


I then printed out lots of fun little "fortunes" using what else....Shanghai font.  They were trimmed down to size.


Here's how you assemble each little cookie...  Place a fortune in the center of the circle and bring the sides up together as shown.  You now have a nice half circle...


Push in the center bottom of the half circle and bend it closed.  I used a piece of a glue dot to hold it in position because it's thick cardstock and wants to come unfurled.  Thinner weight paper may be o.k. on it's own.


I repeated the above steps and made the rest of the "cookies".  I'm thinkin I'll fill it with some candy and sprinkle in the fortune cookies...will make a fun treat for someone on my "Loved" list :)


Thanks so much for stopping by ~
Happy Valentine's Day!!

Your next stop on the hop is - 


if you get lost along the way you can find the complete list at


Supplies Used: 
IMAGINE Crafts/Tsukineko Memento Rhubarb Stalk & Tuxedo Black ink
Misc - Heart Sequins - Doodlebug Designs; Red Wire; Computer Generated "Fortunes"; adhesive; Scor-Pal; Circle Punch

Friday, February 13, 2015

Steamy Valentine's Card w/ IMAGINE Crafts

I am so excited to share my favorite Valentine's card I have made this year....and it's featured on the IMAGINE Crafts/Tsukineko blog today!


You all know how much I love Steampunk goodness, well this card is full of it!  I made it using all of IMAGINE Crafts/Tsukineko's new Delicata Inks quad ink pad which includes Gold, Silver, Bronze and my personal favorite COPPER!

You can find the complete detailed instructions and supply list here - Steamy Valentine - over on the IMAGINE Crafts/Tsukineko web-site.

Thursday, February 12, 2015

You're my Type...

Sometimes things are just meant to be.  I bought the Avery Elle "Lots of Love" stamp set when an on-line retailer was having a New Years sale back in December.  I really liked all of the sentiments included in it but one of them jumped out at me...

BIG BOLD small italic
you're my type

I just loved it! I knew before the "season" was over I wanted to make a card incorporating it.  Well, I finally got around to it (yes I know, waiting to the last minute) and here it is...  Everything was already in my stash! 


The heart was stamped with Assembled Alphabet from Just For Fun Rubber Stamps which I've had for 10+ years.  The cardstock is all Club Scrap cardstock which was from the Reunion kit (Dec 14); the inks are StazOn (Black & St. Valentine's) and Memento (Tuxedo Black) and check this out...


I knew I wanted to add a couple vintage pen nibs so I was going through my collection and can you believe it?!?!?  I found a box of nibs that tiny hearts at the tips!!!  How perfect is that?!?!  I dug around a bit and found this wicked 1/16" wide red satin ribbon for the perfect finishing touch! 

Like I said, sometimes things are just meant to be.  I love how it turned out :)

I want to share this fun card in the
and the


Pivot Point Inking Technique #2

Yesterday I shared a fun inking technique that was inspired by a tv show....Pivot Point Inking.  Today I wanted to share a variation on that technique.

In the technique yesterday I used a torn piece of copy weight paper to use as the ink line and the pivot point was off to one side.  Today I am using a piece of copy weight paper that was die-cut using a "snow drift" edge die from My Favorite Things.  


And unlike yesterday my pivot point is in the center of the cardstock allowing us to ink completely across the paper.


I started off by inking the lightest color in my trio - Angel Pink then moved on to the mid-tone, inking across the entire piece of cardstock.


And finished up with my final color.


Instead of using the entire panel for a card I decided to use a portion of it behind a die cut panel you see here....


And here's how my card turned out....I finished off the design with a bit of Pico Embellisher in Tuxedo Black to really make the pivot point background pop.

Stamp: Avery Elle

Loads of fun and such a striking design!
Hope you give it a shot when you have a bit of time!

Wednesday, February 11, 2015

Pivot Point Inking Technique

Hi Everyone!  I hope you're all doing great this fine Wednesday!  Today is my brother's b-day - Happy Birthday Marc!!

Today I wanted to share a fun technique I thought of while watching TV recently... since my fall DH has "asked" me to slow down and rest my leg so the swelling and bruising would go down.  I listened and as a result have been watching lots of TV and reading more than I care to (far too many things to do than just sit around doing nothing).

I was flipping through the channels one day and happened upon "That 70's Show" and they had a 70's swirl graphic in the background...  I knew instantly I could replicate it  and that it would make a great ink technique so I wrote the idea down so I wouldn't forget.  Now that my leg is feeling better (yeah!!) I gave it a try this morning and it works great!  I'm calling it Pivot Point Inking...you'll see why below.

Let's get started!

Pivot Point Inking

Supplies:

Cardstock (Club Scrap)
Scrap Paper (copy weight)
Ink (IMAGINE Crafts/Tsukineko - Memento)
Sponge Dauber (IMAGINE Crafts/Tsukineko)

Instructions:

Start off by tearing the copy weight paper in half.  This will give you a nice edge to work with.


On your cardstock panel mark a starting point where you would like to begin inking.


Position your torn piece of paper over the card and make a mark on this piece of paper which corresponds to the mark on the card.  This will be your "pivot point" guide for placement of the torn paper for the rest of the technique.


Choose 3-4 colors of ink to use on your background.

Starting with the first color position the torn paper so the guide marks line up and use the sponge dauber to ink along the edge of the tear.

Slide the torn paper down a bit, line up the pivot point guide marks and ink along the edge of the torn paper again.

Continue to pivot the paper making sure the guide marks line up with each move; ink the edge and move on.  Switch colors of ink when desired.


Once you've worked your way around the entire card panel you'll end up with a wonderful inky background!


And here's how I used my Pivot Point background....

(stamps: ClubScrap.com) 

Now how fun is that?  You'll be surprised at how quickly you can work your way around the paper.  A really fun and easy technique but I found it to be zen inking & pivoting.  Be sure to check back tomorrow, I've got another fun variation to share with you!

Have an inky afternoon!