Moving right along we left the honeycomb corrugated board to dry so we might as well work on the embellishments for the plaque.
I decided that rather than traditional Christmas colors I wanted to go ivory, white & blues so I could leave the plaque up not only for Christmas but through out the winter season. So I cut up lots of papers using my tattered poinsettia die, snowflake dies & flourishes.... (You might notice the music die-cuts...those are the ones I made using the Goosebumps Resist using stencils.)
I assembled all of the flowers I was going to be needing then inked the flowers, snowflakes and flourishes using a touch of sepia archival ink.
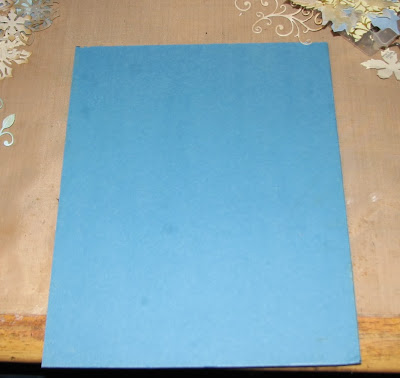
Next I took a piece of game board that had a blue back.
I cut it down to size...
Then covered it with a panel of vintage lace
(salvaged from an old wedding dress).
When the honeycomb was dry I rough cut the text, inked the edge and glued it to the cut out oval in the cardboard. I then applied glue & glitter to the edge.
Next, I printed out the desired image three times.
This image is from the Blue Traveling Santa from Altered Pages.
I cut out key parts from each image...the first image was the donkey & baby Jesus; from the second image I cut Santa & the Christmas Tree and finally I cut the doll & basket from the third image.
The donkey & Baby Jesus will be adhered with one layer of foam tape, Santa will have a double layer, the tree will have an extra layer over the original and the basket will have another layer as well. So this image went from being flat to a triple layered image.
You could of course get really ambitious and cut other pieces out multiple times to give it even more dimension but I wasn't feelin' it - LOL!!
I then adhered all of the pieces/layers onto the cardboard.
I tried to show the dimension but it's just not showing up how I'd like...
I then glued the cardboard to the lace covered game board using my hot glue gun (which broke dang-it! My handle snapped inside so I had to push the glue stick through with my hand.)
Then on goes an embroidered bit of lace along the bottom and all of the embellishments that were pre-cut, assembled & inked.
I had planned on adding a banner saying Joyeux Noel but I liked how it turned out w/o it.
What do you think????
NOTE: The snowflakes that look really white are actually pearl cardstock or pearl vellum. All of the paper I used for the snowflakes was pearlized so they glimmer as you walk by. It also causes issues with the flash. IRL it's much lovelier than it shows up on the photo.
no flash...trying to show all the layers...
So there you go...
a very fun mixed media collage
breathing new life into of all things
a piece of honey comb corrugated cardboard!


I think it is wonderful Roni! And I can see the dimension--it adds so much to the piece, gives it a feeling of opulence.
ReplyDeleteAny more lovely than the photo shows and you'd be in the Louvre! This is gorgeous, just gorgeous. Love the pearlized paper, the lace and the way everything works together.
ReplyDeleteAwesome!, Not even what I imagined.
ReplyDeleteBeautiful! The layers and colors are fabulous.
ReplyDeleteGorgeous! Very Victorian very elegant....love it!
ReplyDeleteBeautiful!
ReplyDeleteAll the different techniques and materials make for an interesting and beautiful finished piece! I love the wintry blues and snow.
ReplyDeleteBeautiful - love the addition of the lace into the mix!
ReplyDeleteThat is very beautiful Roni. The last shot really shows the depth.
ReplyDelete