
I have been experimenting with my PanPastels and I am so in love. Today I wanted to share a fun technique that is an oldie but the PanPastels kick it up a couple notches. First, let me start off by telling you that this works with regular pastels but the colors won't be as vivid as they are with PanPastels so if you have scrapbook chalks or pastels be sure to give it a try. It's lots of fun and very addictive once you start playing with color.
Pastels & sponge
VersaMark Ink
Cardstock
Plastic Wrap (or similar)
Fixative (hairspray or art fixative)

Basic Crinkle Technique -
1. The basic crinkle technique is so fun and easy. First choose 2-3 colors of pastels you'd like to use for your design. Even though it's still officially Summer here it feels like Autumn so I'm using the metallic PanPastels for that fall look.
2. Next wad up the plastic wrap or plastic packaging. I'm using a plastic wrapper that came off of a stencil I bought quite some time ago (I never throw packaging away....you never know when it will come in handy!).

3. Dab it on the VersaMark pad.

4. Begin pouncing the inky plastic wrap onto your cardstock. You will need to re-ink the plastic wrap after a few pounces on the cardstock. It's o.k. if it's not perfect coverage - we'll fix that in later steps.
TIP: For a pattern paper look pounce the plastic wrap in a line or in one direction to create a repetitive design. For a more organic look pounce the plastic wrap on the cardstock then shift the cardstock or the plastic wrap in a different direction each time you pounce. This helps keep the look random and natural.

5. Use a sponge to pick up the pastel and begin gently dabbing it over the wet (invisible) ink.

Your design will magically appear! Continue applying pastel until the entire piece has been covered with pastels.

6. It's time to apply your next layer of VersaMark ink. It will be easier to determine where your ink needs to be pounced since you have a layer of PanPastels to guide you.

7. Dab on your next color of pastel over the ink.

8. If desired repeat with a third color of pastel or use as is. Once you have finished adding color, apply a layer of fixative to set the pastels.
Color Crinkle Technique
Since the PanPastels are so lushious and "creamy" they blend beautifully so I thought it would be fun to try the Crinkle Technique over a blended background. I think it worked perfectly...check it out ~
1. Choose 2-3 colors of pastels for your initial layer. Since the pastels naturally darken when paired with the VersaMark ink it's o.k. if you use dark colors for your base layer of color. Pretty much anything goes with this technique.
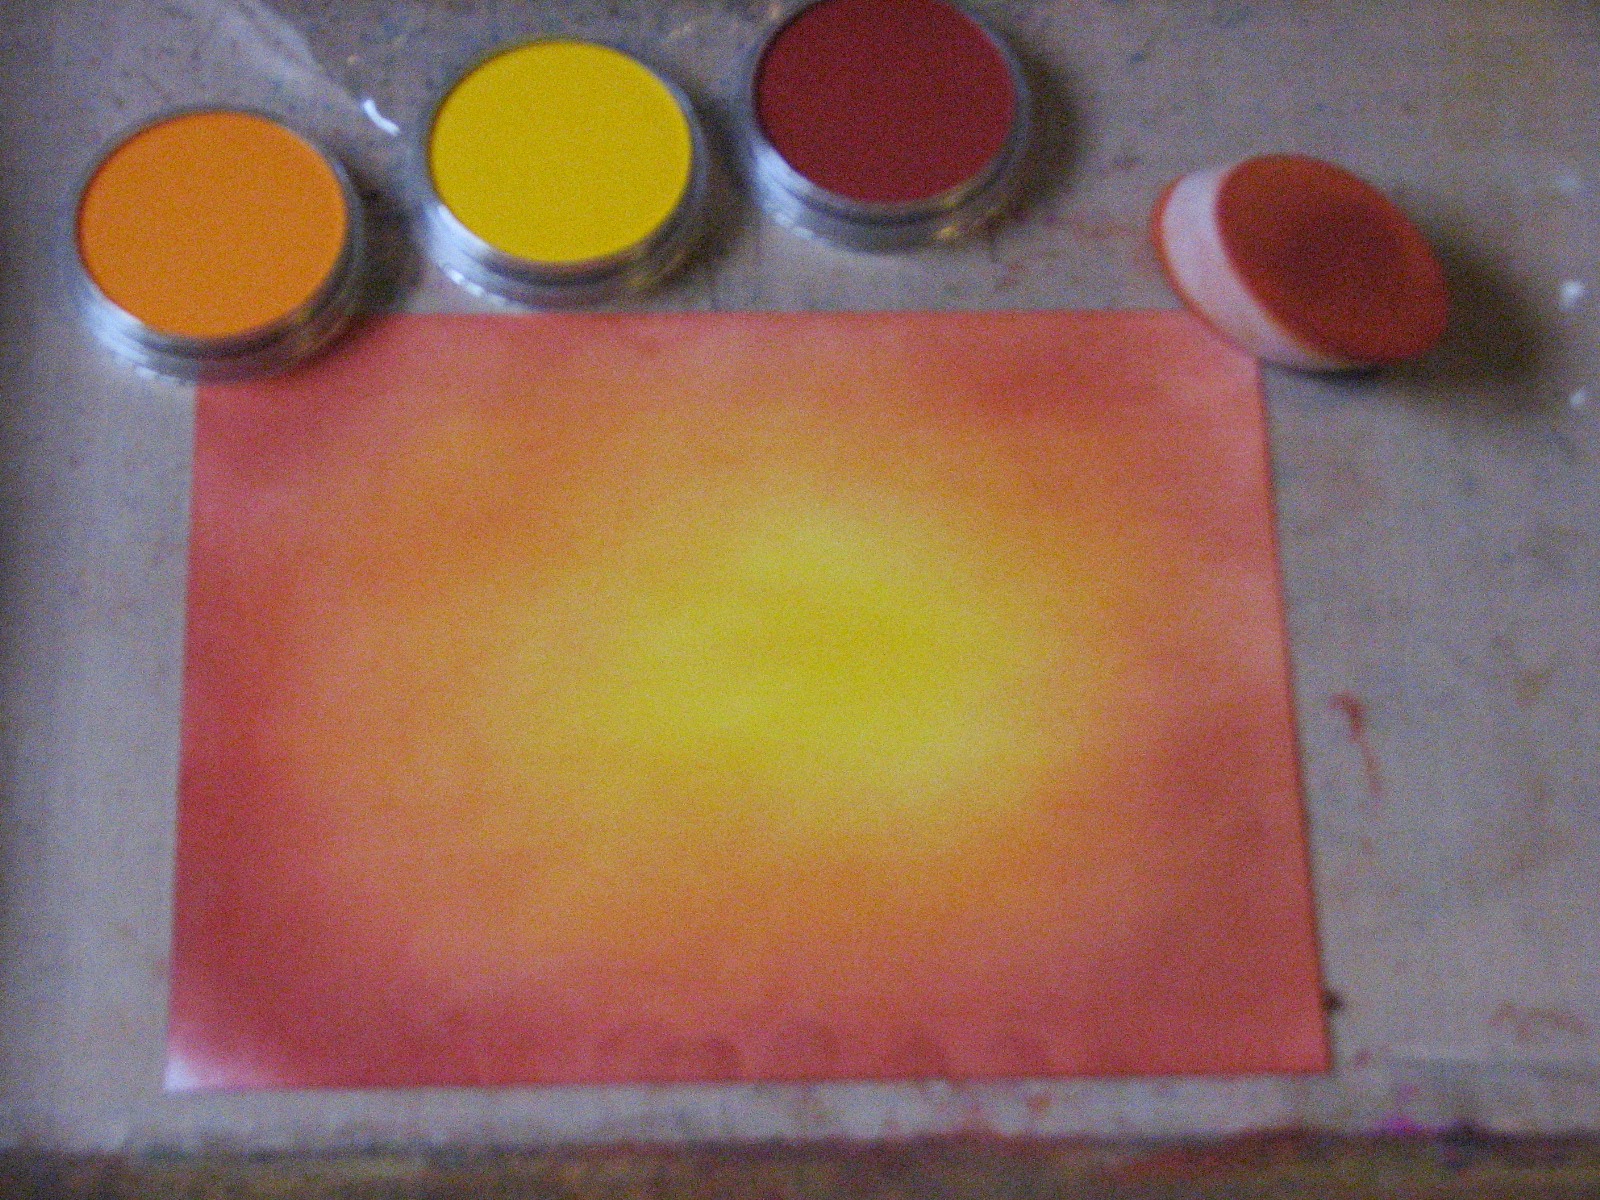
2. Begin applying your base coat of color to the cardstock. I am again using Autumn colors to play with for this example.

These pastels blend seamlessly because they are so finely ground. It really is almost like using a paint instead of pastel.
NOTE: Yes, those are my fingerprints along the bottom edge of the piece...I intentionally made this cardstock larger than what I needed for this very reason. Keep in mind the pastels will cling to oils on your skin just as they cling to the VersaMark ink. If you're messy like me you'll need to leave a little extra room on your cardstock.
3. Apply a fixative to the base layer of color.

If you're like me you can speed drying a bit with your heat tool.

5. It's time to proceed with the Basic Crinkle Technique - wad up the plastic wrap, dab on the VersaMark ink pad and pounce on the colored background. Apply your first layer of color over the VersaMark. Don't worry about the base coat of color....it will be safe because we applied the fixative.

6. Continue to apply one or two more layers of VersaMark ink and Pastels as desired.

And here's how each technique turned out....

The great thing about this technique is that the results are never the same and always a surprise. It's so much fun to experiment with color combos with both the Basic & Color Crinkle Techniques. I'll be back tomorrow with some finished cards using these two examples. Hope to see you then!
Gorgeous backgrounds! What a fun and simple technique! Awesome as always Roni!
ReplyDelete~kim
Lovely, I've used this technique with Versamark stamping but lovely this crinkle effect. Thanks.
ReplyDeleteWhat a great technique! I've used the cling wrap with watercolors and on brayered backgrounds, now I've got one more use for it. BTW, I don't cook a lot, lol!!!
ReplyDeleteLooks good, can't wait till to morrow
ReplyDeleteHelena