Thursday, June 23, 2016

Hypno Origami Wall Art Instructions

Yesterday I shared my "Hypno" origami wall art piece with you...today I'm going to show you step by step instructions on how to recreate the origami pieces needed to make one of your own.


Instructions:

Tip - It's best to use text weight papers for origami because there are so many folds and creases.  I've made origami pieces using cardstock weight papers before and let me tell you after all of the creases and folds your fingers get very tired and sore.


1. Cut your paper into squares - the size depends on how large you want your finished piece to be.  I am using 4" pieces of paper for the example above.

2. Fold your paper into quarters and open up.


3. Fold one side towards the center and crease (leave closed).


4. Rotate your paper and fold the other side so it meets in the center, crease and leave closed.


Your paper is now divided into 2 halves at the center point by one of the original creases.  We will be working on each half separately from here on out.

4. Fold one corner of the smaller box toward the center fold line and crease. 


5. Open up that crease.


6. Rotate your paper, fold the second corner over toward the center fold line and crease.


7. Open up that fold and you have now made an invisible "X" on that side of your paper.  I put dash marks to help you visualize the folds we just made.


8. Rotate your paper and repeat the fold and crease to create the "X" on the second half of your paper.


Your paper should now have a creased "X" on each side of the fold line as shown above.


9. Tuck one corner under on opposite sides - one on each end as shown.


I have placed 2 small "X"s on the parts we will be working with next.

10. From the back side, push these sections towards the center.


11. Pinch these two pieces together.


12. Tuck them under the previously folded under triangle.


You should now have a folded pyramid on half of your paper as shown.


Here's the top view of the pyramid.


13. Rotate your paper to work on the other end of the piece.


14.  Push the two pieces towards the center; pinch and 


15. Tuck under the previously folded triangle.


You now have a boat!


16. Find the center fold that we made at the very beginning of it all - pinch the two pyramids together as shown above and below.


17. Let go of the pyramids and place them flat on your work surface....  You're done!  You now have one piece of your origami wall art puzzle.


18. Repeat this process 6 (for the smaller pieces) or 27 (for the larger piece) or as many times as needed depending on how big you want your wall art to be!  I know it sounds like quite a bit of work but really it IS worth it in the end.


Now as far as sizes go, I've made you a little comparison to show how big things get as you increase in size.  The smallest piece was made with a 4" square and measures 3.5" from tip to tip; the center piece was made using a 6" square and measures 5.25" from tip to tip.  The largest was what they used in the original piece I found - 8.5" square and measures 7.5" from tip to tip.  I can't imagine how big their finished piece was when they got done with it....must have taken up a whole wall!


Now I also wanted to show you why I liked using the Hypno paper for this project.  The paper itself has a very cool collage feel to it...lots of text, images and graphic design elements as well as multiple colors on each page.  This design paired with the pyramid form gives you something new to look at at every angle....  The photo above and the two consecutive pictures are different angles of the large piece. As you can see when you change your perspective the piece takes on a totally new look.


So much fun rolled up into one piece of art.


See why I told you it was worth it?
You won't be sorry in the end.

Wednesday, June 22, 2016

Hypno Wall Art

This month the Club Scrap Artist Team was asked to create something using papers from the Hypno Vintage paper collection.  A fun set of text weight papers with a vintage hypnosis theme.  Since it was text weight paper I decided that I wanted to include origami in the mix somehow so I started looking around and found this wicked cool idea....DIY Geometric Paper Wall Art by Jam Paper.


Their project calls for using 8.5" square sheets of paper which would make your art piece HUGE so I cut mine down to 4" squares.  I ended up making a matching 3 piece set - 2 smaller stars which use 6 folded origami pieces each and the larger focal piece which took 27 origami pieces.  


The large focal piece is mounted on a 13" piece of corrugated cardboard which was painted with Deco Art Americana Decor Chalky Finish paint.  The paper colors are kraft, green, muted red, blue and have all sorts of fun prints, text and designs on each piece of paper.


and each of the smaller stars are mounted on an 8" square of cardboard painted with the same paint.


I wish you could see and feel this piece of art... it is VERY dimensional and so much fun to look at from every angle.   

Tomorrow I will share how I went about making it (as the directions on the Jam Paper site are a bit vague).  Hope you stop by to check it out.  It's a bit time consuming but the finished project is so worth it.

Your next stop on the hop is 


and
if you get lost along the way 
you can find the complete hop list here:


Thanks for stoppin' by!

Tuesday, June 21, 2016

Vacation....Fun Times!

Last week we went on a much needed vacation....  DH, DS, & soon to be DIL went up to Union Grove WI to the Red Power Round Up - an antique tractor show featuring International Harvester tractors & equipment.  My guys like Internationals and own quite a few so this is a real treat for them.


It was lots of fun - the weather the first day was a bit chilly but the second day was beautiful!  They were restoring a tractor during the 3 day show which was fun to see the progress.  There were all sorts of tractors big and small, vendors selling lots of cool goodies - I bought some neat vintage looking fabric that I'm going to turn into an apron and not sure what I'm going to do with the rest.  We also ate some good food but I did notice one thing....folks in Wisconsin don't like to eat like we do in Indiana.  Not one Elephant Ear, Corn Dog or Funnel Cake in all of the food vendors there!  We were amazed.


The going to and coming back from the show was an adventure all on it's own - we had to go through Chicago....going (at 5:00a.m.) was really fast - traffic was moving about 85mph!  Way to fast for this country girls liking.  Coming back we were in bumper to bumper traffic almost the entire way at anywhere from a crawl to about 50 mph.  Needless to say it took much longer to get back than it did to go.


We stopped in Valparaiso to eat going and coming back (we actually stayed over night coming back) at the Industrial Revolution Eatery!  OMG that place is awesome!!!  It's a one of a kind place dedicated to the folks that built and help make America great.  They call it Upscale Industrial but it's got a definite Steampunk vibe to it that I LOVE!  The deco is brick and steel girders with a train that runs over head.  Lots of great old photos of men and women from the Industrial Age doing what they did best...building this country up into what it is today.  


The food is really great - we at lunch (going) and supper (coming back from WI).  We each had something different and everything was wonderful as was the service.  Dh said he would drive over there (about 2 - 2.5 hrs from home) just for the food - LOL!!

Finally we ended up at Rochester Indiana and the Gathering of the Orange - an antique tractor show dedicated to Allis-Chalmers tractors which my oldest DS was showing one of his farm tractors & a garden tractor.  LOTS of beautiful orange tractors and equipment on show there as well.  DS was very excited because he recently restored his tractor and this was it's first official tractor show.  

And we're back home...exhausted but refreshed. 

Monday, June 20, 2016

Googley Eye Summer Welcome!

Happy Monday!   I hope you've all had a wonderful start to your week!  Today I wanted to take up a challenge from AAA Cards - #67 - Googley Eyes.  Since it's the first day of Summer as well I thought it would be fun to make them dual purpose - Summer Googley Eye creations.


My first card - Summer - was created by stamping the lobster & sentiment on smooth white cardstock which I framed with a few borders from the Club Scrap Boardwalk kit. 


The second card is a quickie using a "cut-a-part" also from the CS Boardwalk kit to which I added the googley eyes.  Isn't that crab darling?  I finished off the card with a bit of beautiful blue ribbon


Supplies:
ClubScrap.com - Cardstock, Ribbon, Cut-A-Part, Border, Stamps
Imagine Crafts - Memento Dye Ink
Googley Eyes

Friday, June 17, 2016

Dad - Love you....

I wanted to share a really fun Father's Day card using some of the new Delicata Ink colors from Imagine Crafts....


I am so in love with these inks!  They are metallics to start off with and they have a beautiful shimmer that just takes them over the top in my book.    Everything you see was either stamped or inked with one of the various colors now available.  

The cool graphics on this card are due in part thanks to Seth Apter and his amazing dies & embossing folders available through Spellbinders.  The fun bursts and planet dies went so well over the laser beam embossing folder, it really brought the whole "out of this world" theme together.


Be sure to stop by the Imagine Crafts blog 
to see how it all came together.


Thursday, June 16, 2016

Sharing Some Beauty...

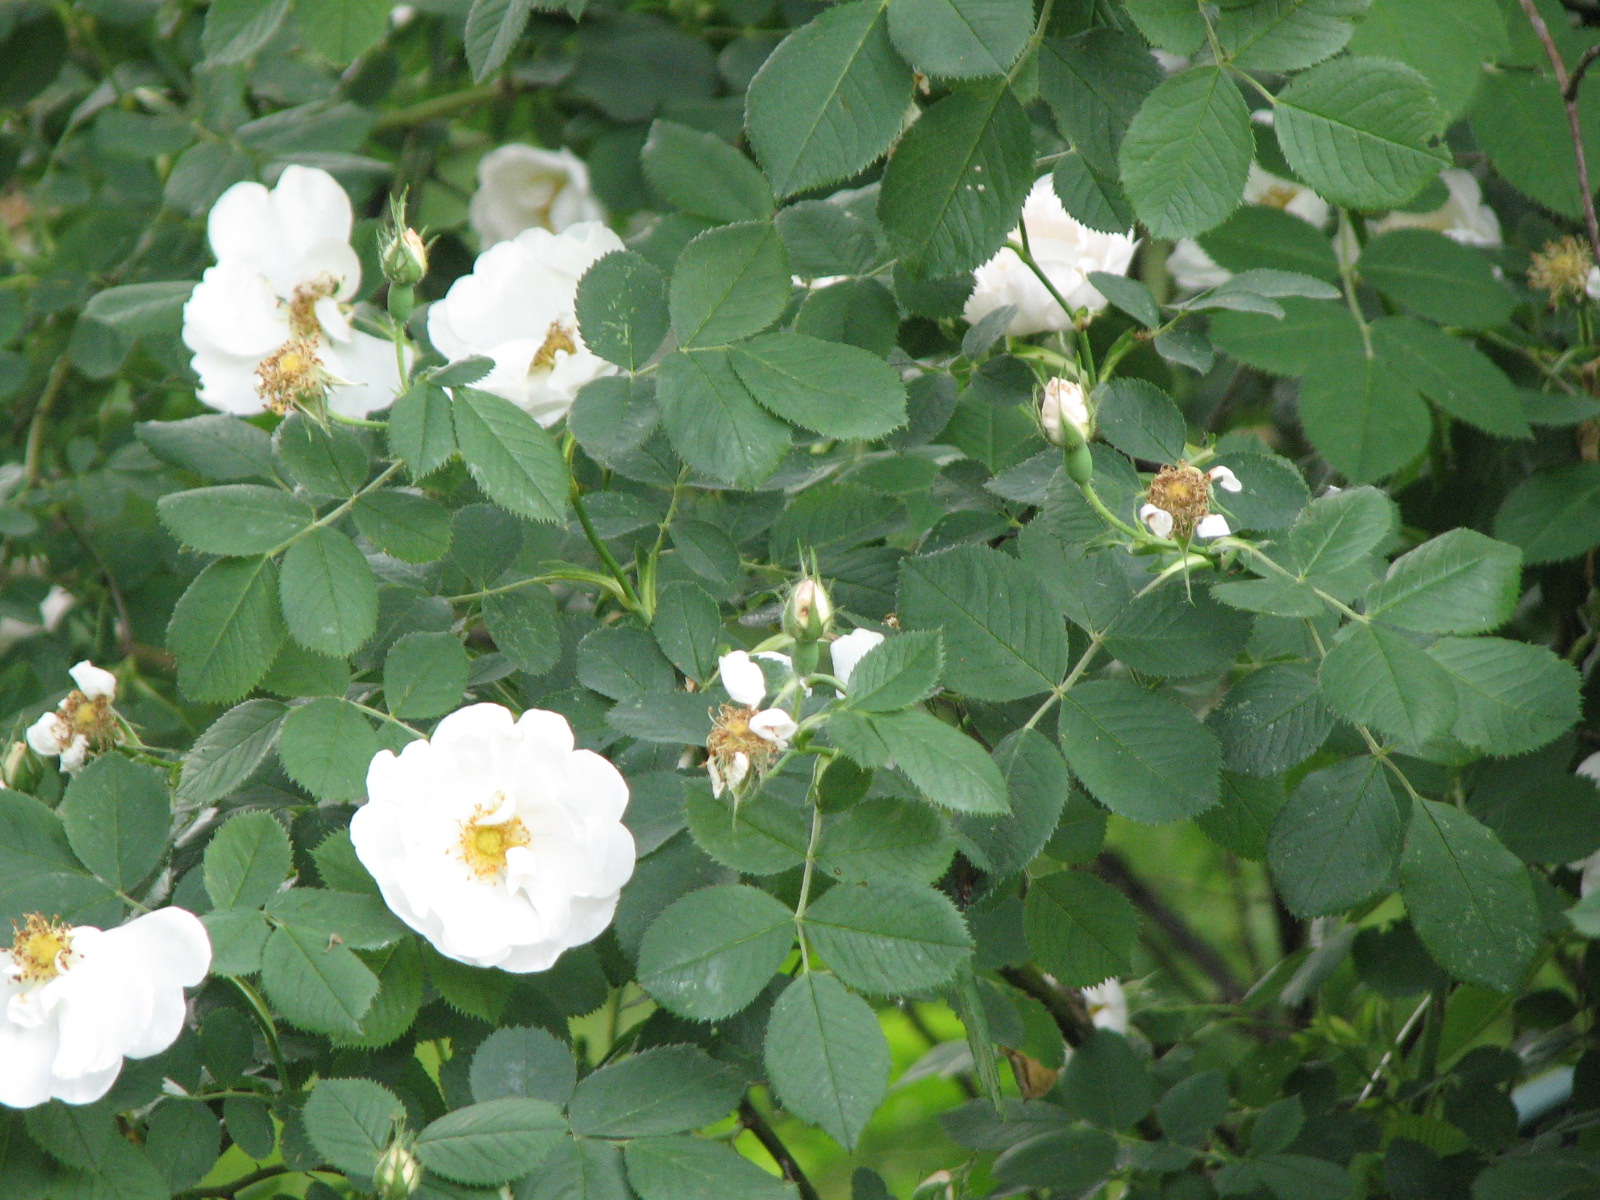
Taking a crafting break so I thought I it would be nice to share a few flowers pics with you....


I love these peonies... 


Wednesday, June 15, 2016

Bit of a 50's Flashback Today...

Yes I wanted to share a couple cards I made using some of the fun 50's stamps available at JFF Stamps.

This card was so much fun to make...the glasses were colored with Memento Dual Tip Markers and covered with a bit of Clear irRESISTible Texture Medium.  The Record was stamped with Black Shimmer Delicata Ink which gives it such a pretty finish and the saddle shoes are embossed with black EP to give them the shine those shoes had.  The fun cherry background paper is from Club Scrap.


My 50's chick is dressed in her finest poodle skirt and pink accessories.  She was stamped, colored and mounted on cardstock again from Club Scrap.

Hope you've enjoyed this trip back and if you have time you might want to try your hand at a 50's Flashback card and join the JFF Blog Monthly Challenge!  You might be the lucky winner of a JFF Stamps Gift Certificate!