Wednesday, November 6, 2013

Altered Charm Swap Results - Oct 2013

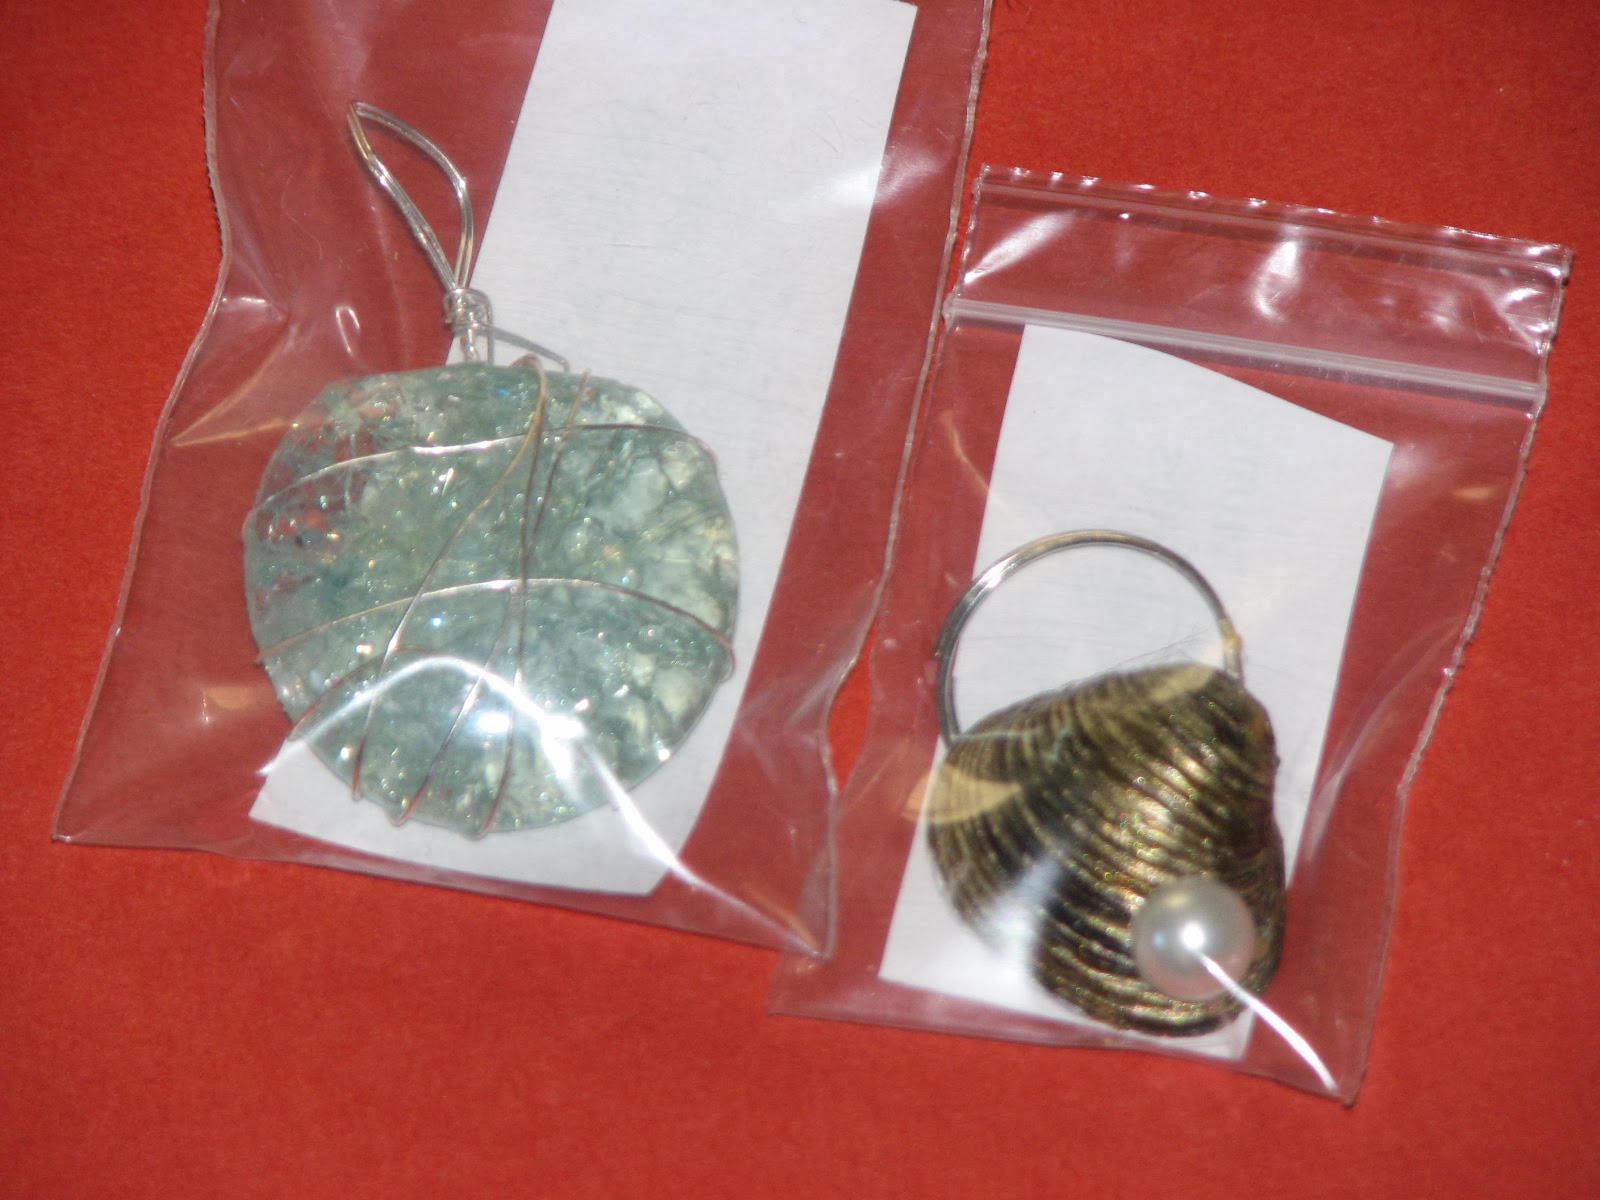
Here are the altered charms sent in by some very talented fellow crafters!
I had my list of what everyone made but in the holiday madness of it all I have misplaced it....I'll probably find it sometime in January!  I've put the names of their creators when I could remember...I'll be happy to add the makers if you'd comment telling me which ones are yours :)
The first few are mine....


This is a crystal ball....


The black blob is actually a black rose bead. 
You can't really tell from the photo.


These are from the General Group....

Dixie (a.k.a. Mom)


Shirley H.


Olga B.


Anebela


This is from the Halloween Group

Anabela


Dixie/Mom


Nan G


He wouldn't look at the camera ~ kept turning his head.


Shirley Hall
(those skeletons are shy devils)


Kee


Olga


Heidi


Pattie


Robin S.


Kris J


I want to thank everyone who participated in the swap.
It was so much fun to see the diverse array of charms that everyone dreamed up.


Rubber Stamp Madness - Winter Issue

Hey Everyone!
 
I hope you're having a wonderful week so far.  I've been ankle (literally) in projects - I know I said I wouldn't do it again but I'm in a couple of craft bazaar's for Christmas.   I'll share more on what I'm making in the next few days.
 
I did want to take a moment and give you a heads up...
The new issue of Rubber Stamp Madness is out!

 
If by chance you subscribe (seeing as how it's one of the last rubber stamp magazines still out there) or if you get a chance to take a peek at it, take a look right inside the cover.  You'll see an ad for Stampers Best - Deep Red Cling Stamps.  The Rudolph card was made by yours truly :)  I'm pretty pleased with how it turned out...

Tuesday, November 5, 2013

Faux Enamel Washer Charm

Faux Enamel Washer Charm

Today I wanted to share a fun charm with you that I made for the Altered Charm Swap last month.
It is sooooo much fun ~
especially if you're a fingernail polish addict like I am ;)

To start off you need the following:

Washers (wider fender washers work best)
Fingernail Polish - 2 or more colors
Toothpick
Findings
Pliers


Begin by painting a rather thick layer of your base color over the front side of the washer. 

Immediately (before it begins to dry) add 3-4 drops of a second color around the circle. 

Use the toothpick to swirl the  two colors together. 
You're not trying to mix them, just get some nice swirls.   This part may take a bit of practice...  If you make a mistake, no worries ~ simply wipe the nail polish off before it dries.  If it's started drying just use a dab of nail polish remover to take it off.

After you are happy with your swirls, set them aside to dry.  Mine dried differently ~ I think it all depends on the polish you're using.  I gave them 24 hours to dry/cure before I tried messing with them. (after I tried too early on a couple - lol).

Once dry I used an eye pin to wrap around the center and then added a few beads & crystals.


No additional sealers or mediums are needed. 
Once dry & cured the fingernail polish is pretty tough...just like real enamel ware.

It's so much fun mixing and matching colors.
I hope you give it a try!

Monday, November 4, 2013

A bit of Elfin Fun! Geodesic Ornament

The November Challenge at Altered Pages blog is


I thought I'd share my creation with you today.
It's a fun ornament for Christmas.
I'm not sure what it's official name is but to me it reminds me of a honeycomb.

You'll need 20 circles of the same size.  I cut out 10 Elf/Gnome collage images and 10 circles cut from Glitz Hello December Paper Collection.


Next you'll need to draw a basic triangle in the center of each circle...
this step isn't necessary but it does help to make your folds more precise.


Now flip the circle over and fold the three petals towards the center of the image side of the paper.  You'll end up with pieces that look like this.... 


Now take 5 folded circles and glue the neighboring petals together.
I used Aleene's Fast Grab Tacky Glue for this step just because it grabs fast and dries quickly.

You need to make two of these sets of 5.


Next, take the remaining 10 folded circles and glue them in a straight line as shown at the bottom of this photo.... 


You'll need to add a hanger at this point so tie a knot in a length of cord (I'm using a gold stretch cord) and thread it through one of the end pieces.  You'll see from the photo that there is a nice neat little hole where the 5 circles meet.  Thread the cord through there ~ your knot should hold the cord but if you'd like you can add a dab of glue to be sure.


Now you've got two rounded ends and a long strip of folded circles.
Time to assemble the ornament.


Start by gluing the long strip to the top of the ornament.  I tried to line up the circles so it was an image next to pattern paper circles...of course you can align them any way you like.


Here's what the ornament looks like so far...


Now glue the bottom to the remaining petals and you're honeycomb ball is complete!


You could use it like it is or you could go one step further and bling it up a bit...
I placed a small amount of glue on each seam then dipped it into glitter.
This just gives the ball a nice finished look
and
you can never have too much glitter ;)


And here's how my Elfin ornament turned out...


Now it's your turn to join in the fun!
Do you have a fun elf project in mind?
We'll now's the time to make it...
then enter it in the challenge and you might be the next lucky winner!

Good Luck Everyone!

Friday, November 1, 2013

Happy Birthday Winners!

It's time to announce the winners of my Halloween Birthday Goodies!!!

They are in no particular order
(drawn using Random.org)....

Steph

Steph said...
Happy Birthday Roni!! Beautiful card, love the bright background with all those bats. Your sugar skull card over at Altered Pages was so cool!
My favorite part of Halloween (aside from the S&S 31 days hop) would be all the spooky goodness. :)

Elly
Happy Birthday Ronni, have a beautiful day and many more!

Helena


Happy, Happy Birthday, Roni! I hope you're having a great time celebrating! Thanks for all the wonderful creations you show us and especially thanks for the techniques and tutorials! My favorite part of Halloween is seeing how excited kids get. I used to teach art and enjoyed dressing up with them, too! Their personalities really come out!

Wendy said...
Happy Birthday Roni! Great ATC...I used a Just for Fun stamp on my card for today also.

I would love to win some of your candy. My favorite part of Halloween is the whole month of October. I love the change in the season, my birthday, looking at all the houses decorated for Halloween, and the fun of anticipating Halloween night. I love to pass out candy to all the little tricksters in my neighborhood!

CONGRATULATIONS
Everyone!!!
 
Please e-mail me your snail mail addies so I can get your goodies in the mail.


Strippin' Gears Here...

I'm probably going to strip some crafty gears here....
a month FULL of Halloween goodness
then the very next day switching to Christmas - LOL!!
Yes, I've got a Christmas card to share with you.
This card was made using a couple of Just For Fun Rubber Stamps's new StampTangle images....


These ornaments were stamped, embossed and then colored with Spectrum Noir Markers.  I added a few highlights here and there with several shades of Stickles Glitter Glues.  I "hung" them from my card using a bit of gold stretch cord and added a little bow for fun :)
I'll be back later this afternoon with the Birthday winners!