

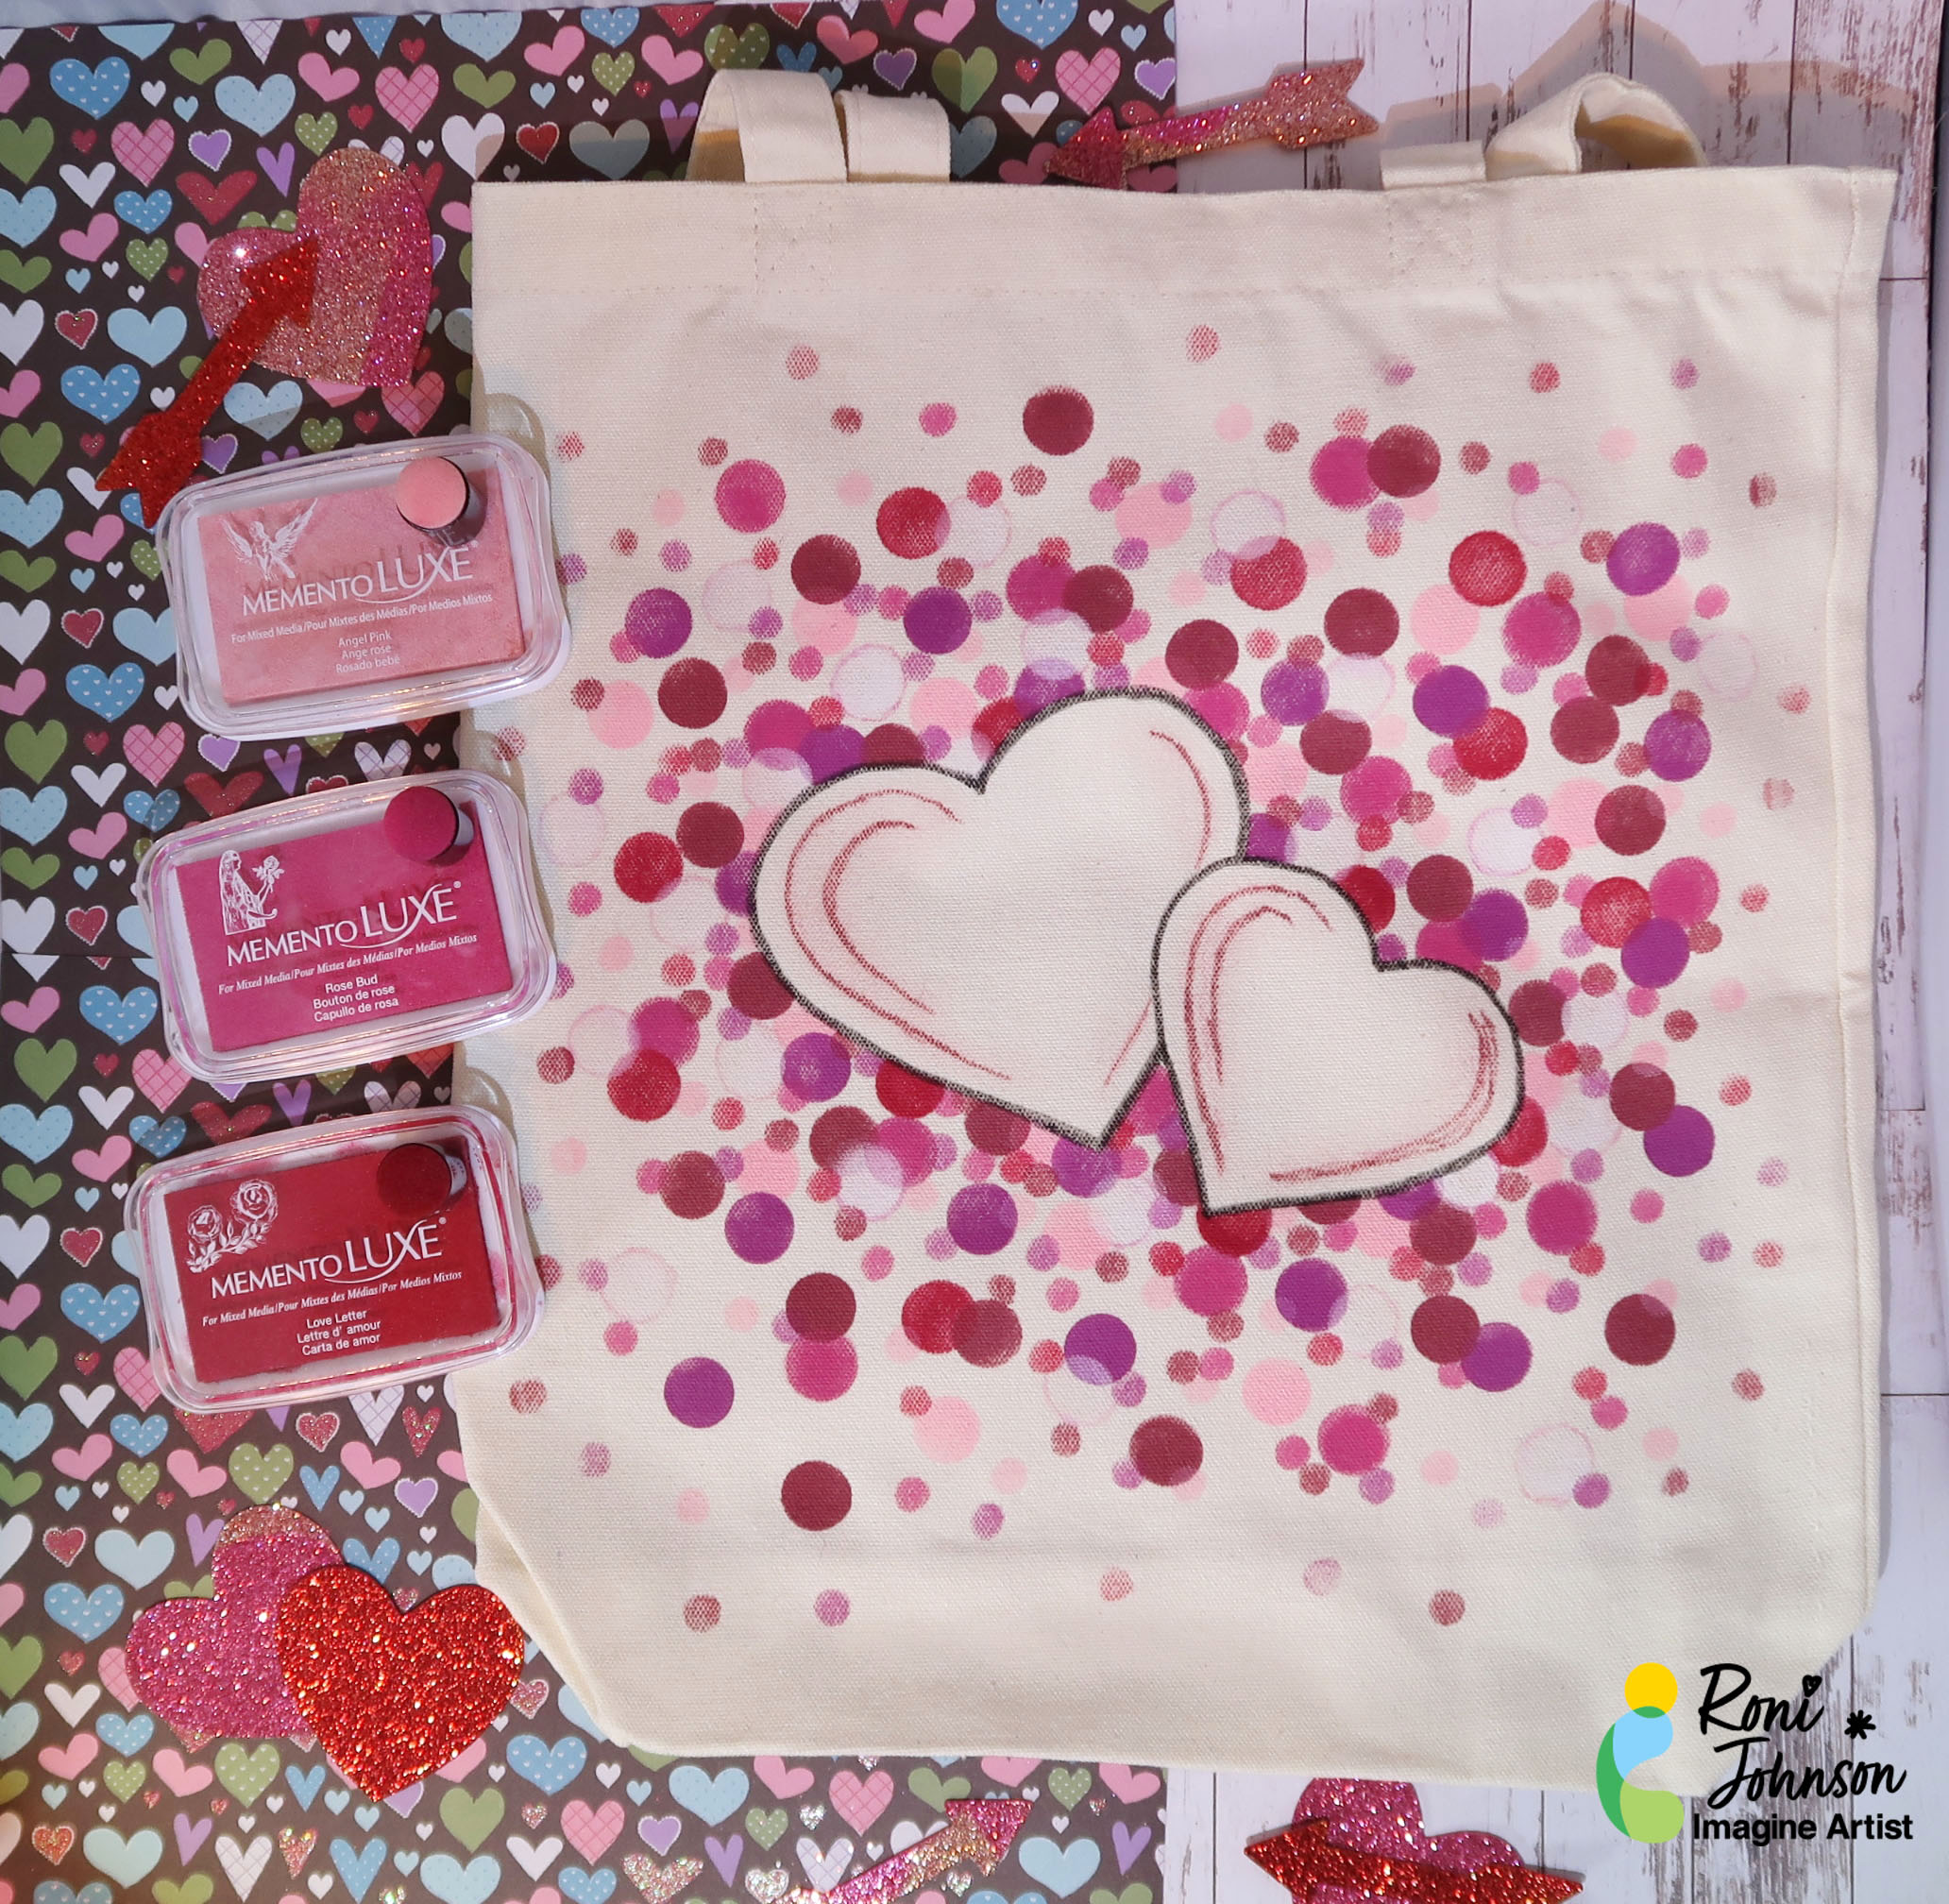
Today I wanted to share my latest Fairy Hugs creation...


Skill: Beginner
Time: 1 hour 30 minutes

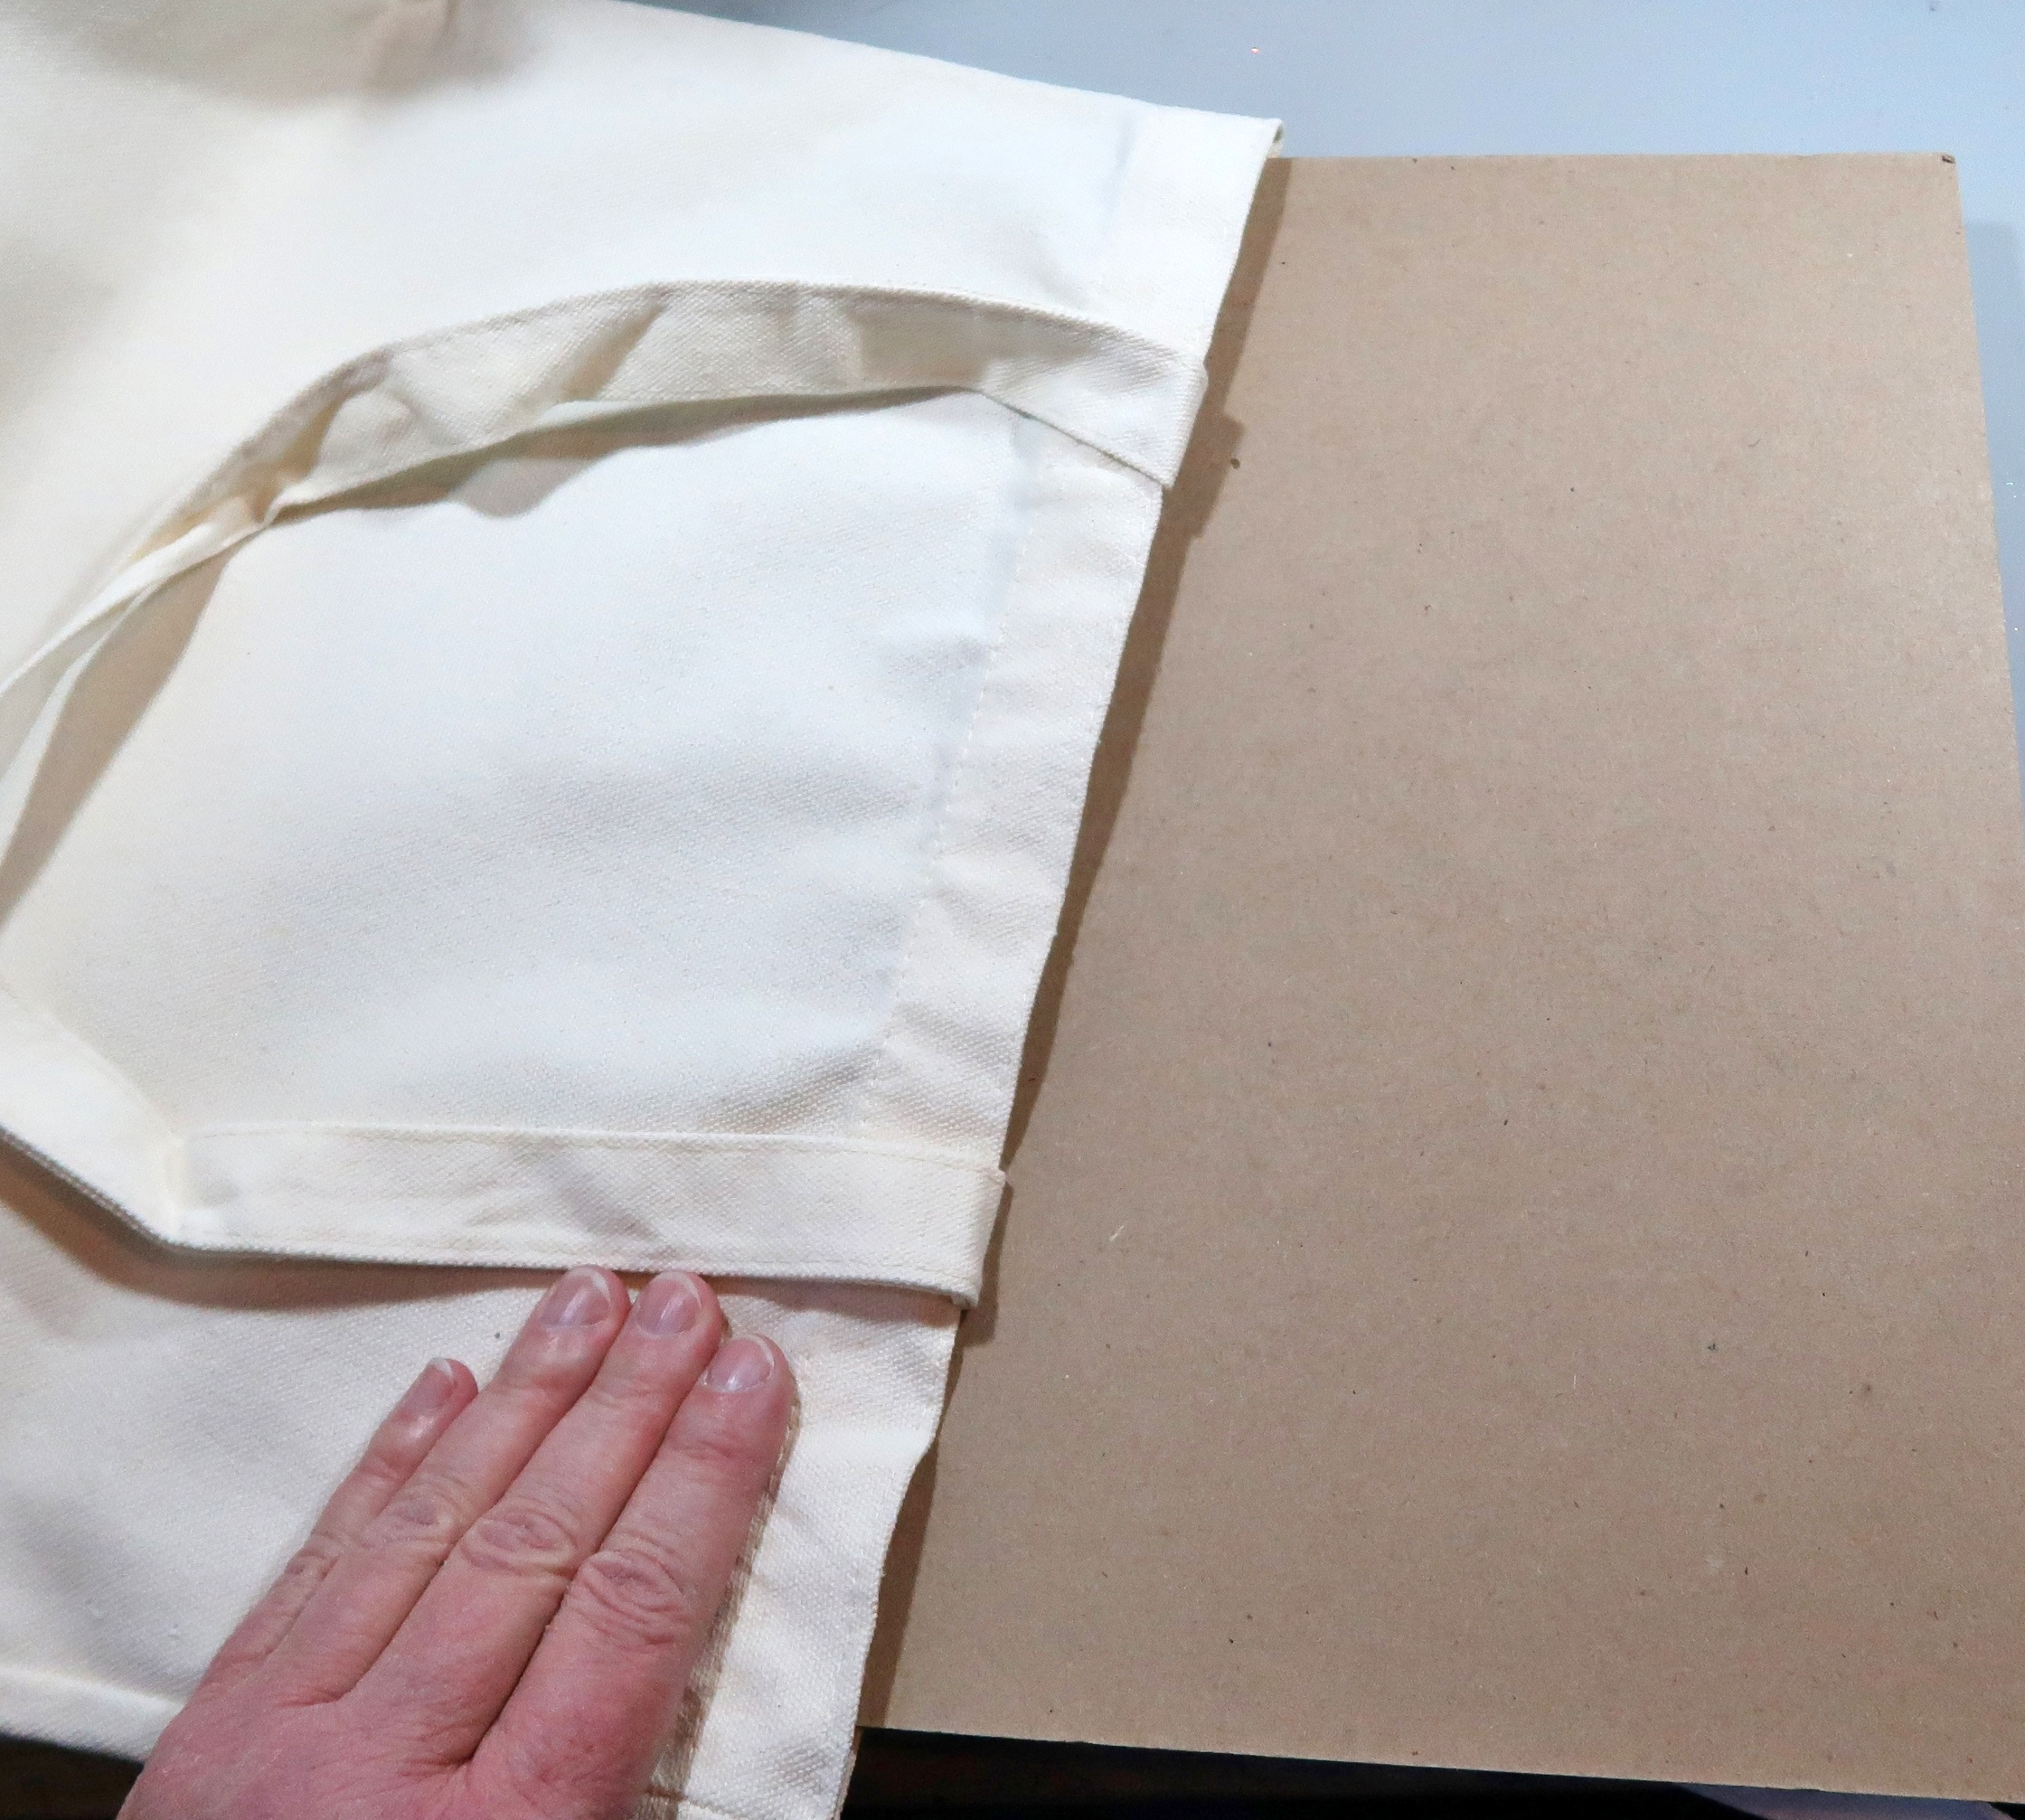
Insert a piece of cardboard into the tote bag to prevent ink from soaking through to the back of the bag.
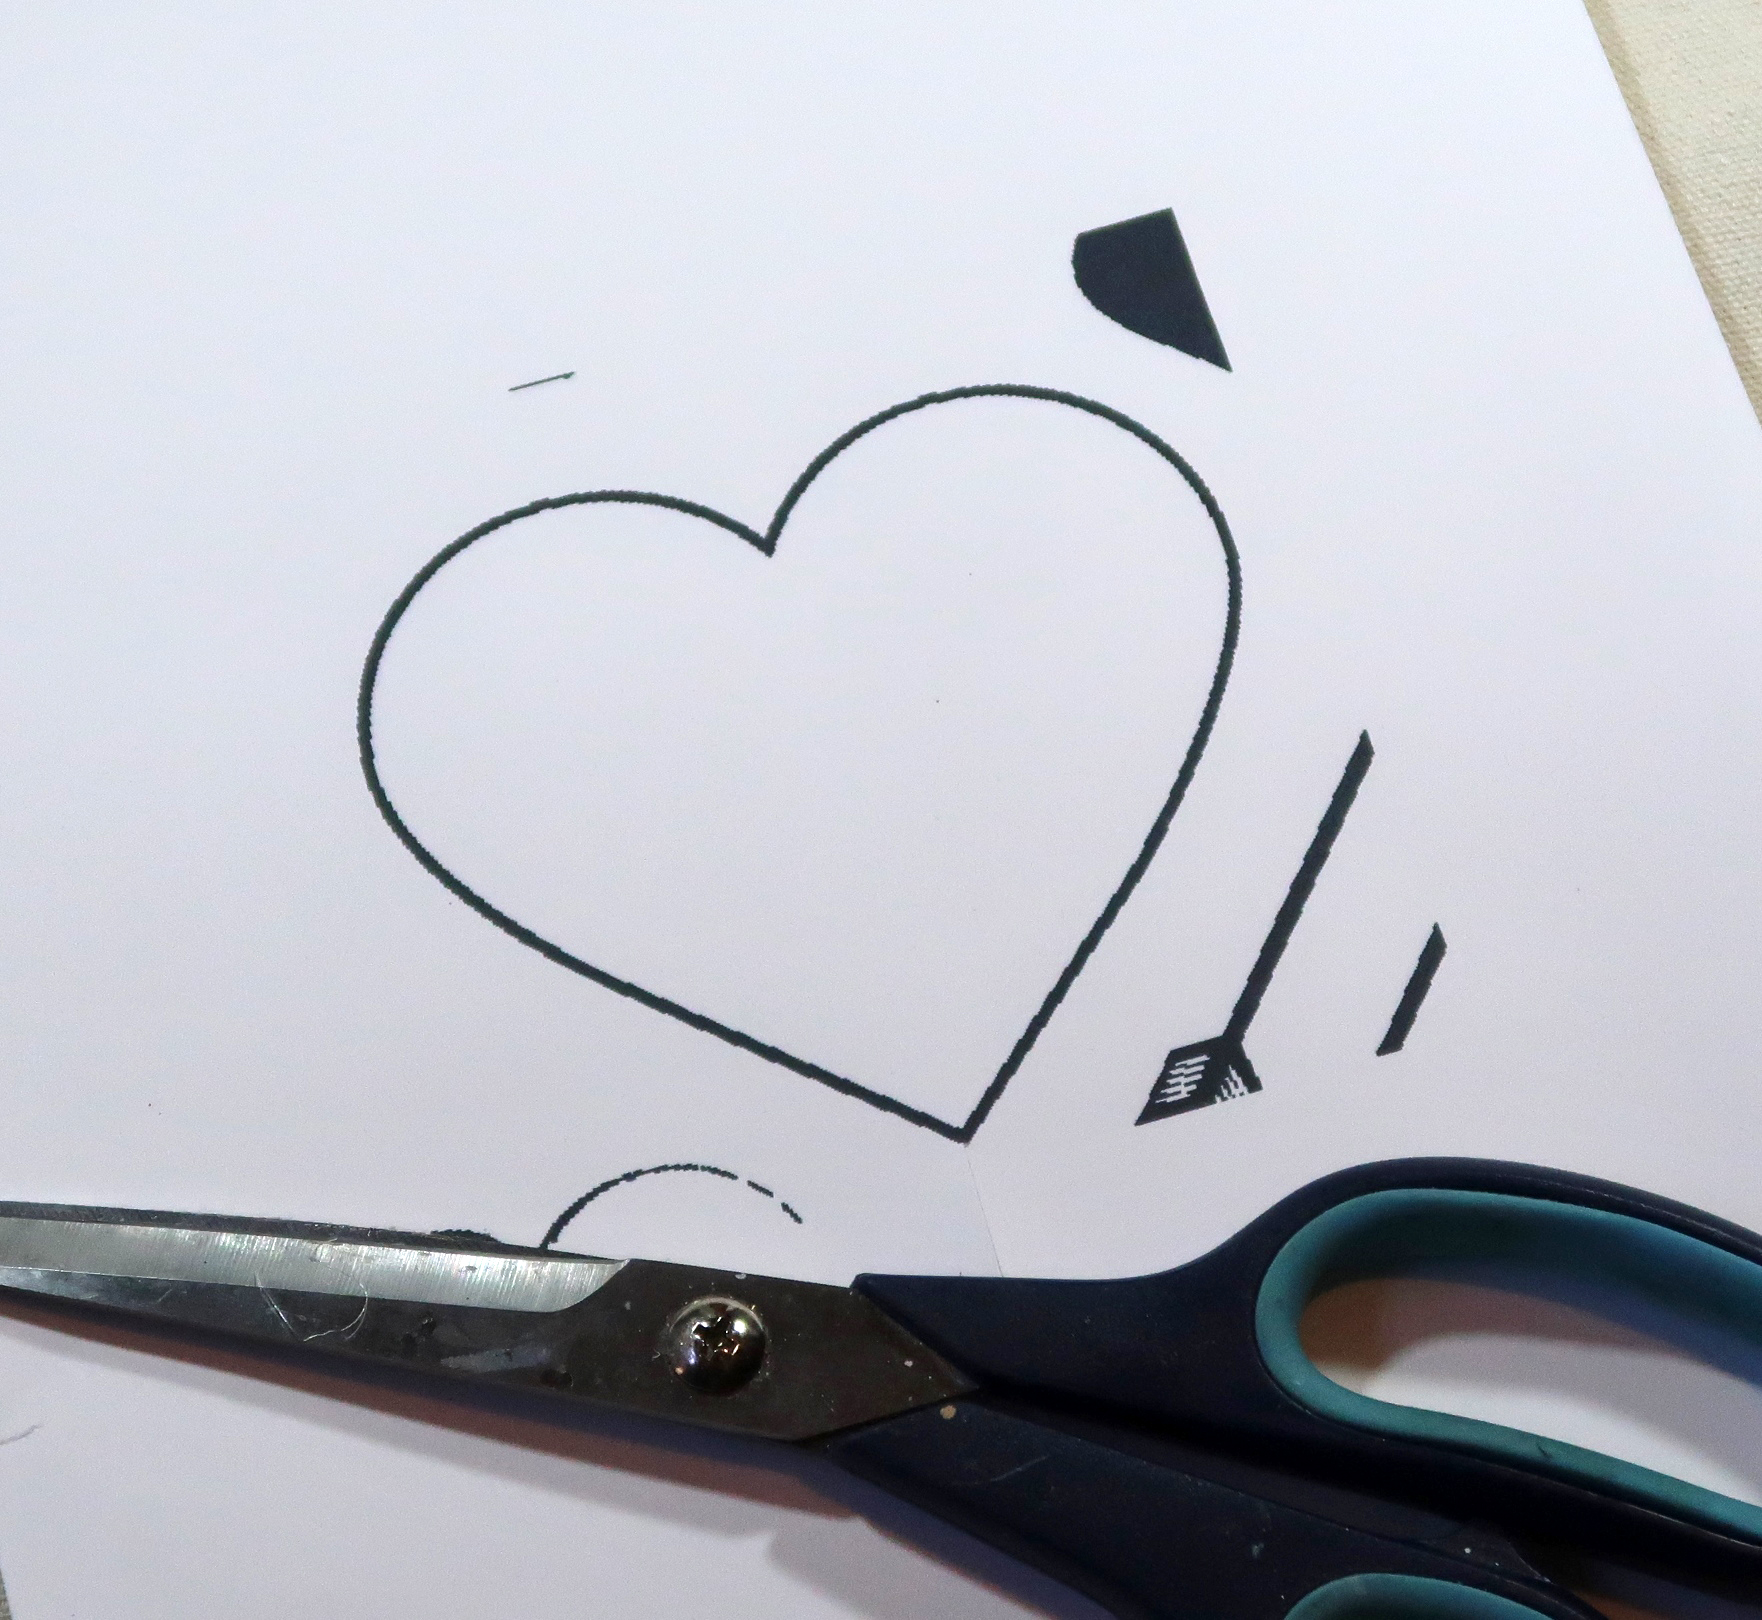
Print the desired heart from the PDF onto a piece of cardstock.
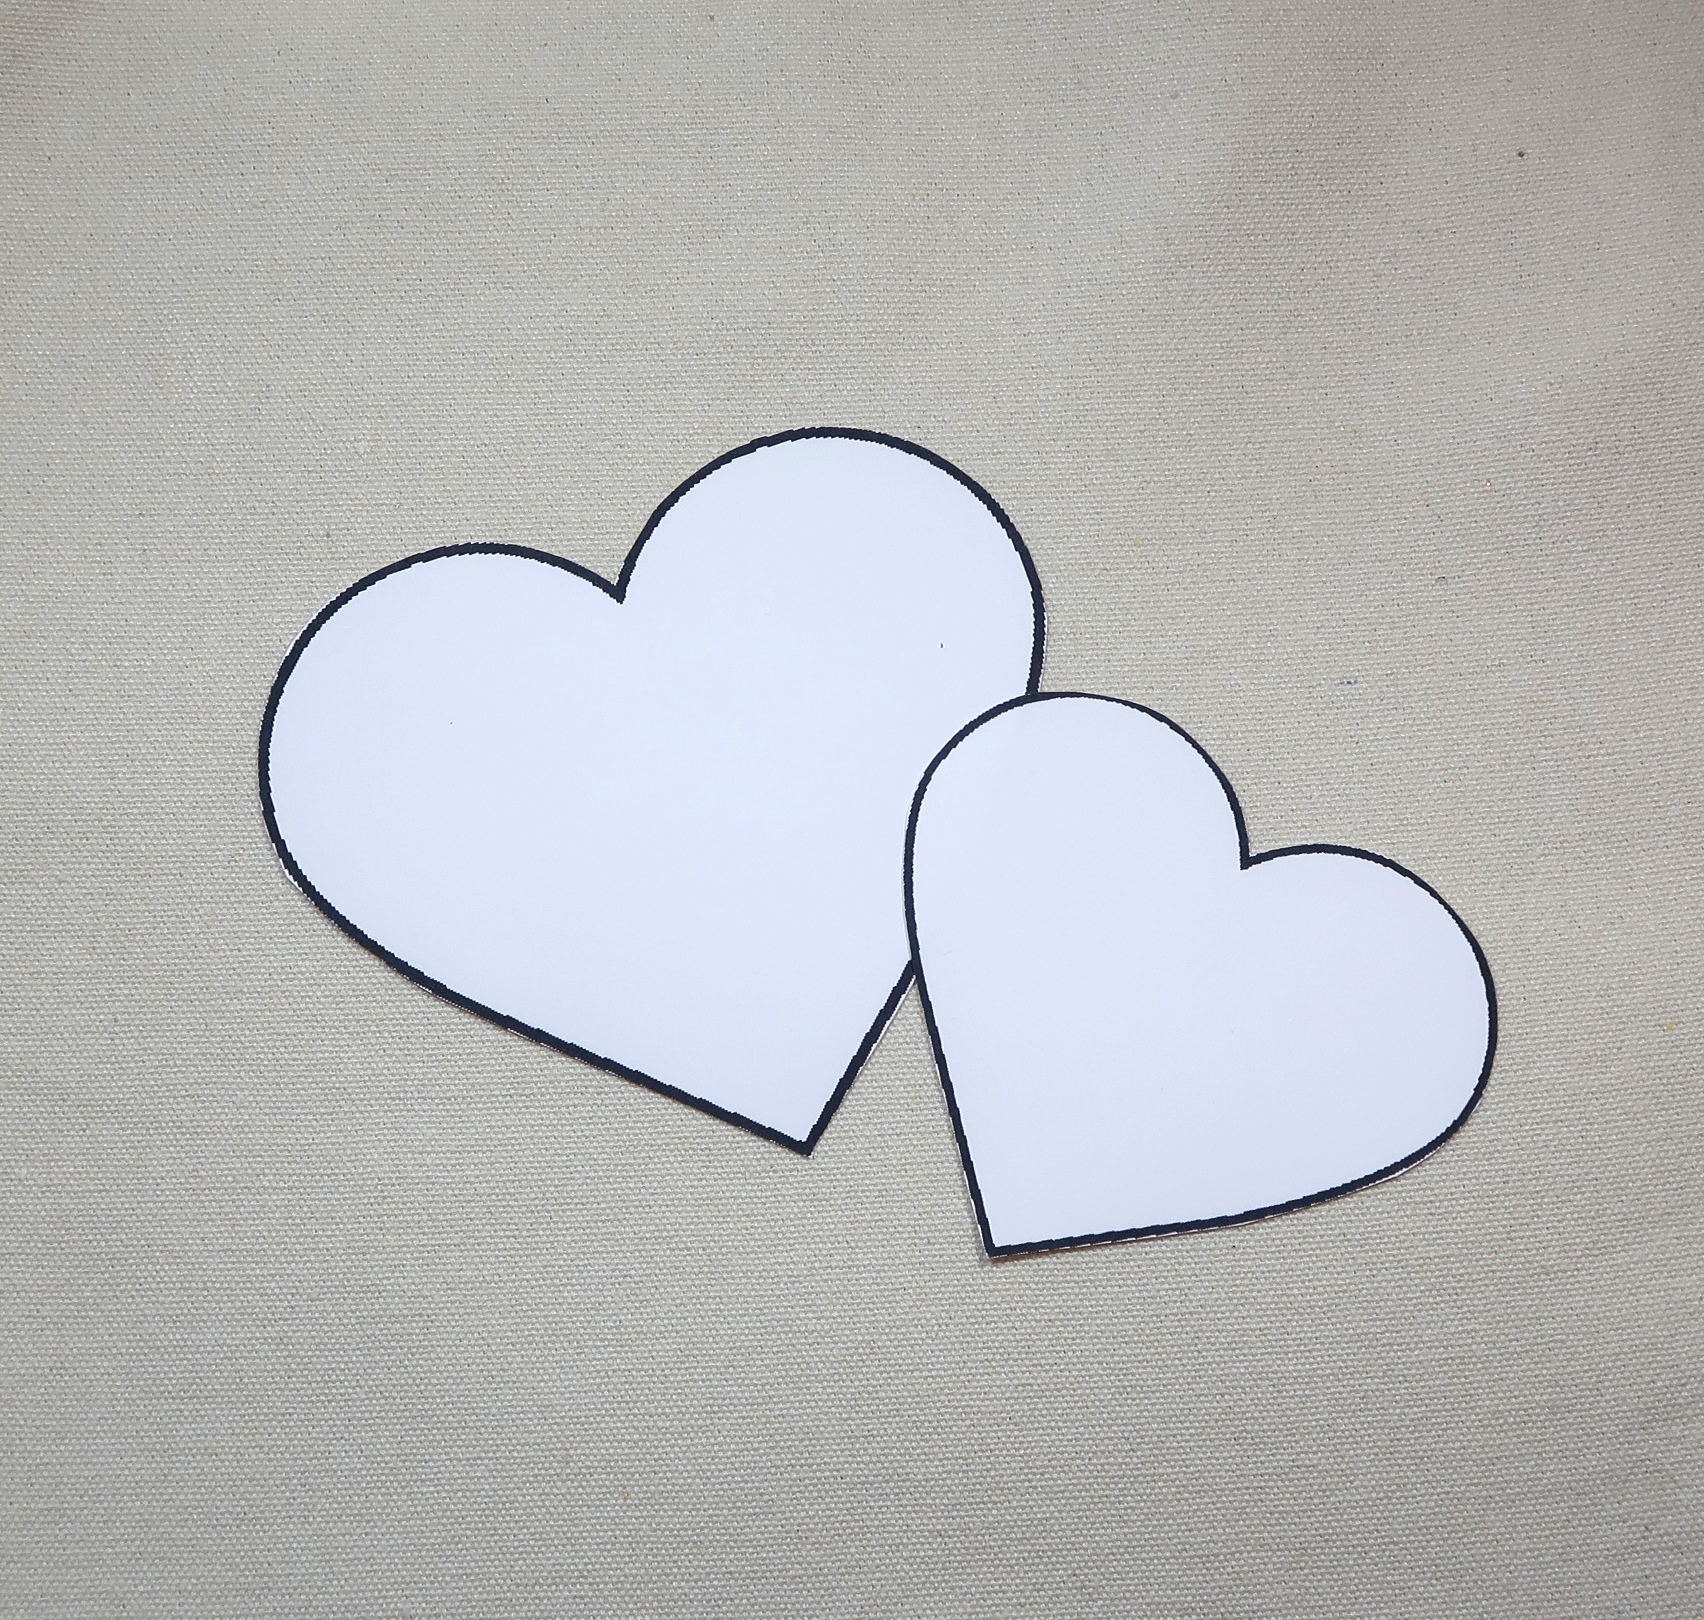
Trim the heart mask(s) and adhere to the tote bag using repositionable adhesive.
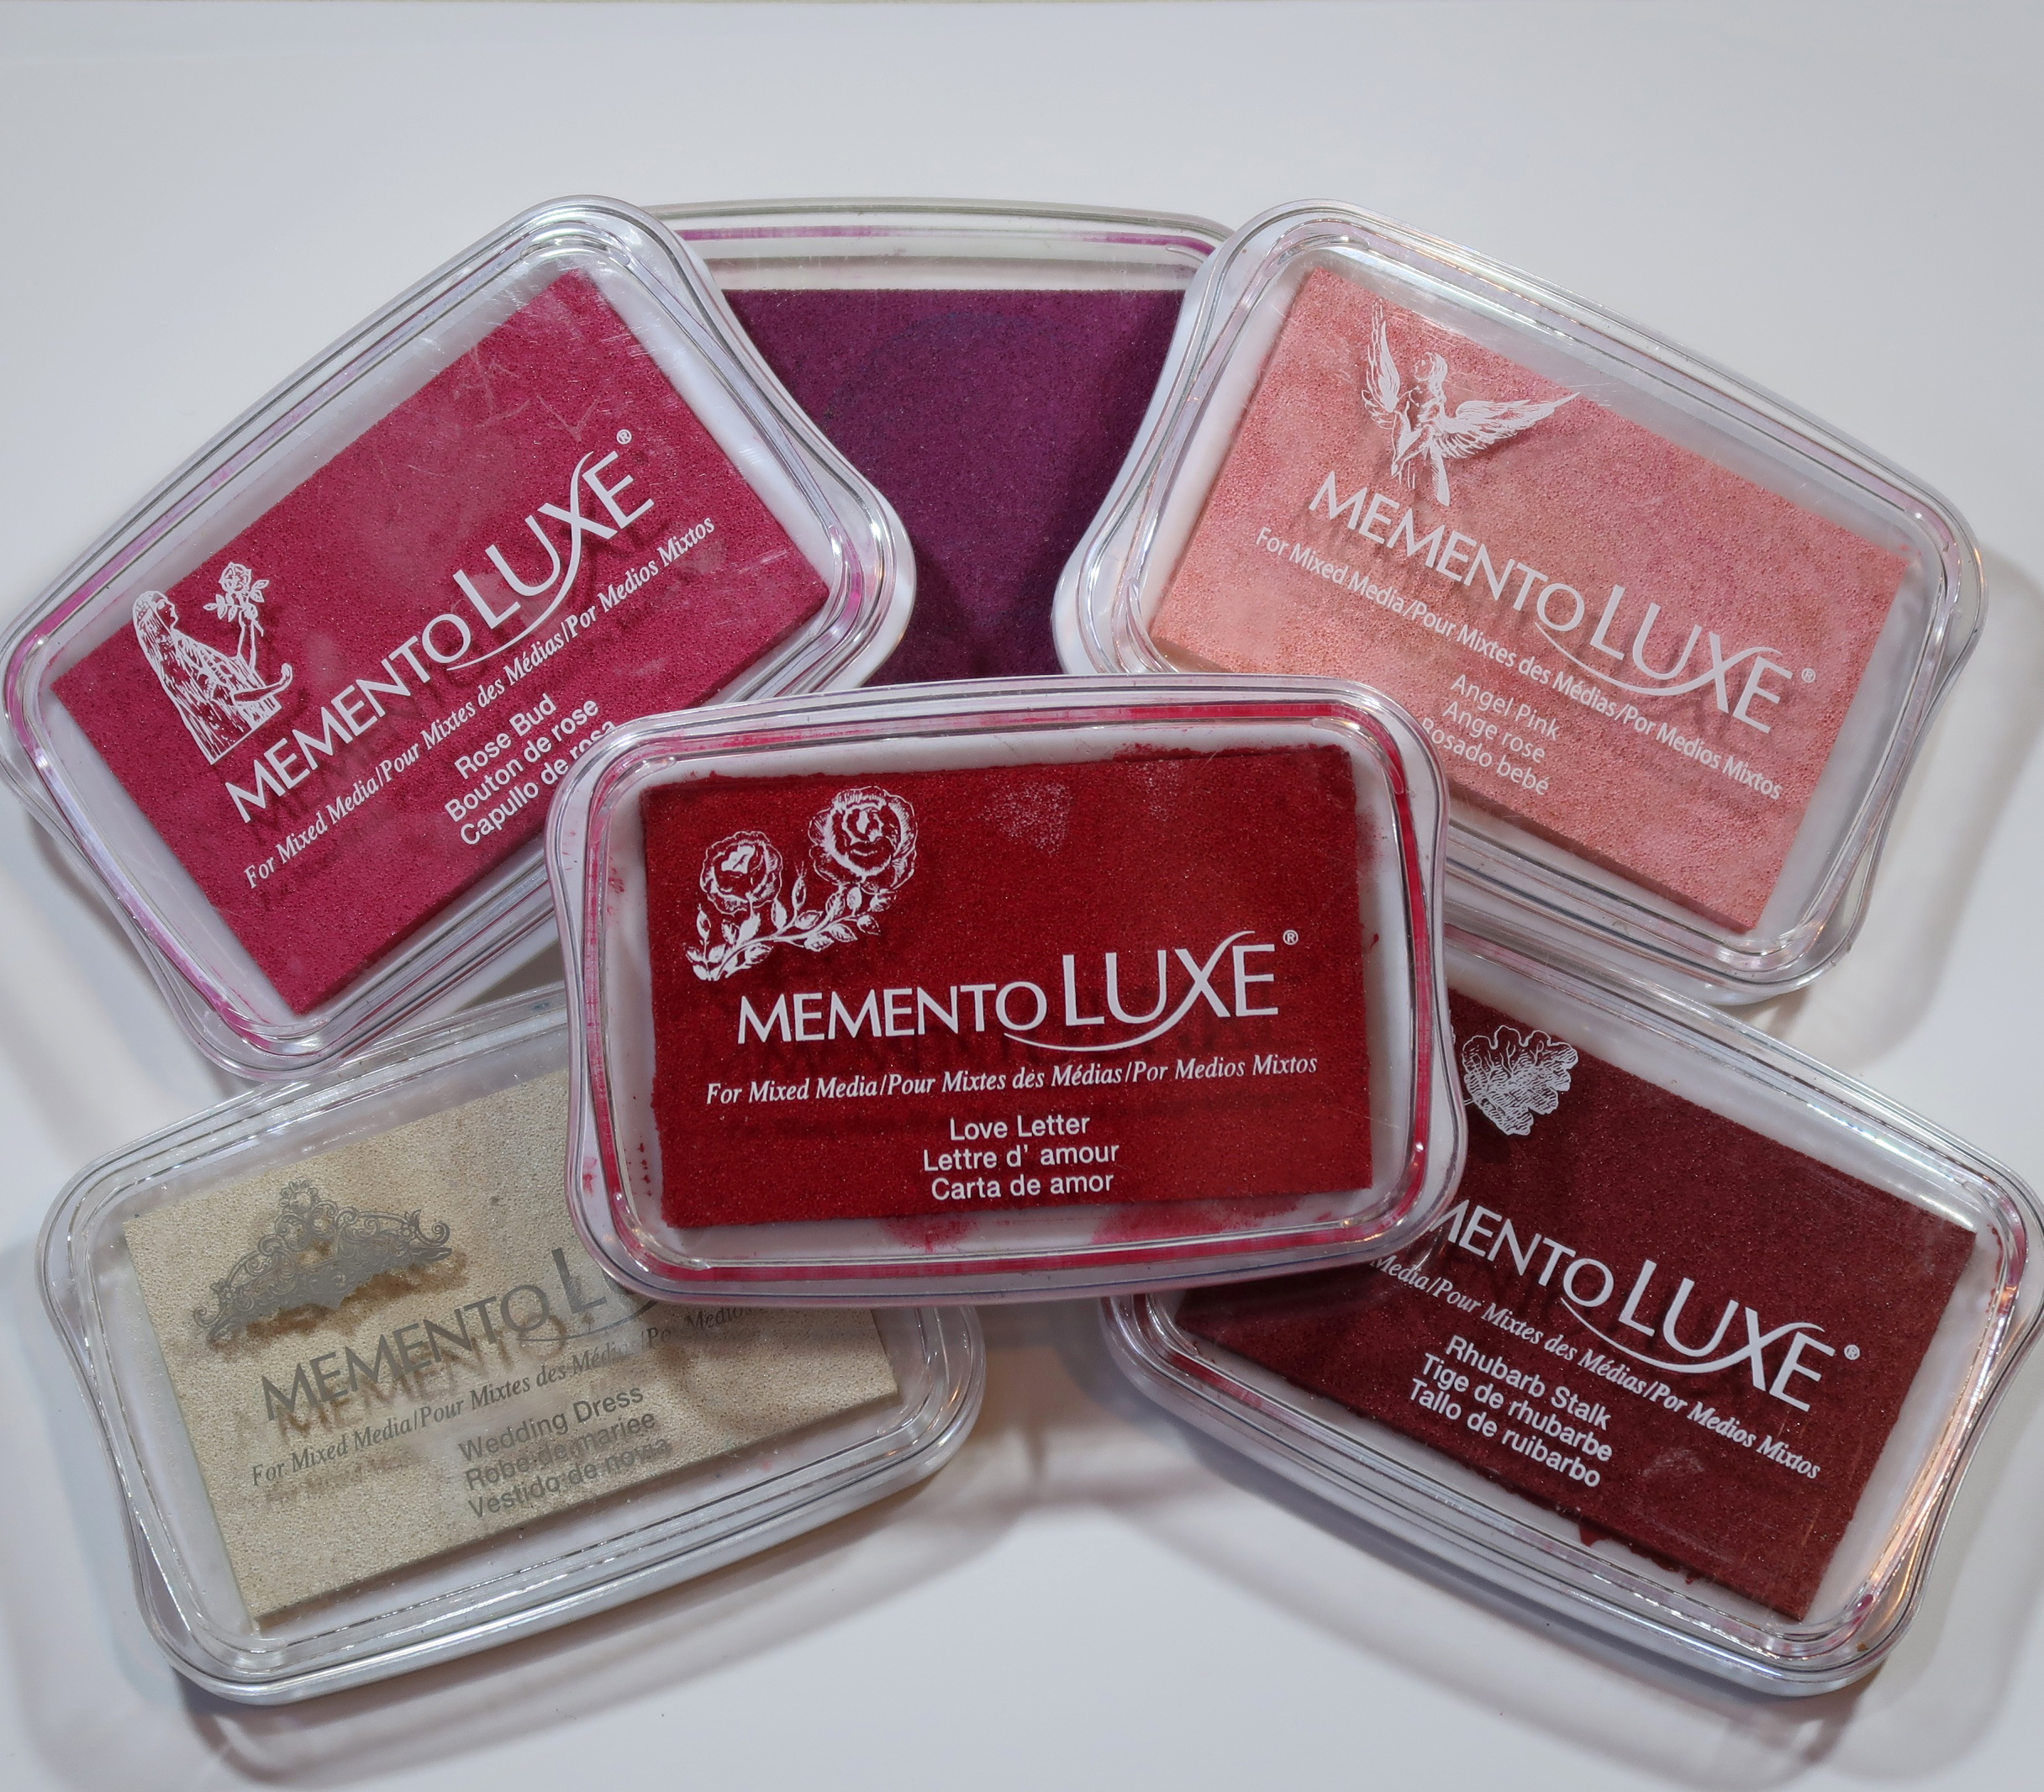
Gather the desired colors of Memento Luxe Inks.
New or freshly-inked pads work best for this technique.
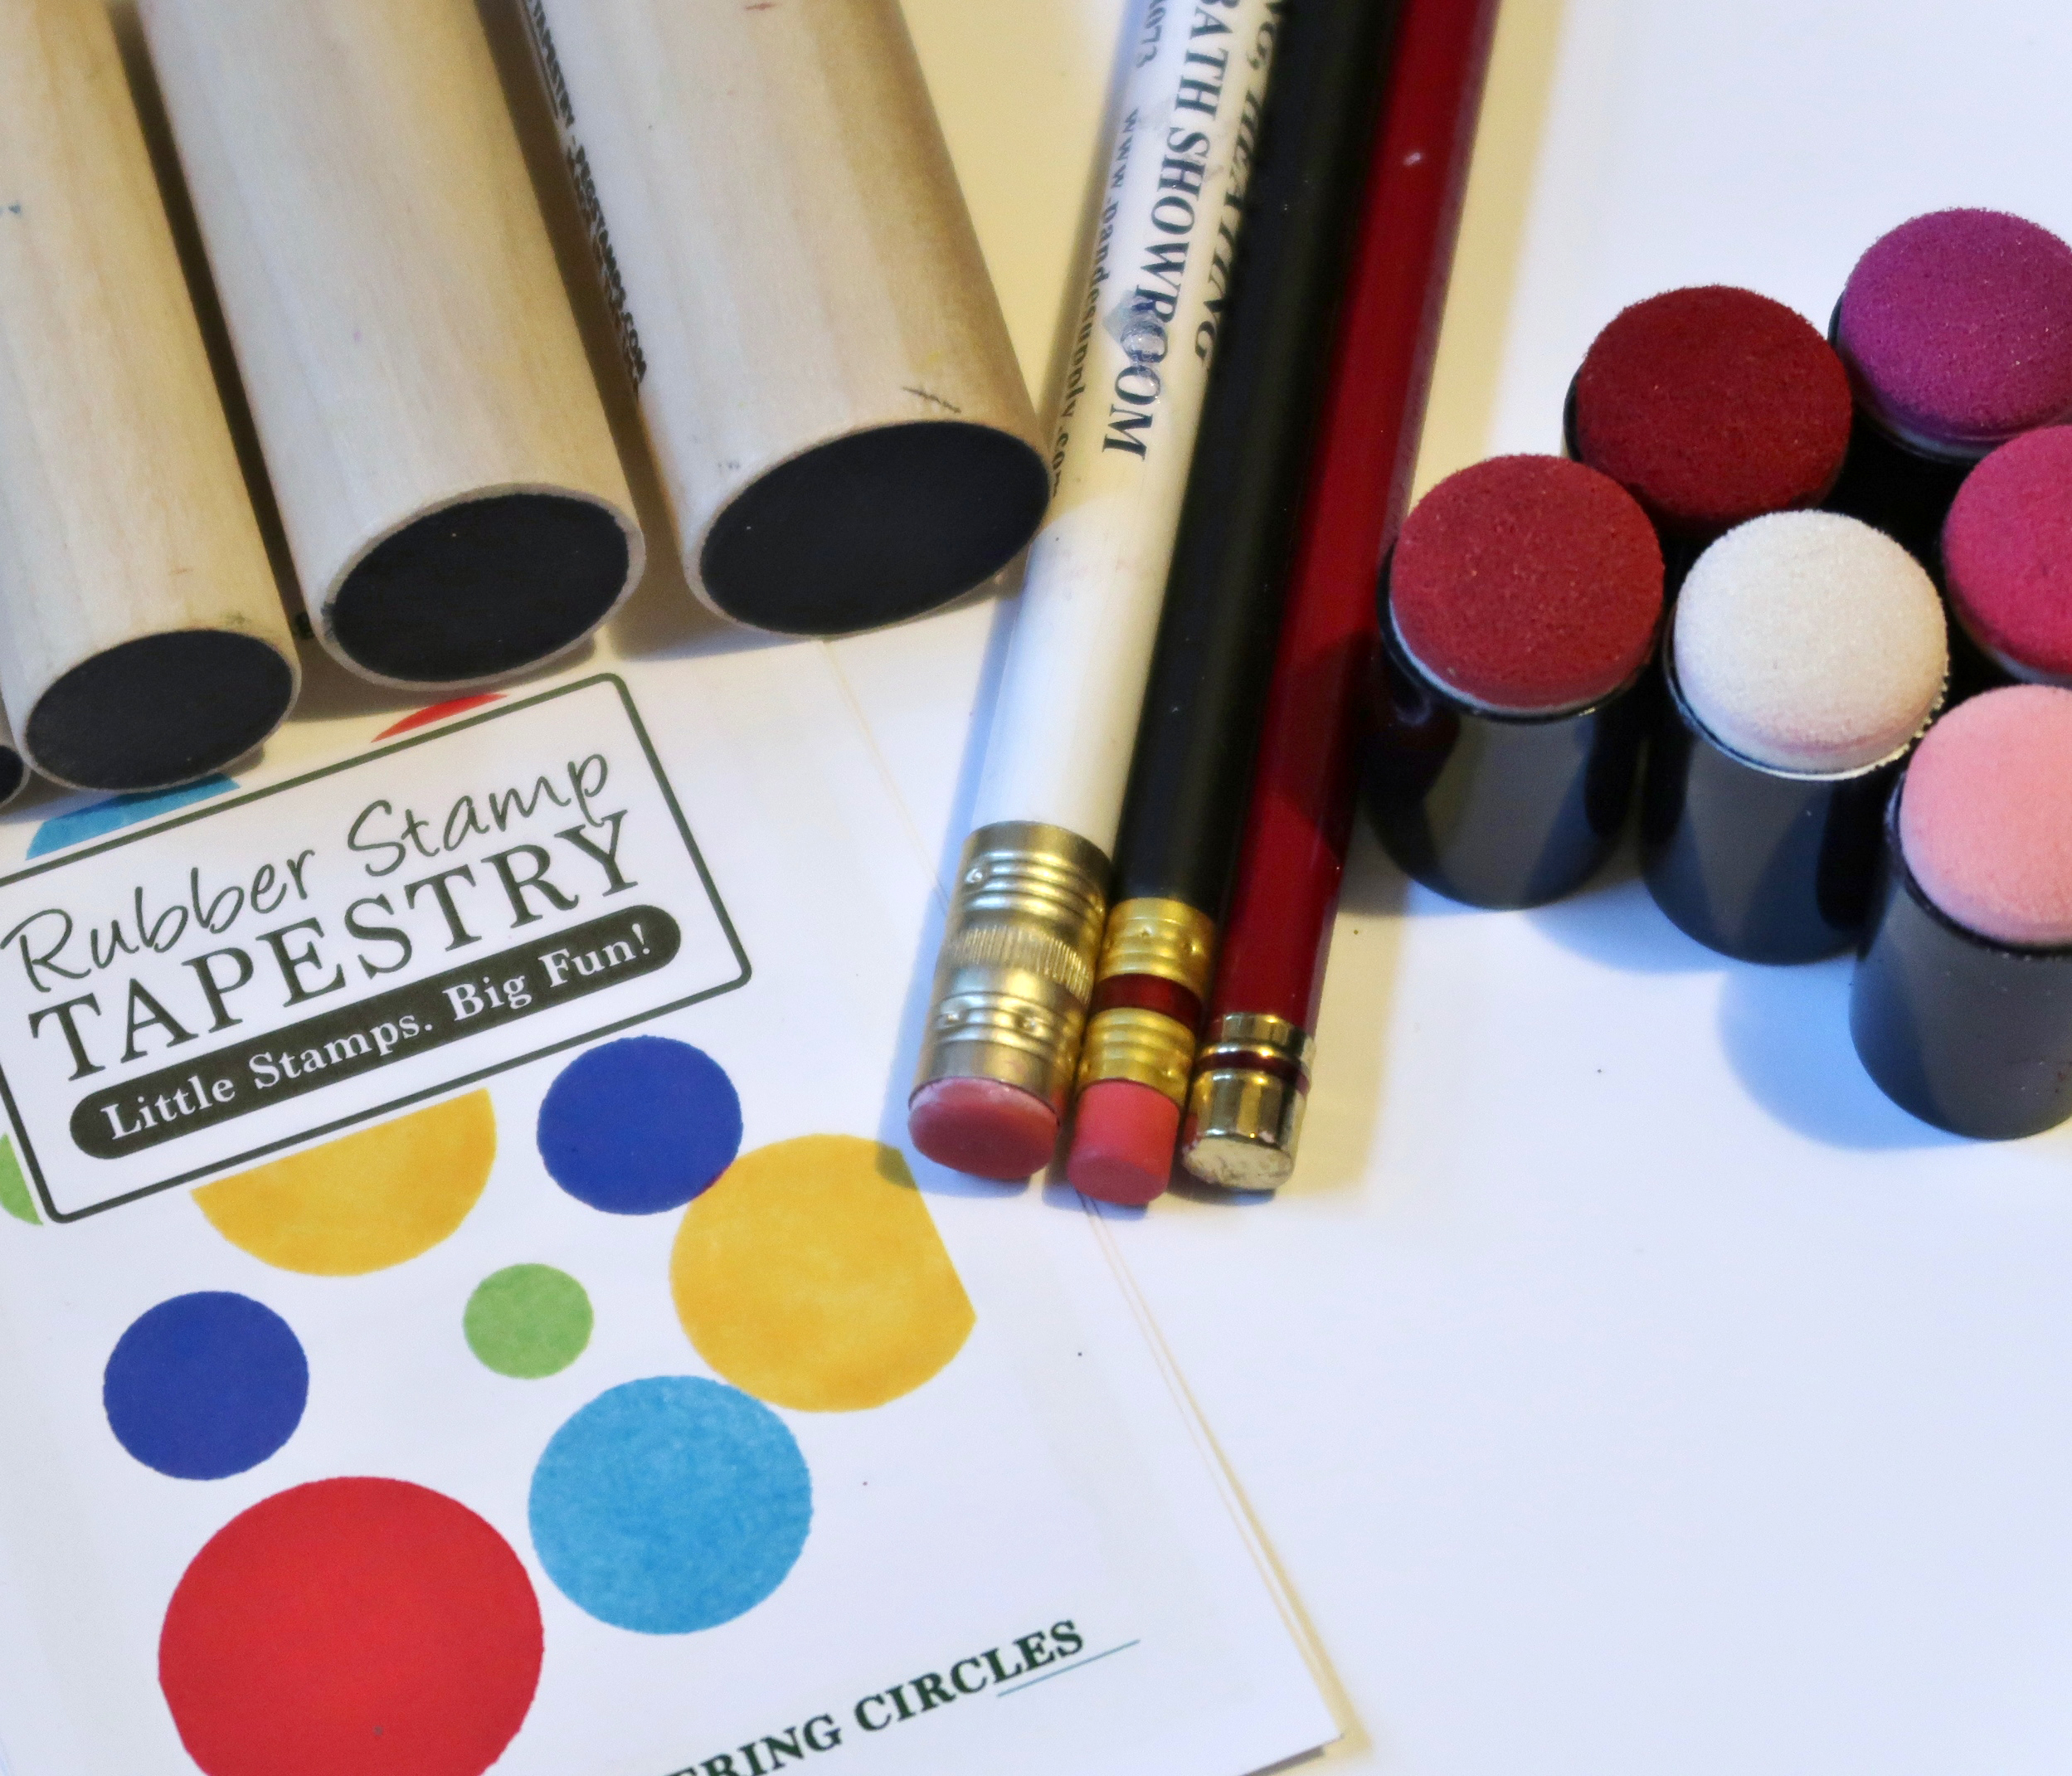
Gather desired stamps and/or tools to stamp the circles. Pencil erasers, circle stamps, and Sponge Daubers work great for this technique.
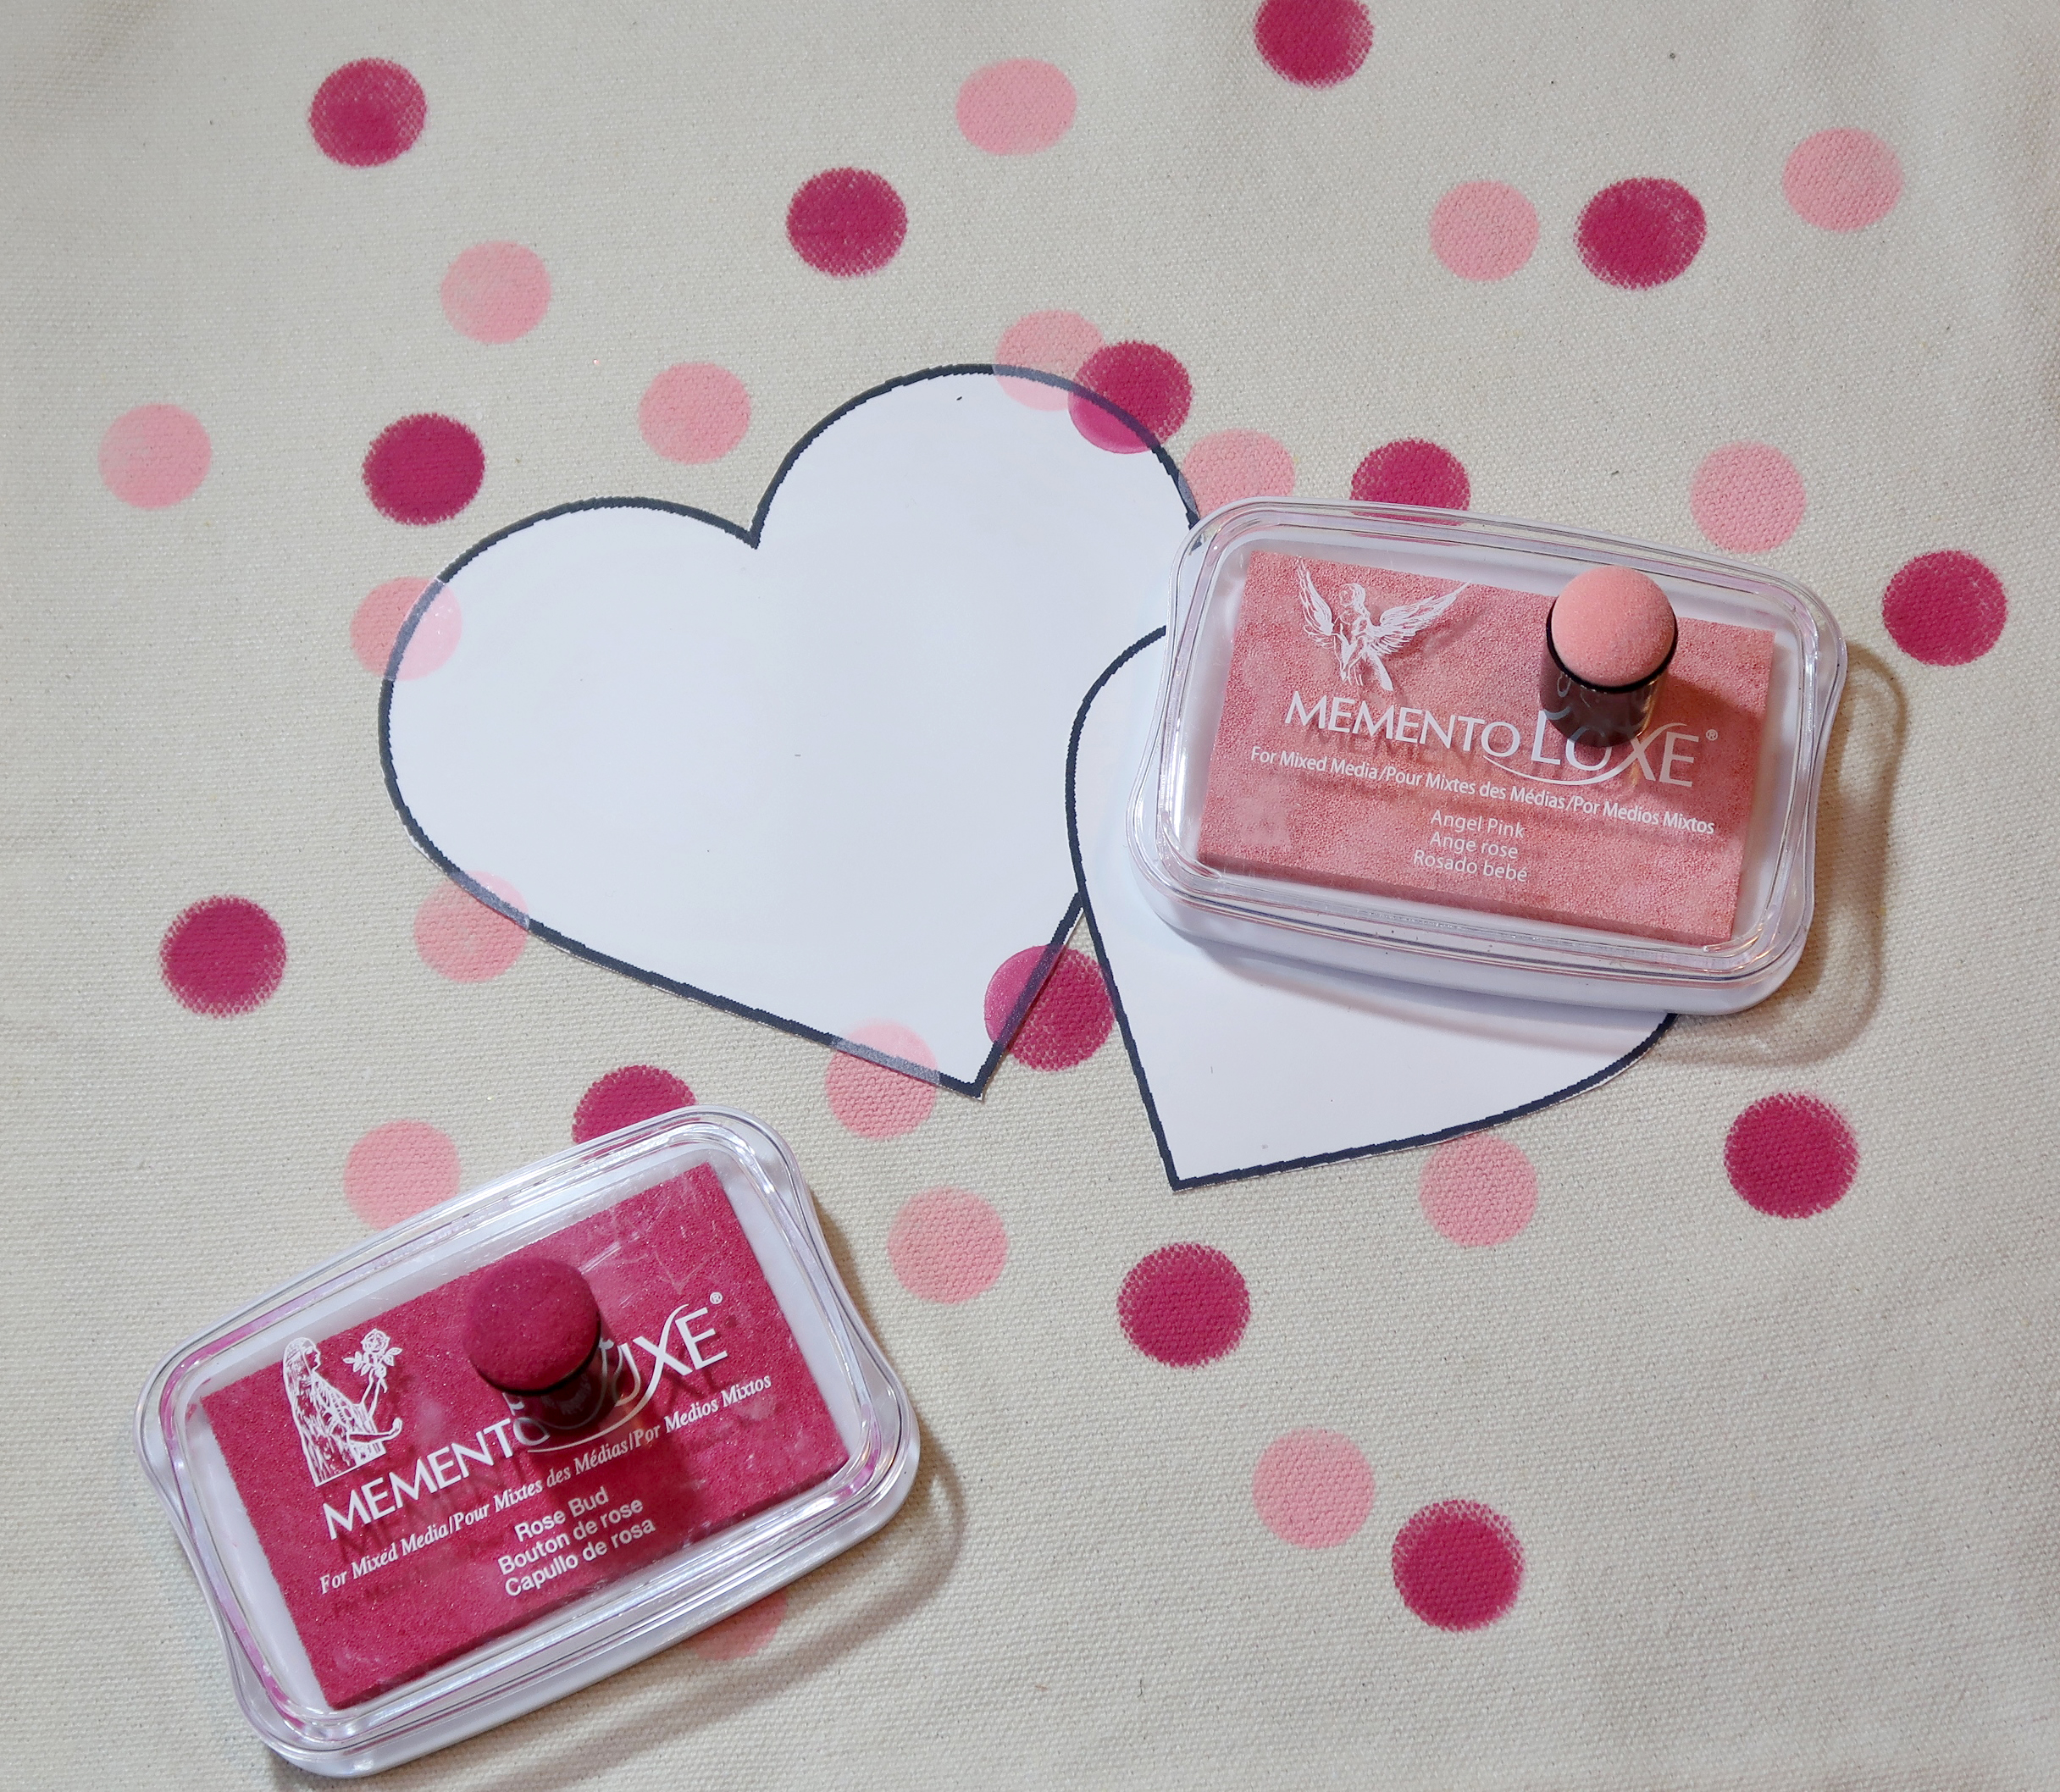
Pounce the desired tool onto the ink pad; press and hold for 10-15 seconds to allow time for the canvas to soak up the ink.
Concentrate the dots of ink closer in the center and further apart as you work your way towards the edges.
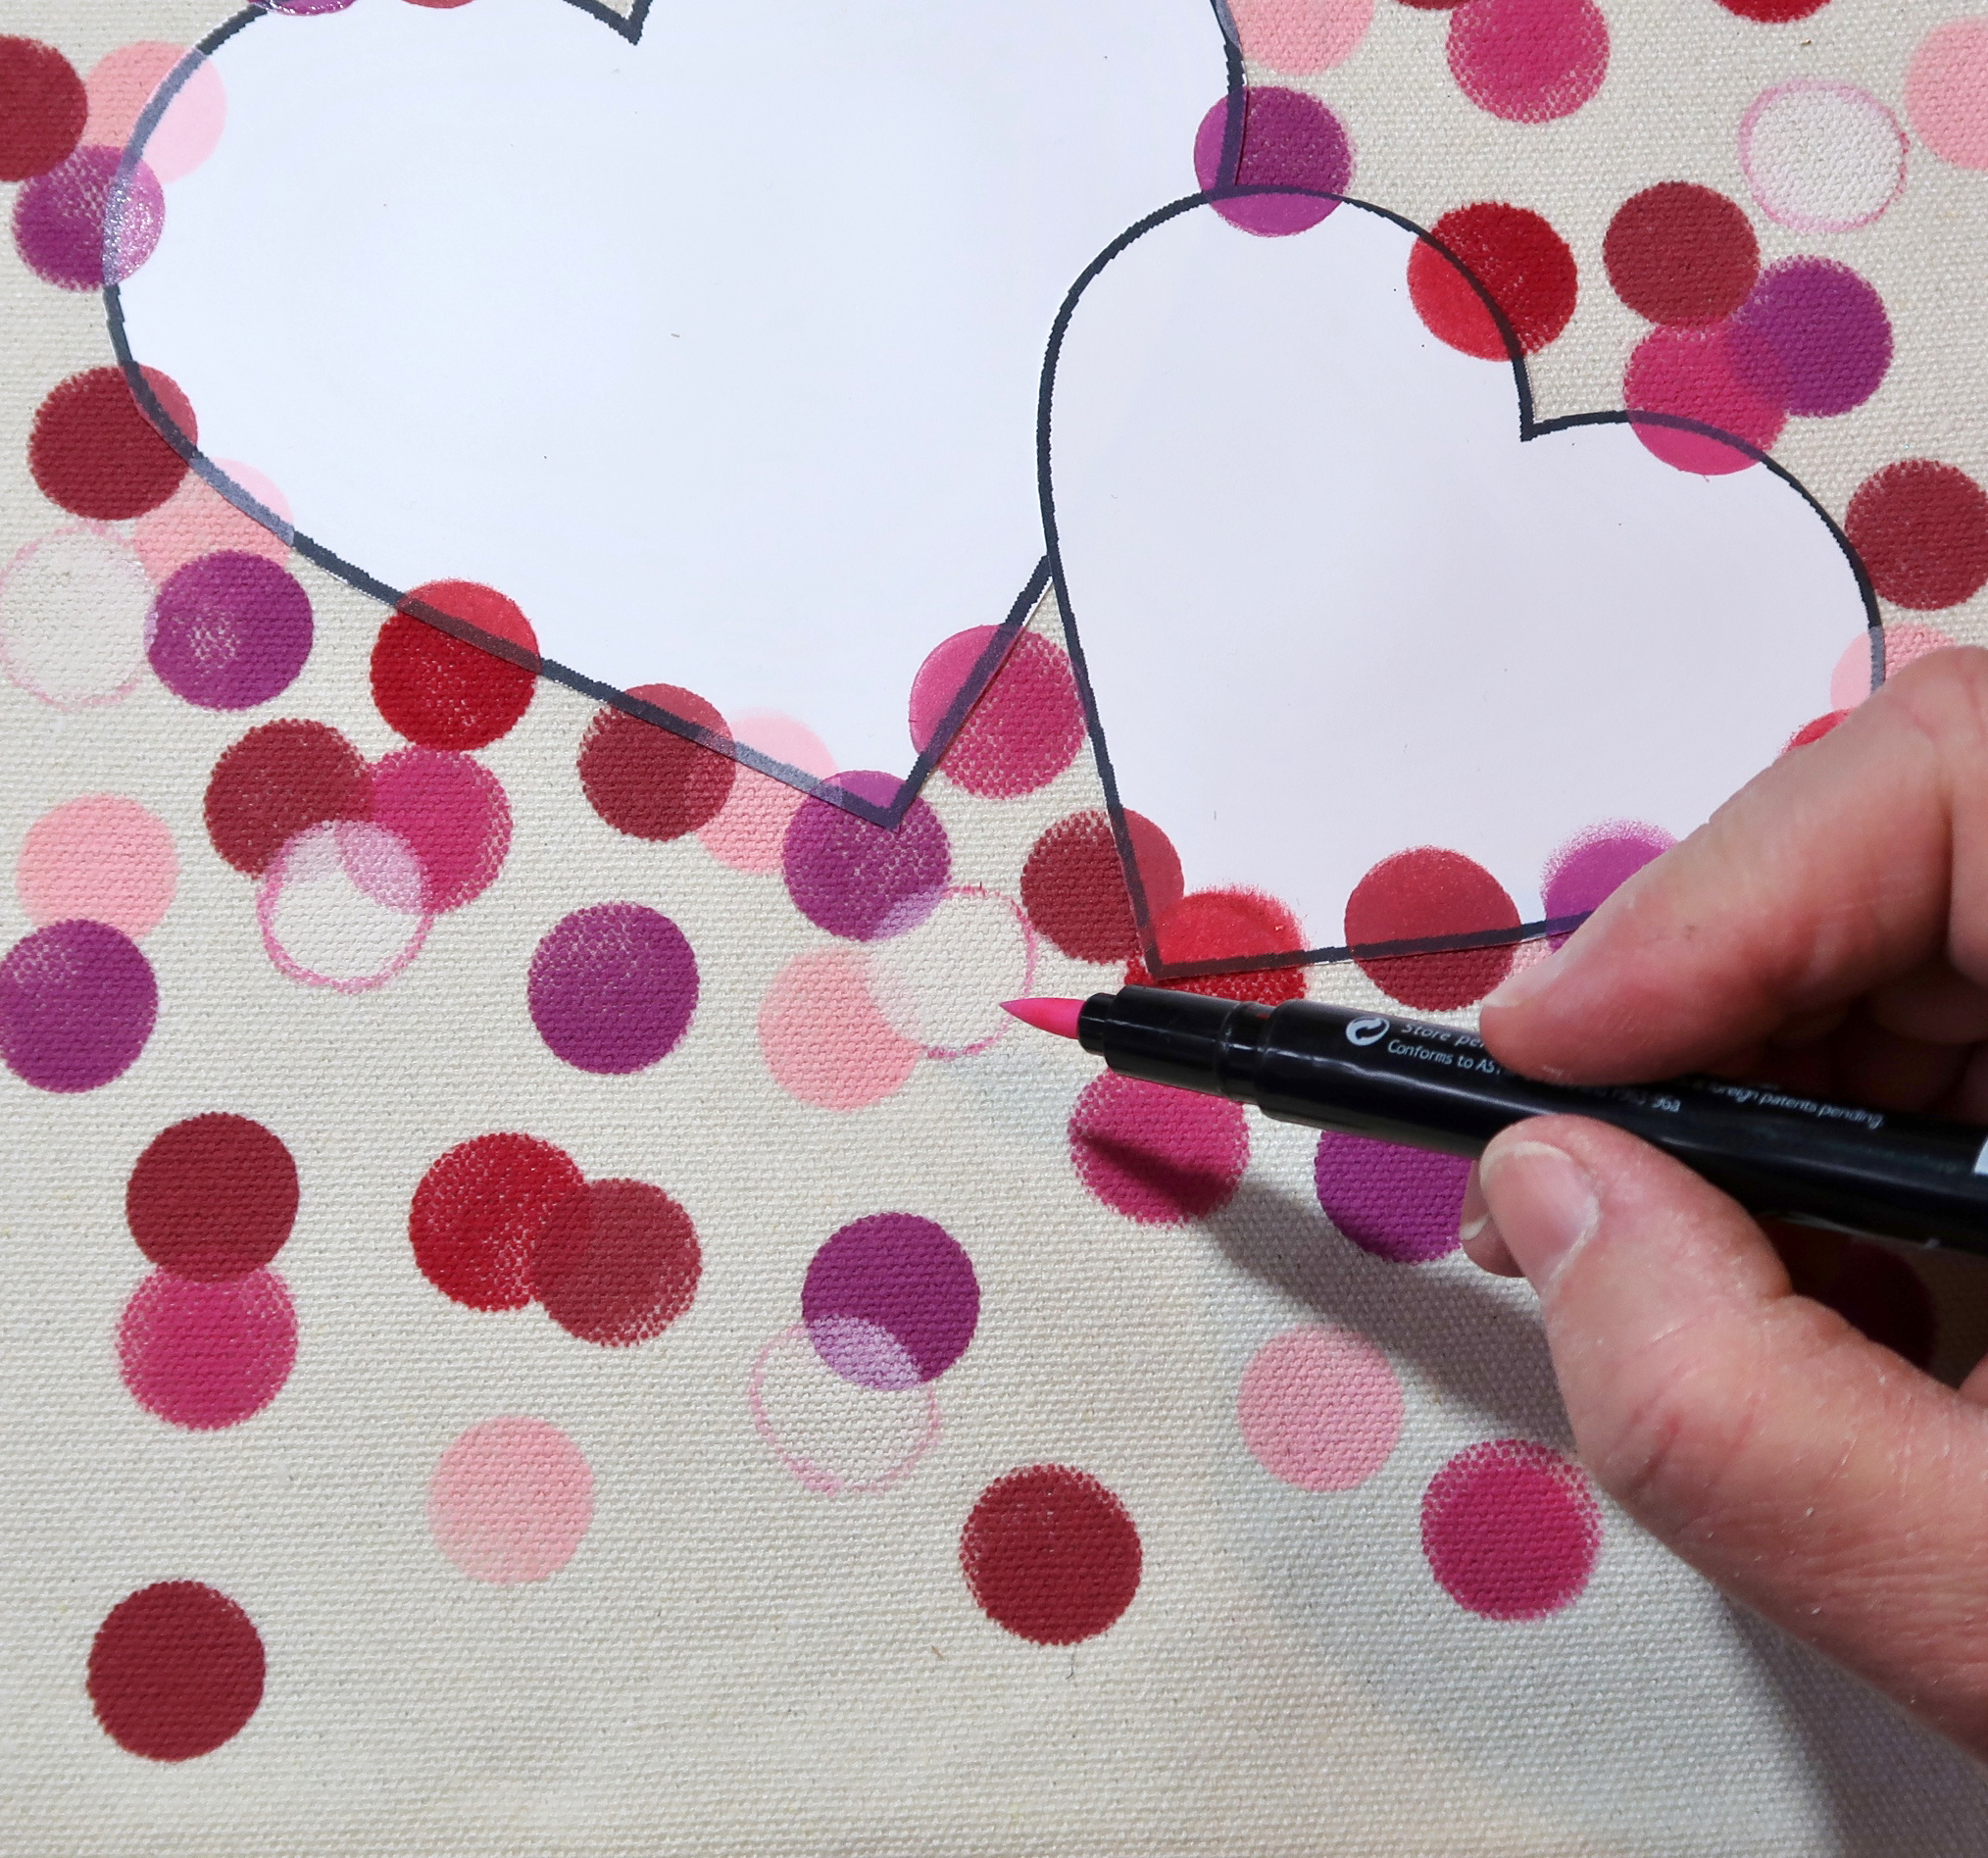
Continue to add layers of dots with the desired color(s) of ink.
Tip: Highlight Wedding Dress (White) Memento Luxe ink on the canvas with Fabrico Marker (Bubble Gum).
This makes the white pop against the canvas and other colors of ink.
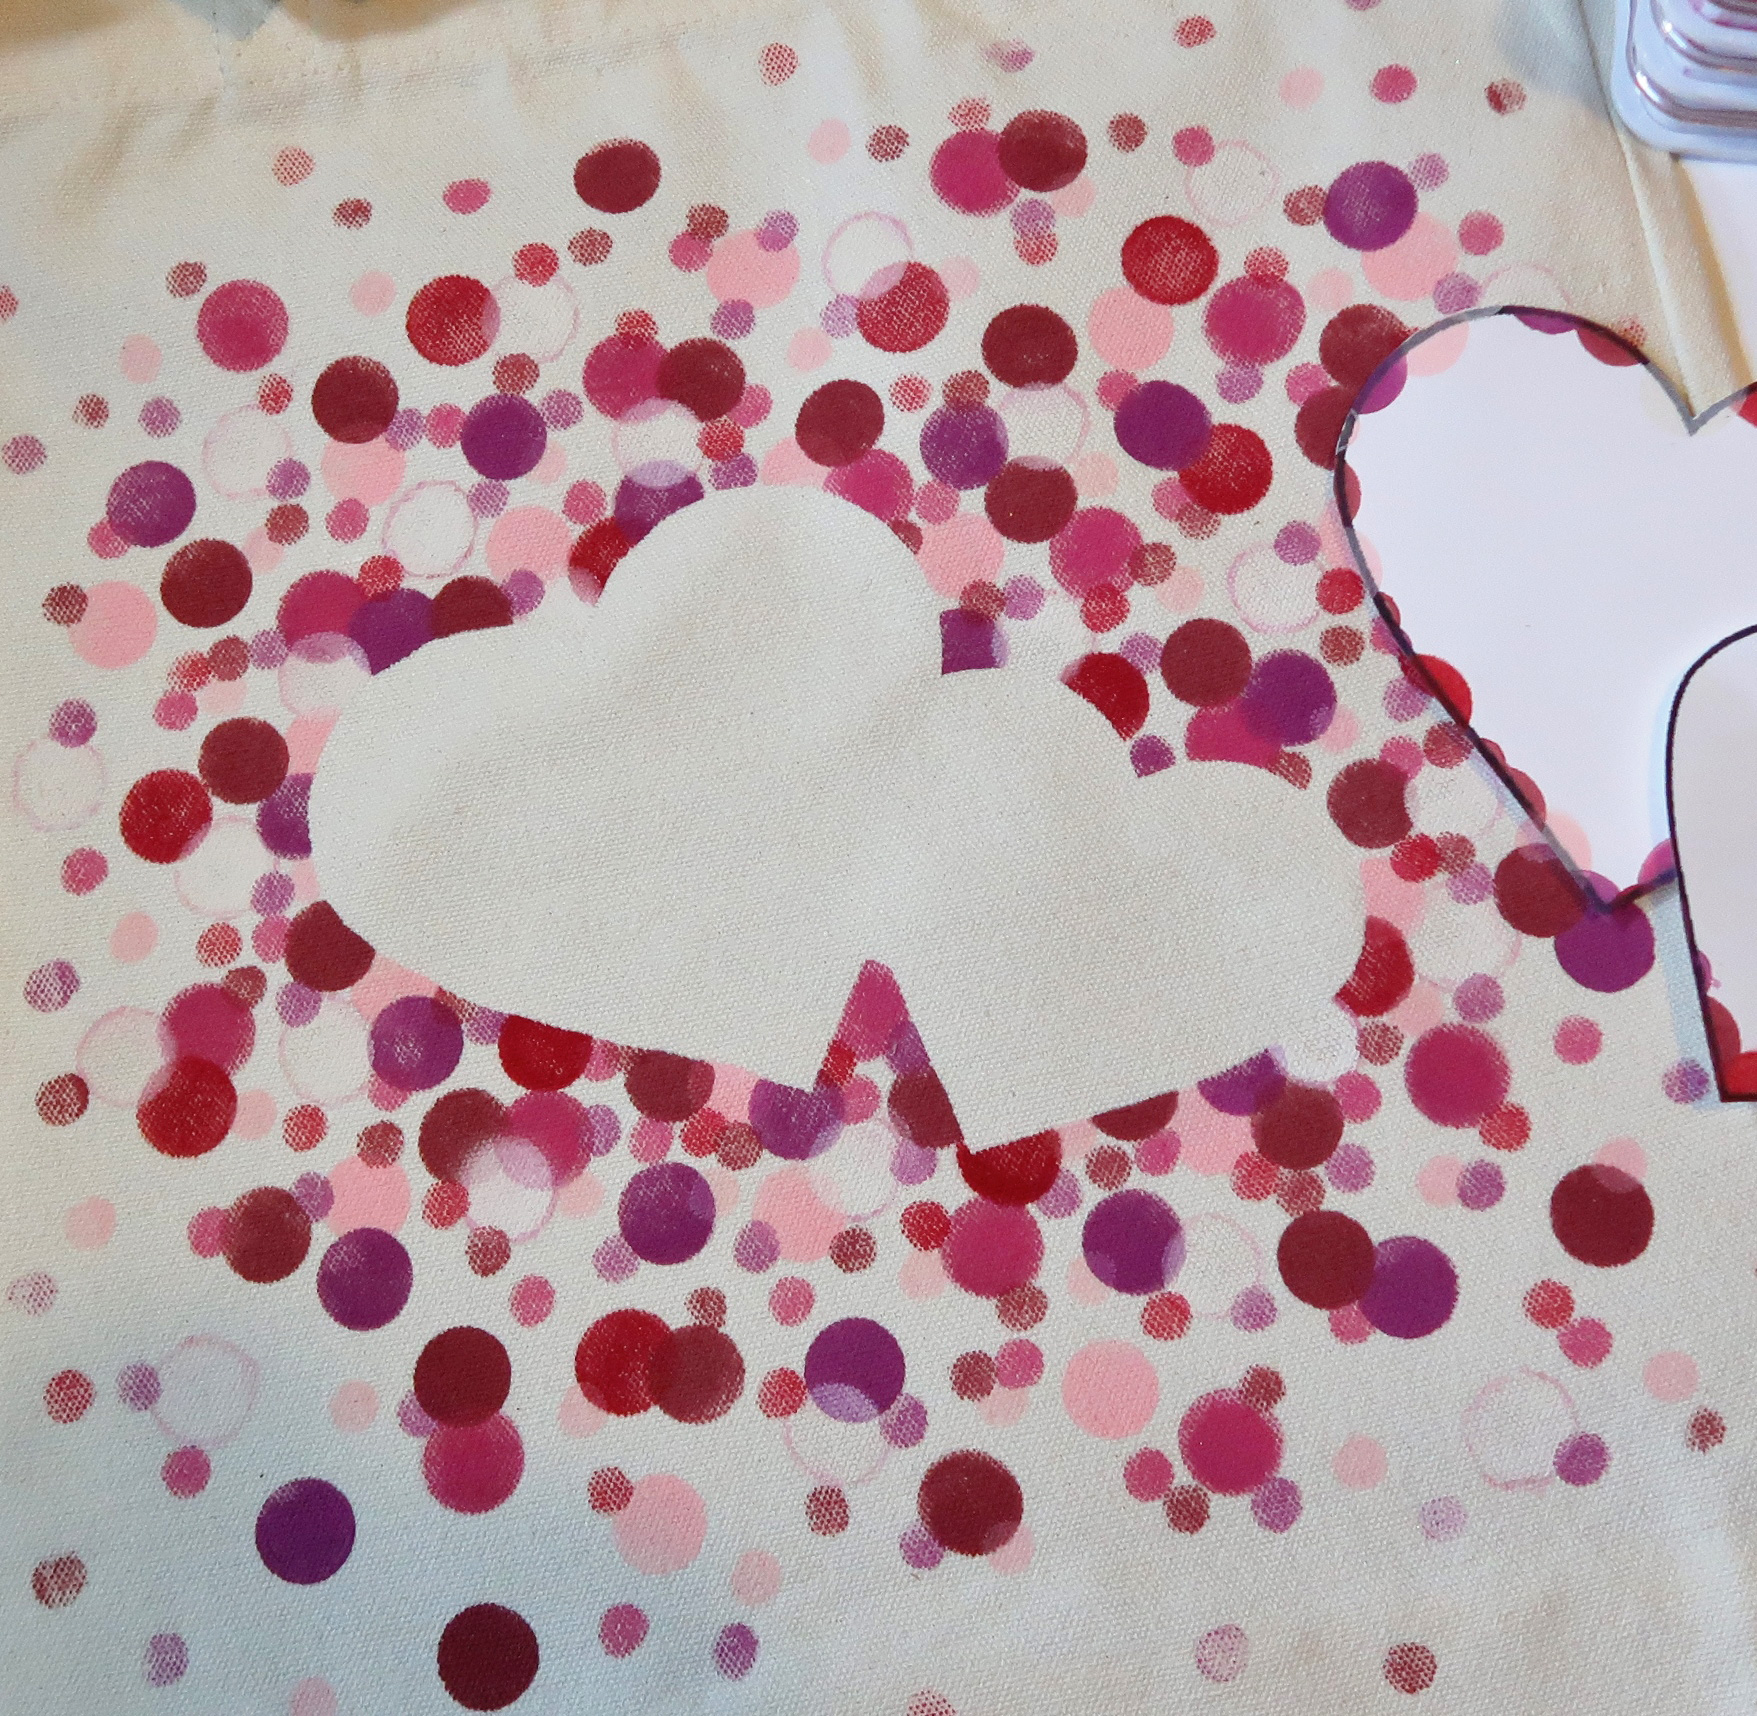
Remove the masks and discard.
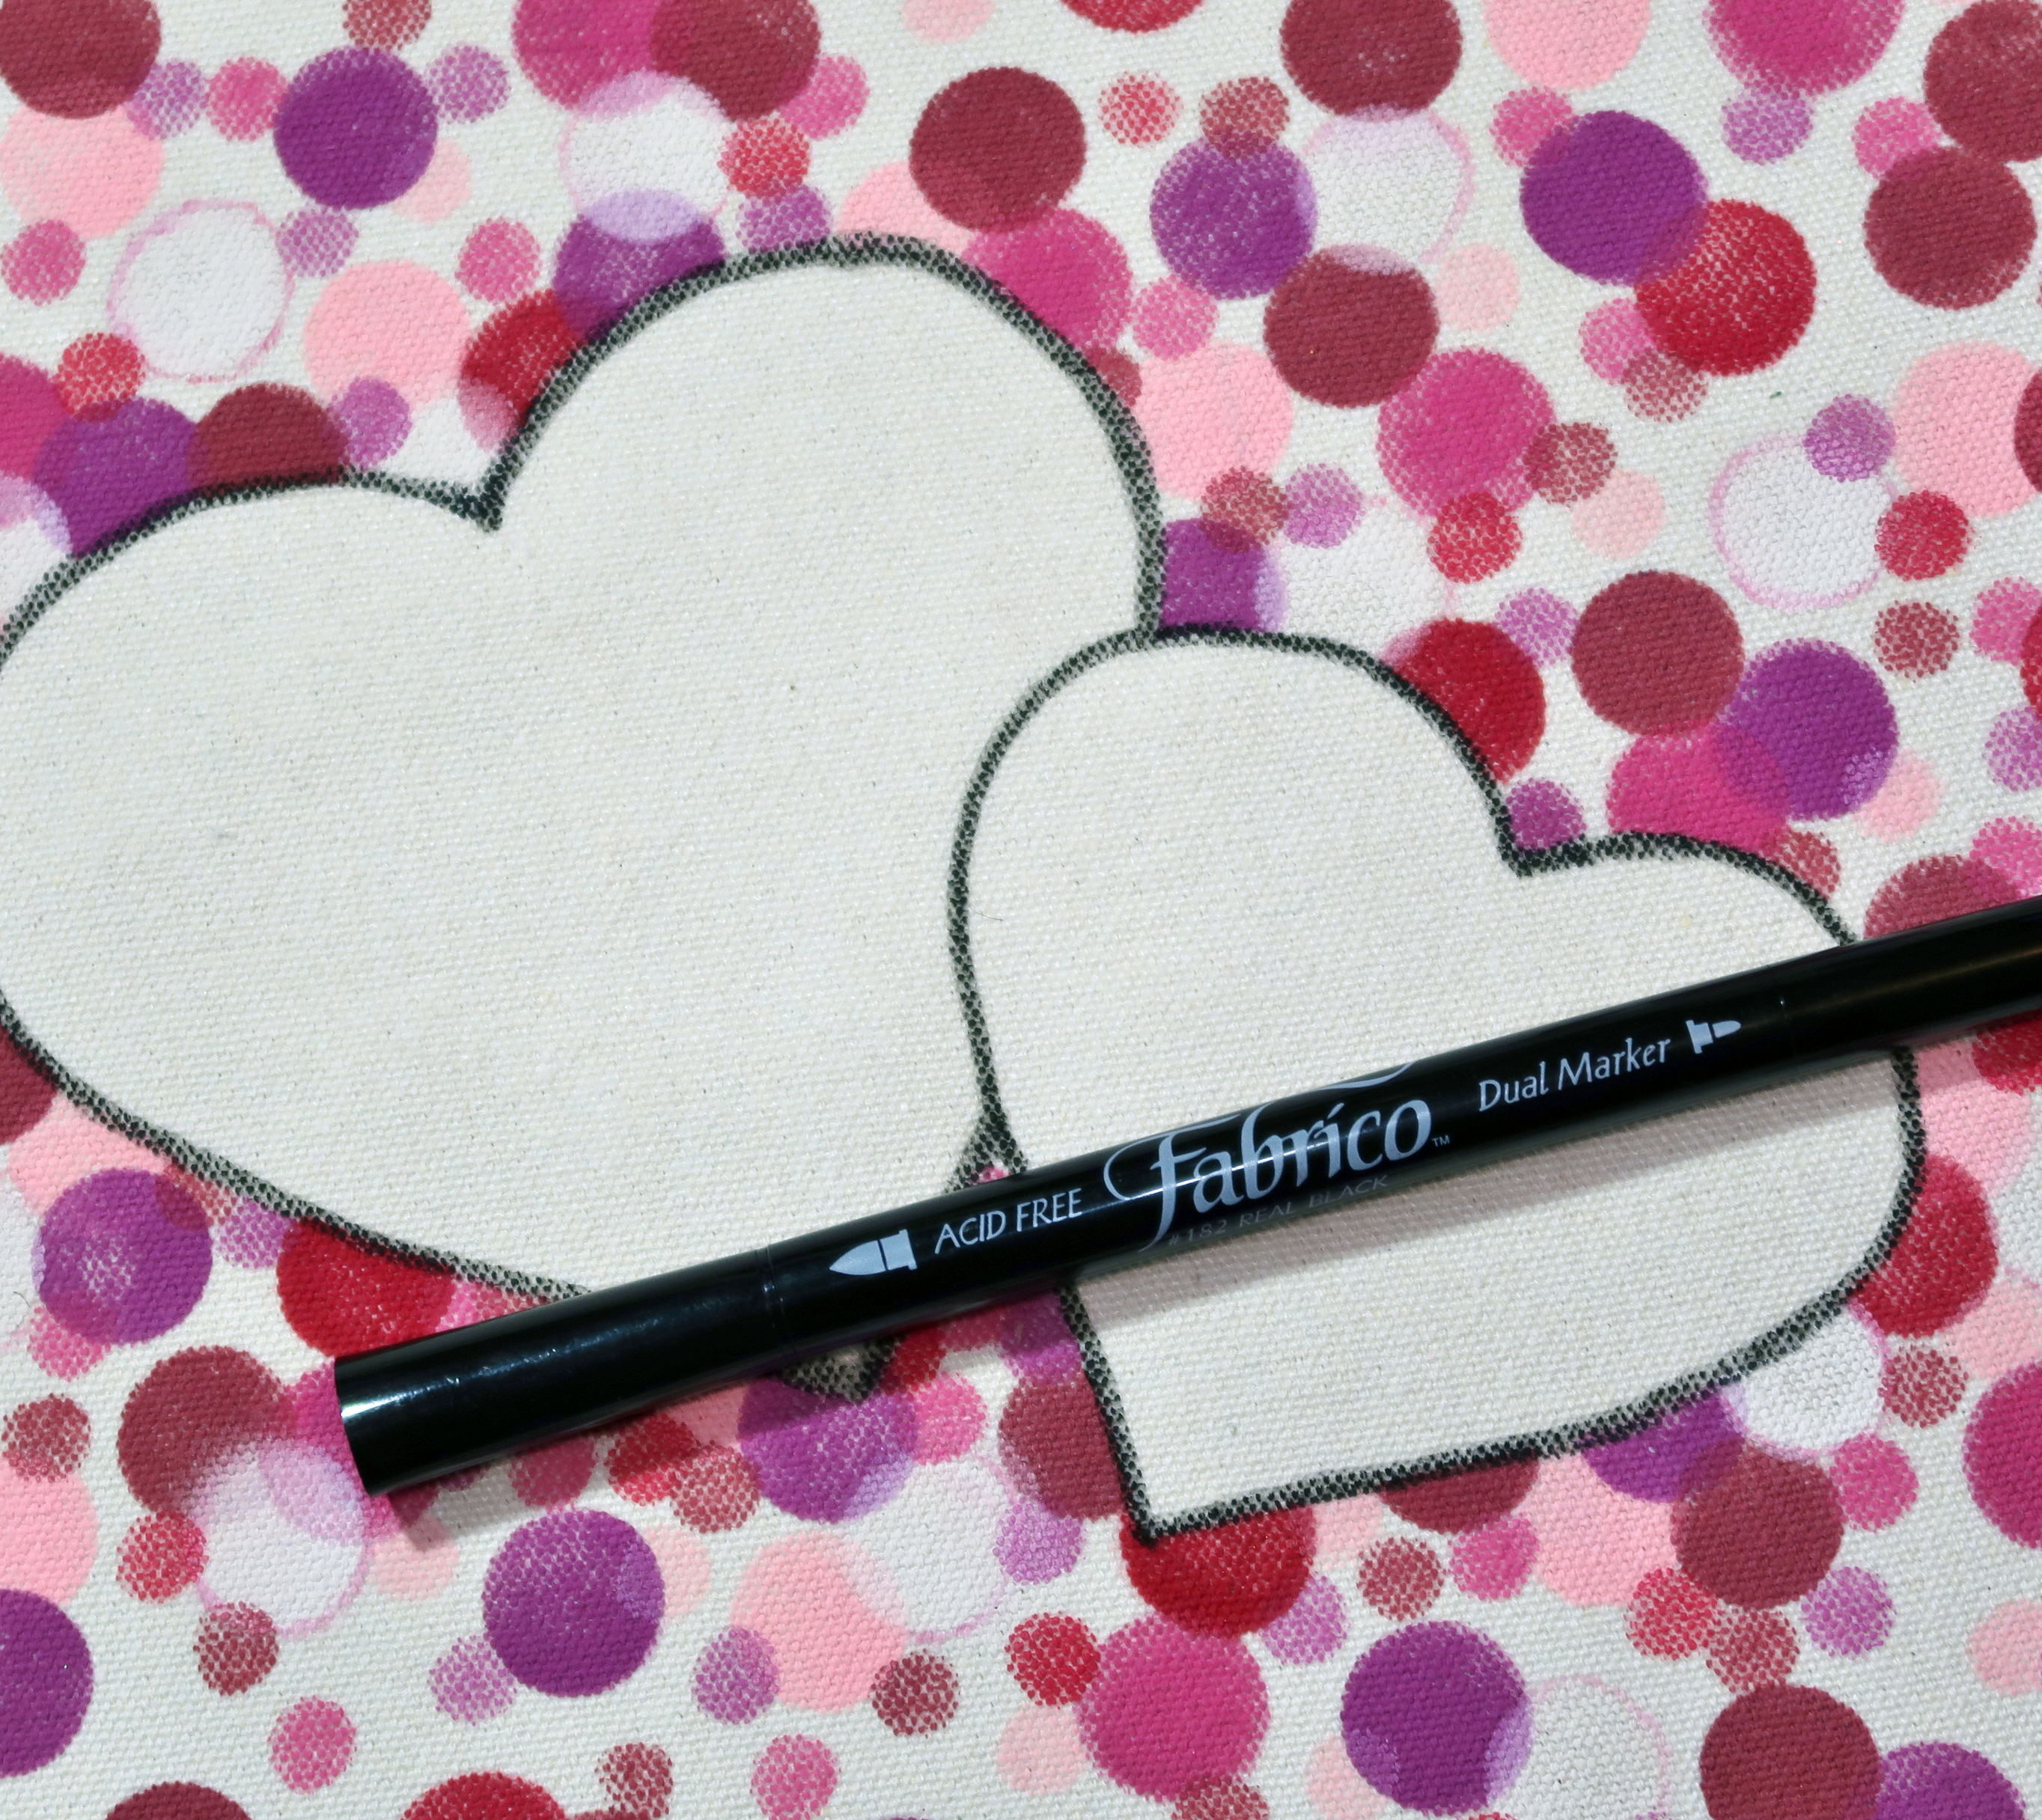
Outline the hearts using Real Black Fabrico Marker. Add additional details with Fabrico Markers at this time if desired.
Iron the canvas with the hottest setting allowable for the fabric to set the inks.
Supplies:
Imagine
Memento Luxe Ink – Angel Pink, Lilac Posies, Love Letter, Rhubarb Stalk, Rose Bud, Wedding Dress –
Fabrico Marker – Bubble Gum, Poppy Red, Real Black
Happy Valentine’s Day Free PDF
Other
Iron
Cardboard
Pencil Eraser
Rubber Stamp Tapestry – Stamps – Layering Circles
White Cardstock
Repositionable Adhesive
Hello Friends! Today I wanted to share a wreath I created using Rinea Foiled Paper set called Frozen. I love snowflakes so I thought this would be a really fun wreath for winter...with a bit of added bling!

Winter is upon us in the northern hemisphere and snowflakes are in the air. You can bring the beauty of winter into your home with this lovely snowflake wreath using the Frosted Variety Pack by Rinea.
Directions:

Step 1 - Paint a wreath form using white acrylic paint.

Step 2 - Die-cut several snowflakes in assorted sizes using foiled paper from the Frosted Variety Pack. You can cut several layers of Rinea foiled paper at one time.
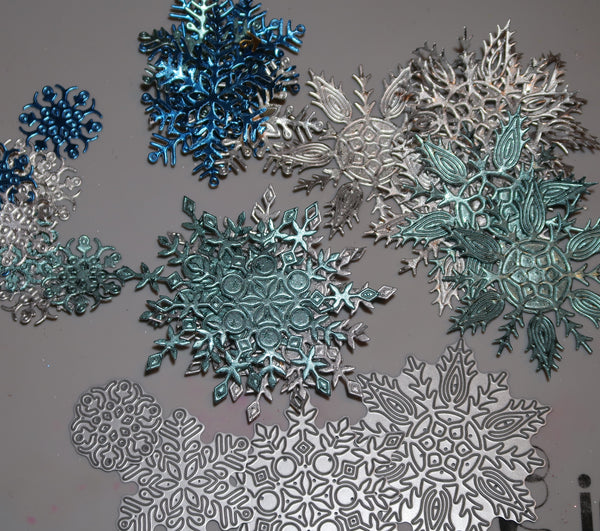
Step 3 - Once you have all the snowflakes cut clean away the excess bits. The number of die-cuts needed will vary depending on the size of your wreath and the amount of layers you choose to add.

Step 4 - Affix hanger and if desired add a piece of vintage rhinestone jewelry as a dangle for an extra bit of sparkle. A broken rhinestone bracelet was used to embellish my wreath.

Step 5 - Glue the snowflakes to the wreath using your favorite adhesive.

Step 6 - Continue to add additional layers of snowflakes until the desired look is achieved. 4 layers of snowflakes were added to this wreath.

A close up look at the snowflake layers.

Add a bow and enjoy!!
Supplies:
Rinea - Frosted Variety Pack
Simon Says Stamp - Snowflake Dies
Beacon 3in1 Adhesive
Wreath, Ribbon
(optional) Junk Rhinestone Jewelry
