
Here is a scrapbook safe alternative to the Future Floor Wax technique. Substitute Glossy Accents in the place of floor wax!! It's acid free, non-toxic and dries to a clear shine. The same great look without all the unknown chemicals found in floor wax products.
A few things before we get going...this could be a messy technique. I say "could be" because I tend to get a bit wild with techniques like this and the fur flies so to speak ;) I always make a mess so I like to use the Non-Stick Craft Sheet from Ranger. It is a non-porous sheet that helps protect your work surface. It also wipes clean when you're through so it helps to make clean up VERY easy.
Another item you might consider is a pair of rubber gloves or disposable foam brush. I personally don't use either ~ I like to dig right in! The blog isn't called "Ink Stains" for nothin - LOL!!! I walk around with ink stained, some would say - ugly, fingers much of the time. It doesn't bother me...it's sort of a badge of honor.... "I got inky with it today!" sort of thing ;) Gloves or not....it's totally up to you!
Now, let's get down to it.....

Supplies:
Glossy Accents - Ranger
Stickles Glitter Glue - Ranger
Ice Stickles Glitter Glue - Ranger
Perfect Pearls Pigment Powders - Ranger
Re-Inkers (Adirondack, Distress, Nick Bantock) - Ranger
Adirondack Alcohol Inks - Ranger
Archival Ink - Jet Black - Ranger
Beadazzles - Ranger
Acetate (transparencies) - Office Supply StoreRubber Stamps
Tissue Paper (crumbled)
Instructions:

2. Flip transparency over. You will be working on the back side of the image for this technique.
3. Squirt a generous amount of both Glossy Accents over the entire image.

4. *Optional* - At this point you have the option of adding a bit of dimension to your finished work. You may add Stickles Glitter Glue, Ice Stickles Glitter Glue, Perfect Pearls Pigment Powders, Beadazzles, mica flakes, micro beads, or glitter! It's fun to experiment with various add-ins to see what you come up with.
5. Spread and mix the Glossy Accents and optional addative over the entire back of the image. Make sure you extend the Glossy Accents a bit beyond the actual image. You want to be sure you will have adequate coverage for the next step.
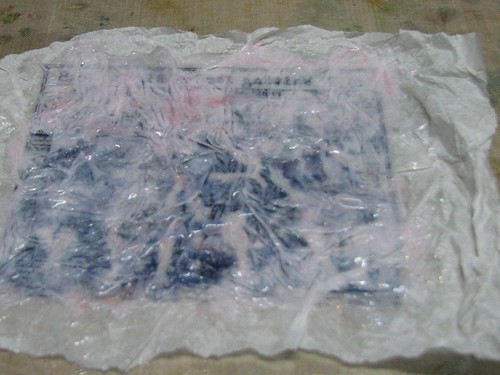
6. Crumble the tissue paper gently.
7. Lay the tissue paper over the Glossy Accents mixture and pat gently making sure that the entire piece has been pressed into the GA.
8. Apply another layer of Glossy Accents over the tissue paper.
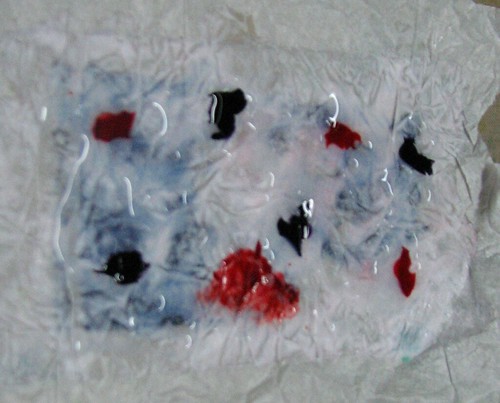
9. Add a few drops of re-inker or alcohol ink to the Glossy Accents.
NOTE: You don't need much, a little goes a long way!!! You will have to experiment with whatever type of ink you are using. Some inks have a far more intense color saturation than others. I would add one or two drops of ink to begin with then add more if necessary. It will dry a bit lighter than what you see but not much. It is very important to keep this

10. Spread the Glossy Accents & Ink over the entire piece. Let Dry!
Note: Dry times vary but I like to let mine dry over night just to be sure that all of the layers have dried completely.
11. Trim and add to a card, scrapbook page, journal, altered art work :)
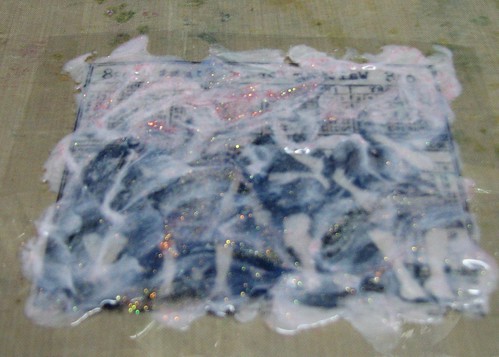
This is a close up of an example where I used Stickles Glitter Glue and Adirondack Alcohol Inks.
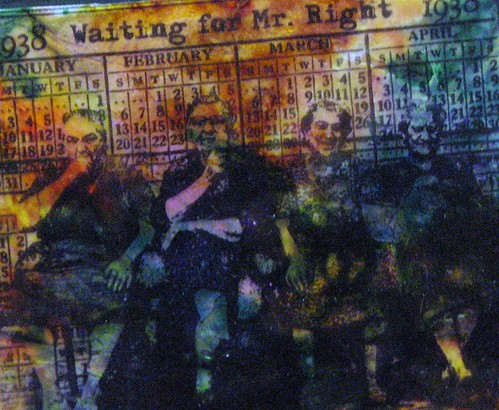
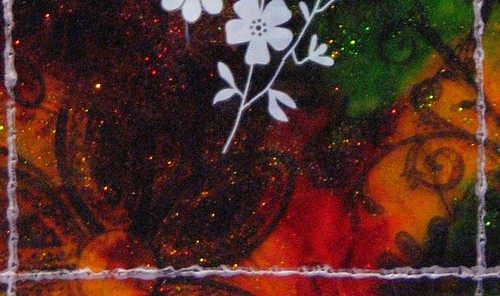
This particular example was made using Adirondack Dye Inks and Perfect Pearls. I wish there were some way to show you the amazing pearlescent glimmer that the Perfect Pearls brings to this project. It's an amazing finish!
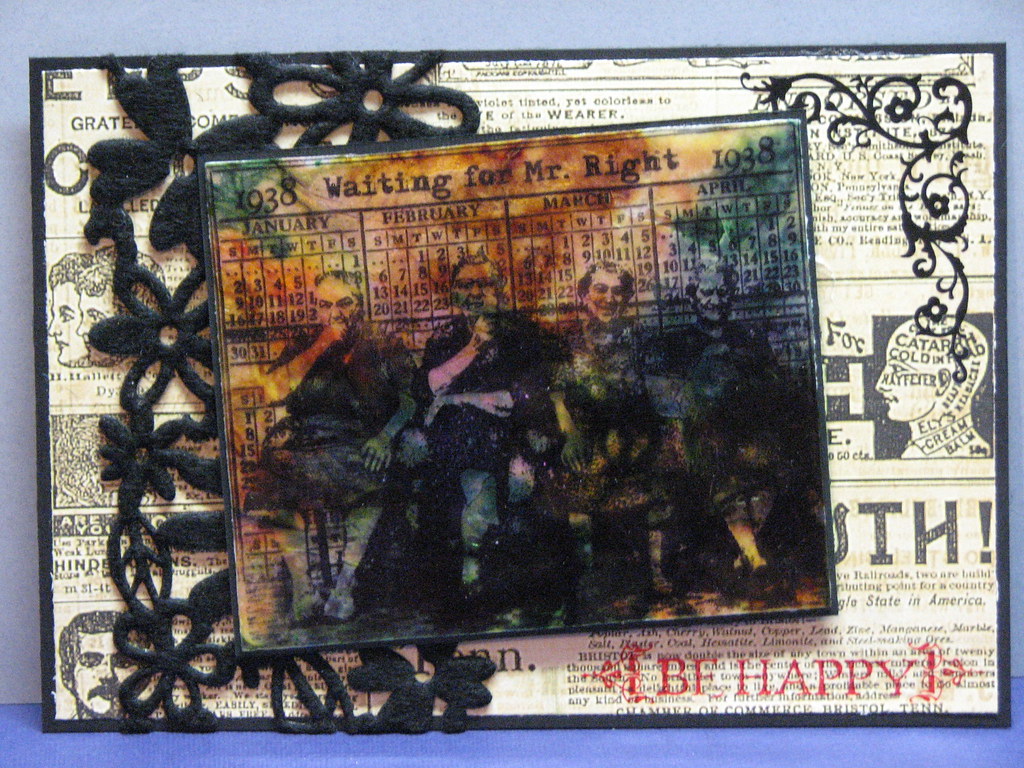
{ Be Happy }
Here is a finished card using the Perfect Pearls and Adirondack Dye Re-Inkers.
Additional Supplies: Rubber Stamp - Lost Coast Designs; K& Co Pattern Paper; Queen & Co Felt Border; Creative Imaginations - Sentiment; American Crafts - Flourish Rub-On; Bazzill Cardstock.
I hope this has inspired you to give this technique a try.
Although the dry time is a bit long the finished product is well worth the wait!
Tomorrow I will be sharing a few more examples of finished cards I made using this technique :)
Till then...
Ink On My Friends, Ink On!!
That is such a cool technique!! Love the projects you made from it. Keep 'em coming!
ReplyDeleteBeautiful work! I'll be trying this technique - thank you!
ReplyDeleteI'll definately be trying this one. I think I have all the stuff that's needed too =)
ReplyDeleteOMG!! I will definitely do this! I absolutely love the card you made for this. The image is so cool. Lost Coast, huh? Love it!!
ReplyDeleteGorgeous!! Gotta try this technique. I have a question though Roni. In the close up sample it looks like you stamped with white on your transparency. Did you?? Is it stamped on the FRONT of transparency? And did you use ink or paint? I love the look of the white on top of the colorful background!
ReplyDeleteKaren L.
Gosh, these are breathlessly GORGEOUS! Love how they all turn out. Thanks for sharing the techniques - I can't wait to try them out!!
ReplyDeleteI love this technique and have done it a couple of times - always with different results so it will never get boring. One suggestion I thought I'd throw in here is to stamp the front of the transparency AFTER the project has dried. I do this because I never know how the colors will turn out and sometimes my image can be lost. It also lets me place the stamp exactly where I want it and where it will have the most impact. For example, if I am using a stamp with a person, I can stamp the face in a lighter spot so it comes through really well. And then I use the extra I have cut off for inside embellishments to the card or for other projects (think bottle caps or a small jewelry piece, etc.) Very cool, Roni. Thanks!
ReplyDeleteWow! Great tutorial! The finished product is gorgeous, too! Kerilou 2 peas
ReplyDeleteLOVE this! Gotta go play now! One thing to note though, is that a lot of tissue paper (cough - all the inexpensive stuff I have piles of everywhere, of course, is NOT)is not actually scrapbook safe. Look for the words "museum quality", "acid free" and "chlorine free" if you want to actually use them IN a scrapbook! For cards and all kinds of other things (man, I think I want to try a larger sheet of this to try out on an altered item...), the sky's the limit!!
ReplyDeleteKaren - Yes, I did stamp using Ranger's Pearl Dabber Acrylic Paint. That is one of the cards I'm going to share today ;)
ReplyDeletePhinnyart12 - Stamping after wards or with paint is going to be on my post today for additional ideas :)
JennaF - Yes, you're correct about tissue papers in general but since this is encased in glossy accents there is no way for it to migrate. It's essentially like being sealed in an egg shell. :)
Nice tips or techniques for glitter gloss thanks a lot!
ReplyDelete